Diy Project: Kitchen Backsplash
last updated march 20, 2013


When it comes to redecorating the kitchen, the possibilities are endless. While larger projects, such as changing the layout and installing radiant floor heating should be done by a professional, there are many ways to change the look of your kitchen without spending a lot of time and money. In fact, many of these smaller updates can be successfully completed by a handy homeowner or weekend warrior.
Individuals who want to update their kitchens on their own have several options. They include painting the walls and cabinetry, updating hardware on cabinets and drawers, installing new light fixtures and even changing the flooring.
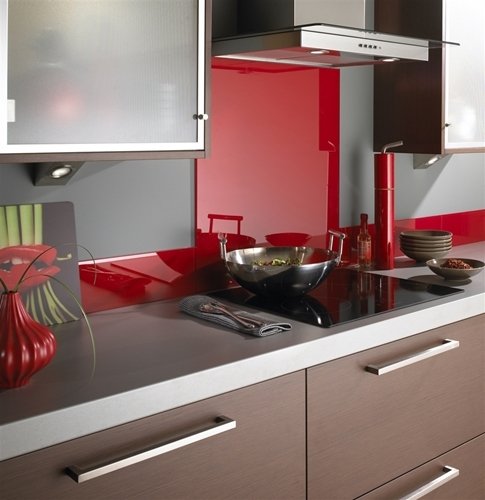
Adding a decorative backsplash is another great do-it-yourself project that can instantly add style and pizzazz to any kitchen. A backsplash is also functional - it helps protect the walls from splatters and messes that are common in food preparation areas.
When it comes to choosing a backsplash, the possibilities are endless. Many choose to go with a simple design, while others include elaborate designs complete with different sized tiles and materials. Homeowners can choose to customize their backsplash by creating an interesting pattern with tiles or incorporating different materials into their design.
According to Better Homes & Gardens, there are a few common surfaces that are currently popular for kitchen backsplash projects. They include limestone pavers, stainless steel, soapstone, glass tiles, bead board, fieldstone, granite tiles, slate, marble, laminate, pressed metal and porcelain tiles. Budget and style are the most important factors in choosing a backsplash material.
Getting started
The first step for any successful DIY project is preparation. This includes reading magazine and online articles, watching how-to videos or even attending a class at a local home improvement store to learn what to do.
Making sure you have the necessary tools to make your vision a reality is also important. Many experts suggest renting a tile saw to make cutting the tiles easier. This should cost about $60 per day, according to DIY Network.
Installing the tiles
When it comes time to actually do the work, the first step is preparing the surface. A clean, flat wall is necessary for the backsplash to adhere properly and look good.
Carpenter Marc Bartolomeo tells DIY Network that it's important to start at the bottom and work upwards so any awkward cuts will be hidden under cabinets or vents.
The actual installation should go rather quickly once the design is laid out and the cuts are made. Use a pre-mixed adhesive and press the tiles into place.
After the design is complete, wait until it's completely dry before grouting.
Have Questions About Your Project?
Our team of Radiant Experts is ready to help!

Stay Updated
Get the latest radiant heating news and tips delivered to your inbox.