When talking about latex-modified thinset vs. self-leveling cement, it’s like comparing apples and oranges. But relaying your expertise on the matter to a homeowner isn’t always that simple. An easy way to get homeowners to understand the difference between thinset and self-leveling is to use an analogy. But instead of apples and oranges, let’s use bed sheets and comforters.
If you were to make your bed using only a bed sheet, you would be able to see every crease and imperfection of the sheet and the mattress below. You’d really have to work at it to get the sheet perfectly flat and smooth. But if you made your bed with a big, fluffy comforter, your bed would easily look smooth and flat. It’s the same way thinset and self-leveling work.

Thinset (aka the bed sheet) is difficult to get perfectly level, so you need a very strong flooring type to hide any “imperfections.” Ceramic, glass and stone tile floor coverings work great with latex-modified thinset. Vinyl tile, on the other hand, is too flexible, making it too susceptible to showing unevenness. That’s why flooring types like vinyl, laminate and wood are best suited for self-leveling cement (aka the comforter) which serves as a leveler product. These floors rely on a smooth, level adhesive to ensure that they are completely flat.
The last thing a homeowner wants is an unstable floor. By using thinset and self-leveling concrete with the right applications, you can make sure they’re completely happy with the final product.
How Does Installation Differ?
Latex-modified Thinset
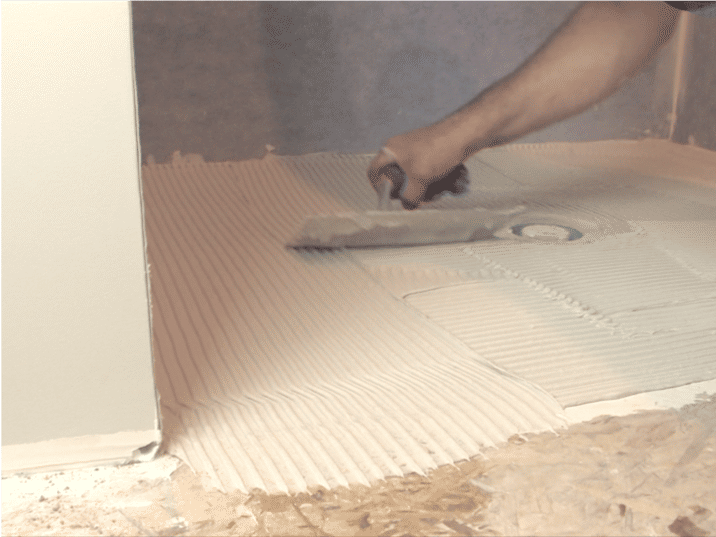
When installing a radiant floor heating system with latex-modified thinset, you need to first clear the subfloor of any debris. Secure the heating element to the subfloor and wire it appropriately. When the heating system is in place and has been tested, you can begin applying the thinset in one of two methods — the one-step method or the two-step method.

The one-step method is recommended for experienced installers only and should not be used if the tile is mosaic or of various sizes. It consists of applying a minimum of 3/8 inch of thinset over the heating element, then laying the tile directly on top. This method uses one layer of thinset to bury the heating element and set the tile, so time is of the essence.
Tips: Using a square notched trowel, move in the direction of the wires whenever possible to avoid nicking the heating element. While installing the tile, remove excess thinset from the grout joints with a wet rag or sponge.
The two-step method requires the installer to cover the heating element in thinset, then back butter the tile with thinset as it’s being laid out. Both layers of thinset must reach a minimum of 3/8 inch.
Tips: Use a flat rubber trowel to apply the first layer of thinset and a square notched trowel to back butter the tile. Be sure to let the first layer of thinset cure properly before setting the tile.
Self-Leveling Cement

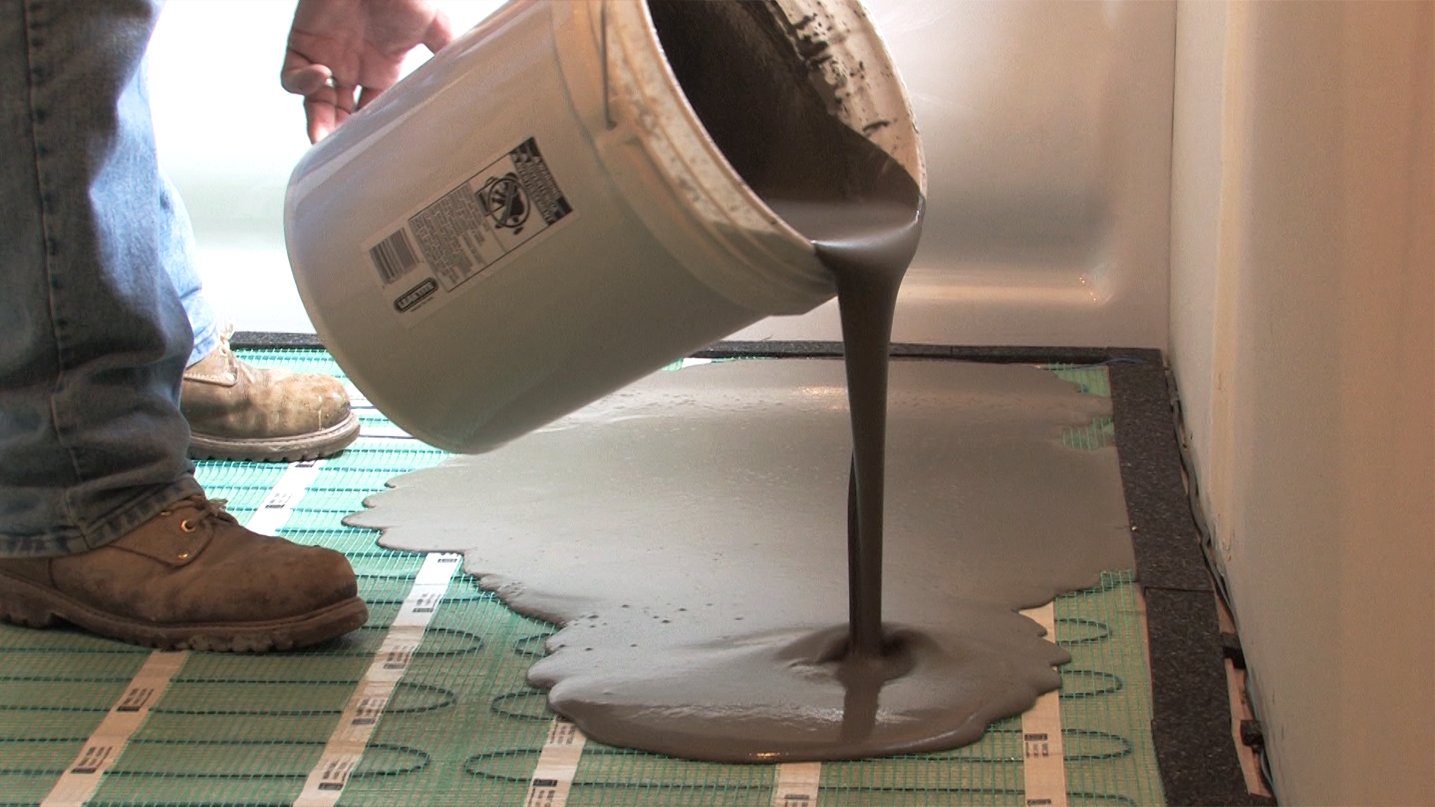
When installing a floor-heating system with self-leveling cement, you’ll need to clear the subfloor of any debris, just as you would with thinset. But then, you have to prime the subfloor to ensure that all gaps and holes are filled. This will make sure you don’t lose any self-leveling through any unprimed crevices in the subfloor. Once the subfloor is ready, you can adhere the heating element to the subfloor and wire it appropriately. Then, apply the leveling underlayment over the heating cable with a flat trowel. Allow the self-leveling time to cure as a perfectly level and smooth surface. Finally, install the finished floor using adhesive per the manufacturer’s recommendations.
Tip: Be thorough in securing the heating element to the subfloor. If it is not secured enough, it may float to the top of the self-leveling.
If you have any tips of your own to share, we’d love to hear them! Reach out to WarmlyYours on Twitter, Facebook or Instagram and let us know your adhesive trade secrets!
Have Questions About Your Project?
Our team of Radiant Experts is ready to help!
Stay Updated
Get the latest radiant heating news and tips delivered to your inbox.

