

Heated Hardwood Floors
Heated hardwood floors add invisible warmth beneath solid, nailed-down wood. TempZone™ radiant heat installs under the nailed-in hardwood, warming wood floors from below—safe for hardwood and comfortable in every season. For laminate or other floating floors, see our laminate floor heating and engineered wood guides.
Get an Instant Quote
Answer a few quick questions and we'll match you with the best floor heating system.
Jump to
Why Install Floor Heating Under Hardwood?
Nailed hardwood floors can absolutely be heated—with the right system and thermostat settings. Our TempZone products are designed for this application.
Hardwood-Safe Heating
TempZone systems deliver even, gentle heat. Keep the floor surface at or below 80°F (27°C) to prevent drying, warping, or gapping—a floor-sensing thermostat handles this automatically.
Installs on the Subfloor
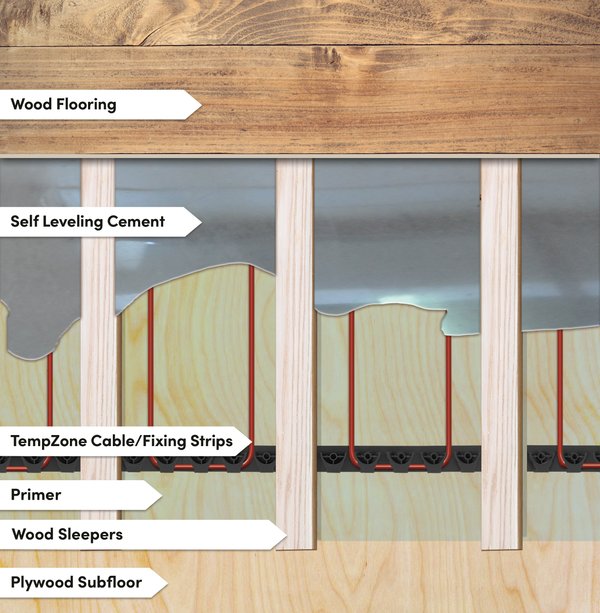
TempZone mats and cables embed in self-leveling cement on the subfloor, then hardwood is nailed down to 1- to 2-inch-wide sleepers. Heat rises evenly through the wood.
Affordable to Operate
Most zones cost just pennies per hour to heat. Use our operating cost calculator to estimate your monthly energy costs.
Silent & Draft-Free
No noisy fans or forced-air drafts. Radiant heat rises evenly from the floor—consistent warmth without disturbing the air.
Clean & Energy Efficient
No ductwork means no circulating dust or allergens. Radiant heat warms objects directly and is more efficient than forced-air systems.
24/7 Expert Support
Free SmartPlan™ with every quote—typically within 1 business day. Plus 24/7 installation support, fast shipping, and an industry-leading warranty.
Hardwood Floor Heating Customer Reviews
We take pride in providing both exceptional service and great products. But don't just take our word for it, check out what some of our customers have had to say.


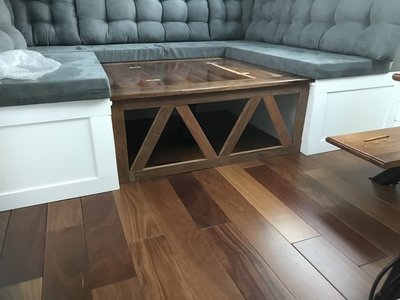
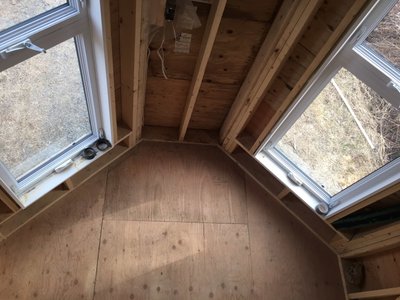
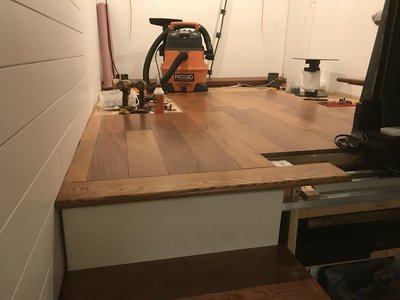
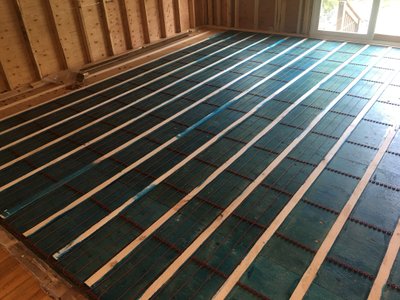
Installing Heated Wood Flooring
Installing heated hardwood flooring can be done by the homeowners themselves or by a professional installer. WarmlyYours provides free design help to create a plan to install your heated wood floors, and, in most instances, orders are shipped the same day they are received, so you'll be able to appreciate the advantages of radiant heating systems sooner than you thought possible.
A successful installation considers: the strengths, weaknesses, and heating compatibility of the hardwood flooring; the true humidity and moisture content of the room; and the quality of the installation of our TempZone heating system to ensure many years of comfortable enjoyment in your home.
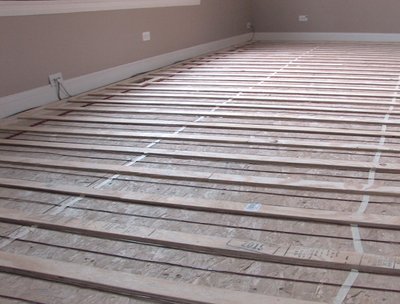
Electric radiant heating can be installed under compatible solid, nailed-down hardwood floors when installed according to the flooring manufacturer's requirements. For hardwood floors, WarmlyYours recommends that our TempZone™ Floor Heating Cable be installed with fixing strips. The instructions for installation are straightforward, but there is also 24/7 technical support available if you need more assistance. Thin wood sleepers are laid down on the subfloor to create channels for laying out the heating cable and fixing strips, which are then embedded in self-leveling cement. The wood flooring is then nailed to the sleepers to complete the job.
Step-by-Step Installation
- 1 Determine Flooring Direction Determine flooring direction perpendicular to sleeper direction.
- 2 Install Sleepers Lay thin wood sleepers on the subfloor to create channels for the heating cable and fixing strips.
- 3 Prime the Subfloor Prime the subfloor per the self-leveling cement recommendations.
- 4 Install Fixing Strips Secure fixing strips in the sleeper channels per your SmartPlan layout.
- 5 Lay Heating Cable Lay out TempZone Floor Heating Cable in the channels, securing it to the fixing strips at proper spacing.
- 6 Test System Test the heating cable with an ohmmeter—check resistance before, during, and after installation.
- 7 Fill with Self-Leveling Cement Fill the channels with self-leveling cement, embedding the cable and creating a level surface.
- 8 Nail Down Hardwood Once the self-leveling cement has cured, nail hardwood flooring to the sleepers.
- 9 Connect Thermostat Install the thermostat and connect the wiring according to the manufacturer's instructions, configure floor-sensor control, and set maximum floor temperature to 80°F (27°C).
How Much Does Hardwood Floor Heating Cost?
For nailed or glued-down hardwood, TempZone heating products cost $5–$12 per square foot depending on the system you choose. Flex Rolls cover large areas quickly, while cables with fixing strips offer more flexibility for irregular layouts. A 200 sq.ft. living room with about 140 heated square feet would cost between $700 and $1,680 for heating materials plus a thermostat ($100–$250).
Hardwood floors conduct radiant heat well. For this application, use the thermostat's floor sensor to limit the floor temperature to 80°F (27°C). Operating costs are modest—usually $0.15–$0.35 per hour for a living room zone. Use the calculator below to estimate your costs.
Operating Cost Calculator for Floor Heating
Estimate your daily and monthly energy costs based on room size and local rates.
ft²
¢/kWh
Estimated Cost
$0.21
per hour
$0.85
per day
$25.50
per month
Free SmartPlan
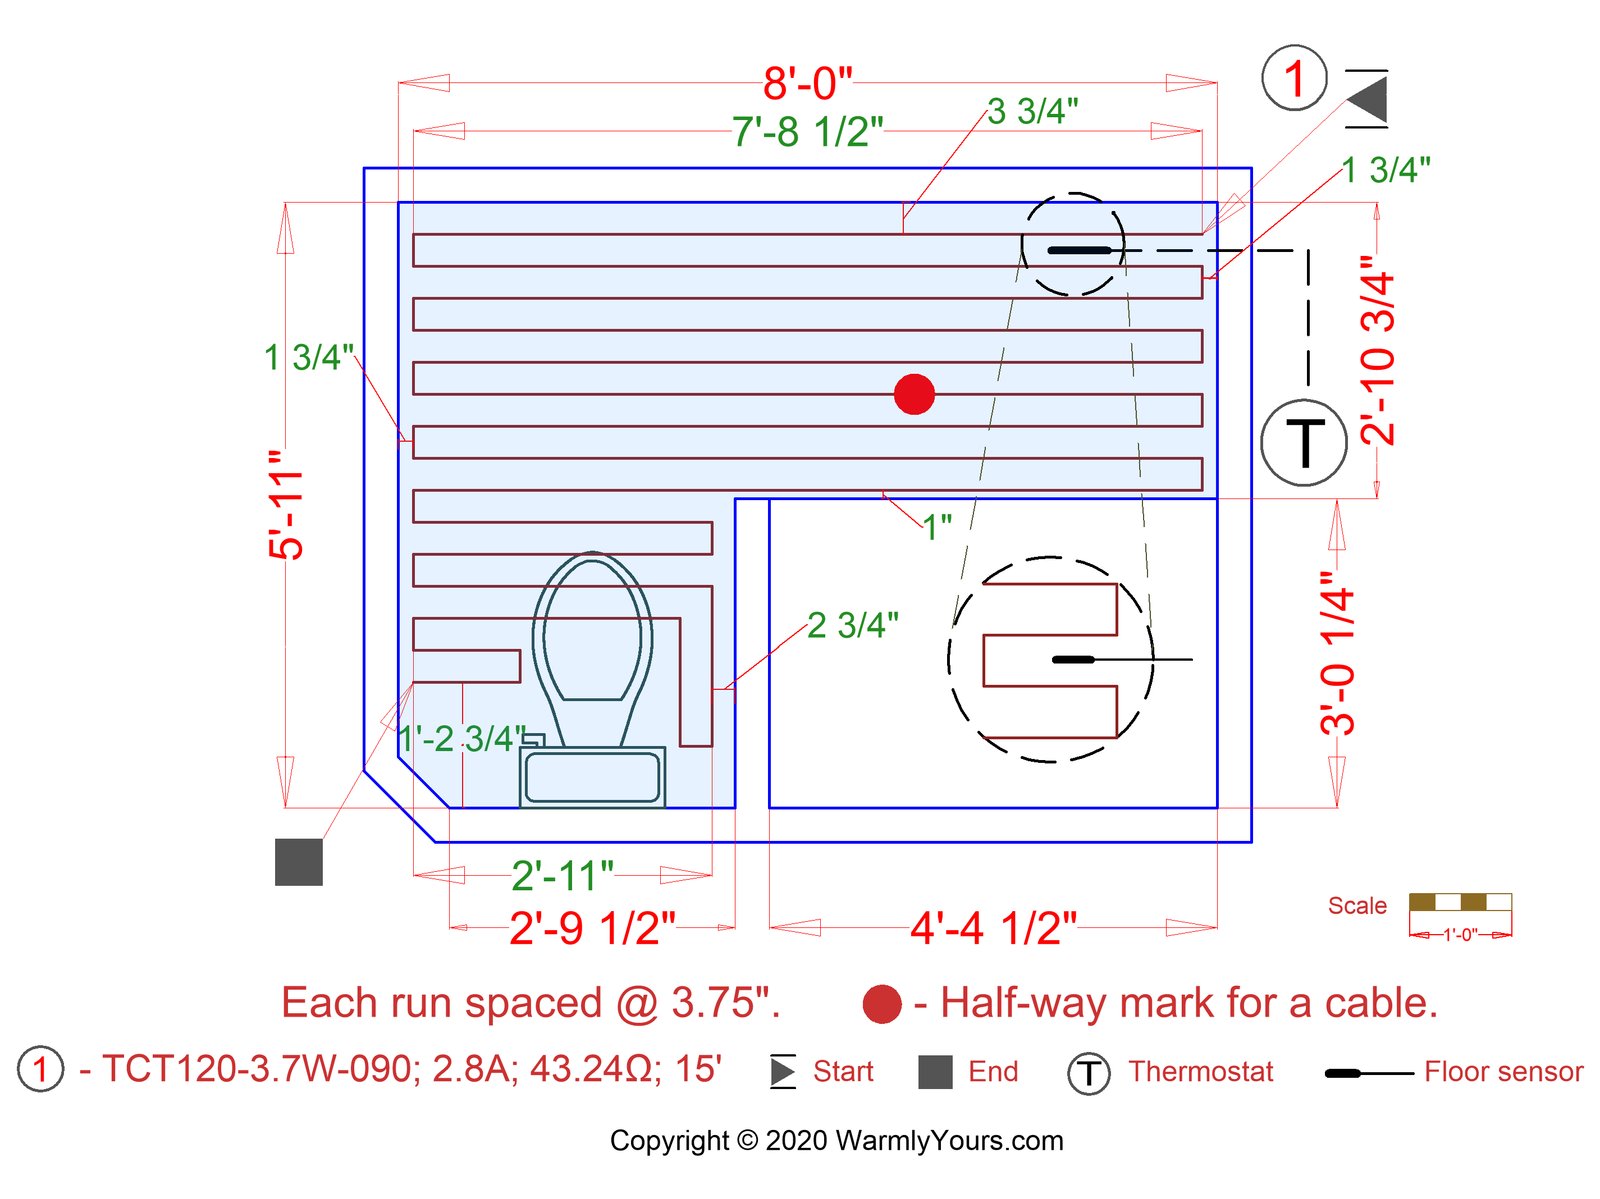
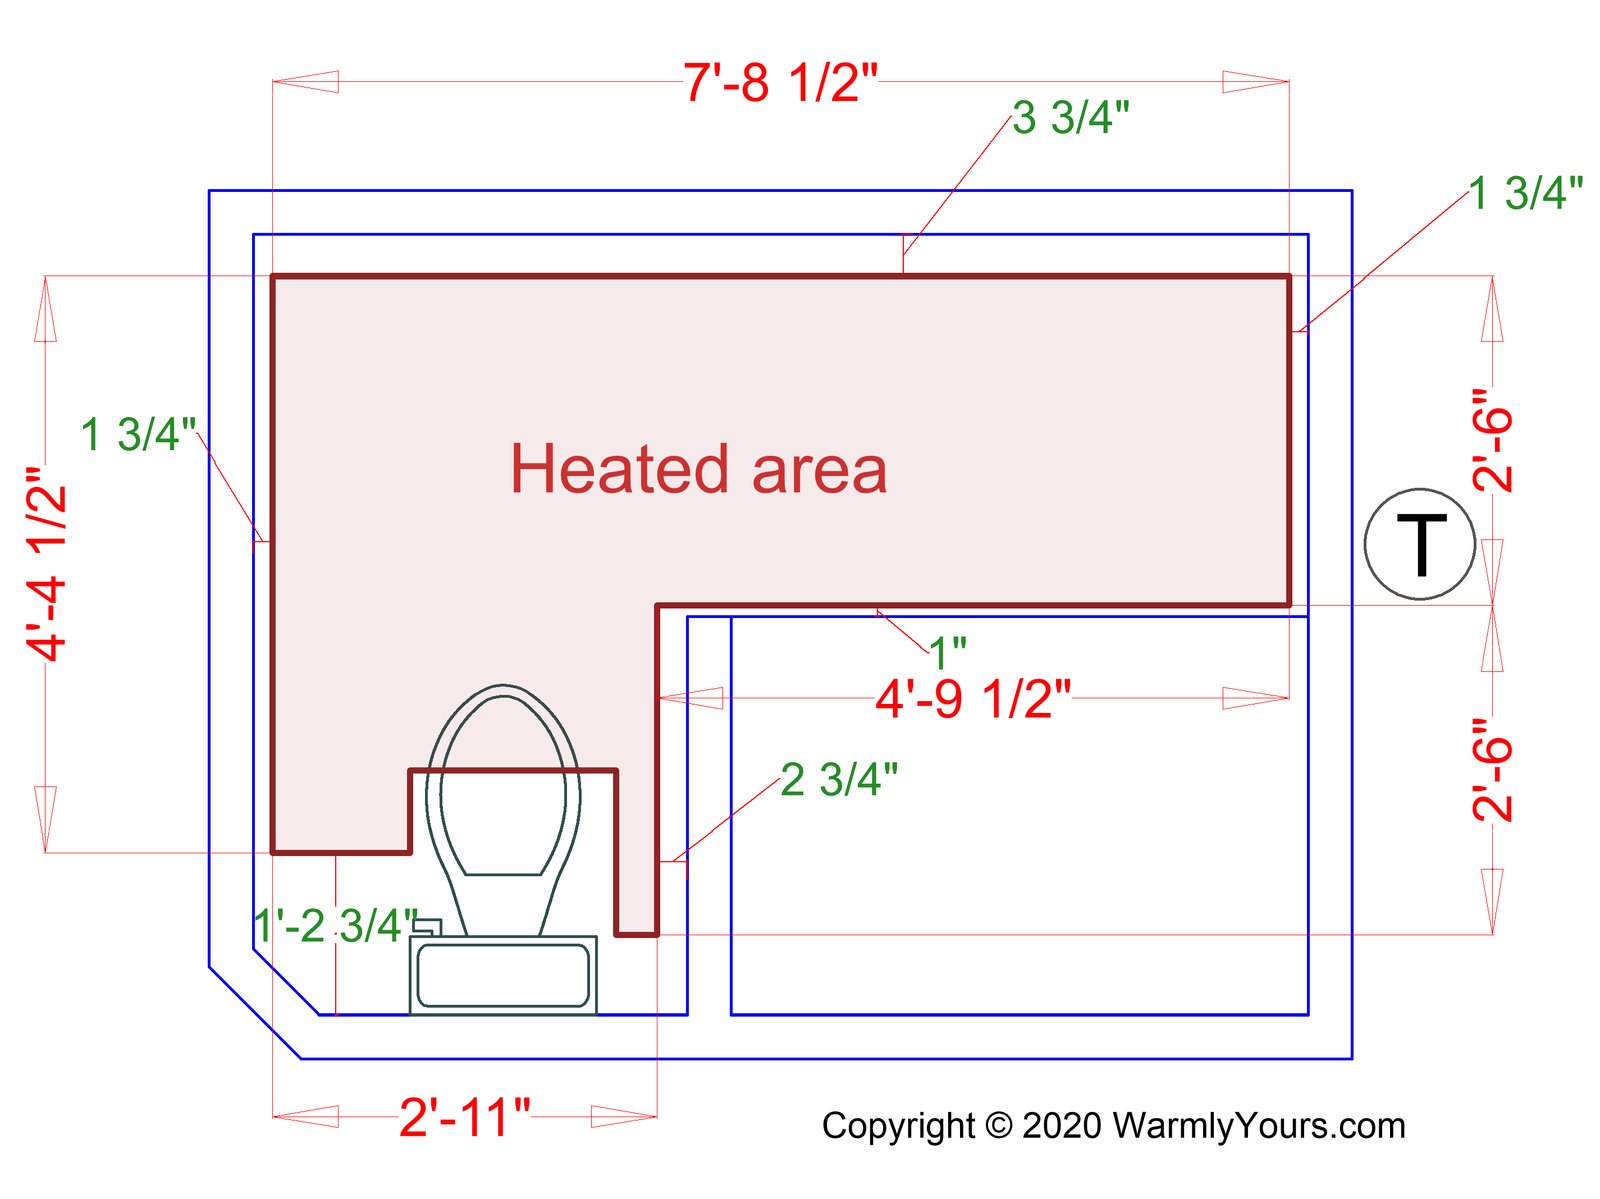
Get a custom installation plan for your hardwood floor in just 1 business day.

"I'll create a custom installation layout showing exactly where your heating elements go, plus a complete materials list with pricing."
Heating Solutions
Snap-In, Secure, and Heat
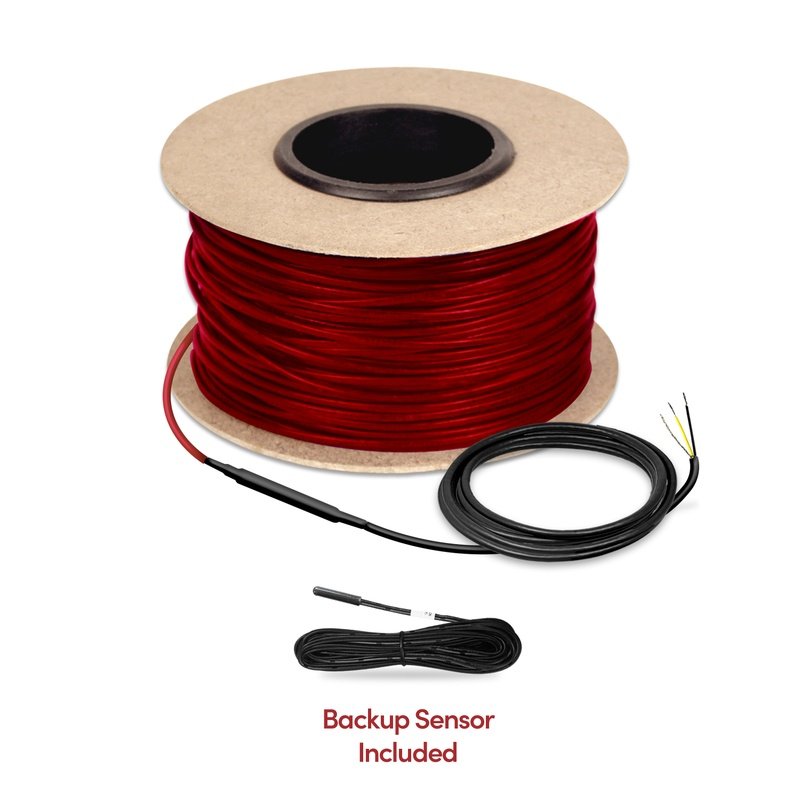
TempZone™ Cable is ultra-low EMF by design and is available in two voltage options and a range of lengths to meet the requirements of any installation.
Features
- Works under tile, stone, and luxury vinyl floors
- Provides radiant heat and crack isolation
- Flexible layouts for irregular or custom-shaped rooms
- 25 Year Warranty
- 9-15 Watts Per Sq. Ft
Roll Out, Cut, and Fit
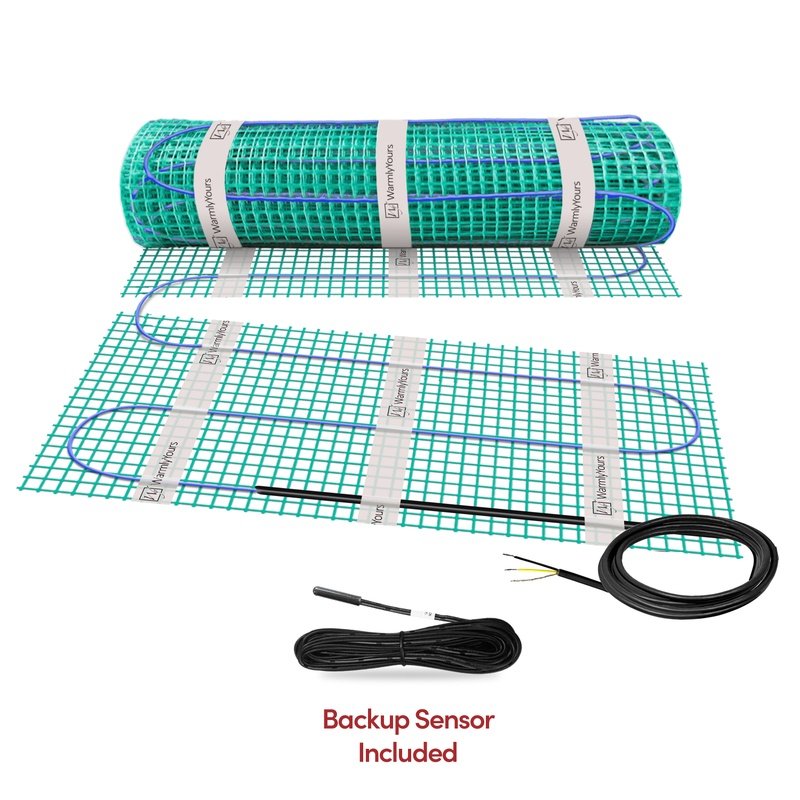
TempZone™ Flex Roll installs underneath ceramic tile, natural stone, hardwood, wood, and other popular flooring materials, giving homeowners radiant in-floor heating that's truly luxurious.
Features
- Ideal for full-room coverage (primary or supplemental heat)
- Pre-spaced heating cable for fast, consistent installation
- Most popular choice for bathrooms & kitchens
- 25 Year Warranty
- 15 Watts Per Sq. Ft
- Sleepers spaced greater than 18" apart leave room for a mat — use TempZone™ Flex Rolls instead of cable.
We've Got Your Back: A Backup Floor Sensor
Every complete WarmlyYours floor heating system—TempZone™, Environ™, or Slab Heat—ships with two floor sensors: one with the heating mat or cable and one with the thermostat. Install the backup right beside the primary sensor and run both leads to the thermostat box, but connect only the primary; the backup stays disconnected until it is needed.
The floor sensor lives under your tile, wood, carpet, or concrete, where it tells the thermostat how warm the floor really is. If that sensor is ever nicked during installation or fails years down the road, replacing it would normally mean tearing up the finished floor.
With the backup already embedded in the floor, the fix takes minutes: turn off power at the breaker, disconnect the original sensor at the thermostat, connect the backup, and your heat is back on. No torn-up floor, no new flooring, no second installation. Follow your thermostat's instructions, or have a qualified electrician make the swap.
Installer tip: Install both sensors side by side, centered between the heating wires, and test each one for 8–15 kΩ before covering the floor. For Slab Heat, place the sensors in capped 3/4″ rigid metal conduit between cable runs, clear of the heating cable, as the Slab Heat installation manual describes.
Follow Your Flooring Manufacturer's Limits
Unlike tile or stone, a nailed-down hardwood floor is not heated to whatever temperature feels best — it is heated to whatever the wood manufacturer permits. That figure varies by manufacturer and by species, so the warranty documentation for your specific flooring product is the only reliable source for it. Confirm the maximum floor temperature before the system is designed, and use a thermostat with a floor sensor set to floor mode so that limit is enforced continuously rather than left to room temperature.
Ask the flooring manufacturer for three numbers, not one:
- The maximum floor temperature.
- The relative humidity range the floor must be kept within — the requirement most often overlooked, and the one most likely to cause trouble.
- The maximum daily temperature differential — some manufacturers allow the floor to change by only a couple of degrees per day, particularly at seasonal start-up and summer shutdown.
That last figure has a practical consequence. If your flooring carries a tight daily range, the default comfort and economy setbacks on a programmable thermostat may swing the floor further each day than the manufacturer allows. A non-programmable thermostat held at a single constant temperature is often the better choice — a steady floor expands and contracts less than one that cycles up and down daily.
Confirm the mechanical details before installation too: the required nail spacing, whether the product is approved to be nailed, glued, or both, and whether that specific product line is approved over embedded floor heating. Not all lines are, though some manufacturers rate their entire hardwood range for it. Finally, cupping, gapping and checking are almost always the result of incorrect indoor relative humidity rather than the presence of floor heating — even though the heating system is usually blamed first. Most homes with heated hardwood need humidification in winter and dehumidification in summer to stay inside the manufacturer's stated range and keep the warranty intact.
For the installation itself, see our step-by-step guide to radiant heat under nailed hardwood floors.

Videos
Documents

PDF

PDF

PDF

PDF

PDF
Nailed Hardwood Radiant Floor Heating Posts








Frequently Asked Questions
Showing all 9 questions
Yes. Because nails must penetrate the subfloor, the heating element cannot be laid directly under the boards. Instead, wood sleepers are fastened to the subfloor and TempZone™ heating cable is run in the channels between them, so the nails land in the sleepers and never touch the cable.
Yes. Always control heated hardwood with a floor sensor rather than an ambient air sensor. Only a floor sensor can enforce the 80–85°F surface limit that protects the wood. Air-sensing control lets the thermostat keep calling for heat and can push the floor past the manufacturer’s maximum temperature.
Sleepers are strips of wood (typically plywood or furring the same thickness as the heating element build-up) screwed to the subfloor in rows. Heating cable runs in the open channels between them. The hardwood is then nailed down into the sleepers, giving the fasteners a safe target away from the cable.
Keep the total distance from the heating element to the top of the finished floor between 1” and 1.5”. Solid 3/4” hardwood works well within that range. Thicker assemblies insulate the heat, slow response time, and force higher operating temperatures to reach the same comfort level.
Choose dimensionally stable species that move least with changes in moisture — such as American cherry, walnut, mesquite, or quartersawn oak. Avoid wide plank widths and less stable species like hickory and beech. Engineered hardwood is the most stable option overall; for solid nailed floors, species choice matters most.