In This Article
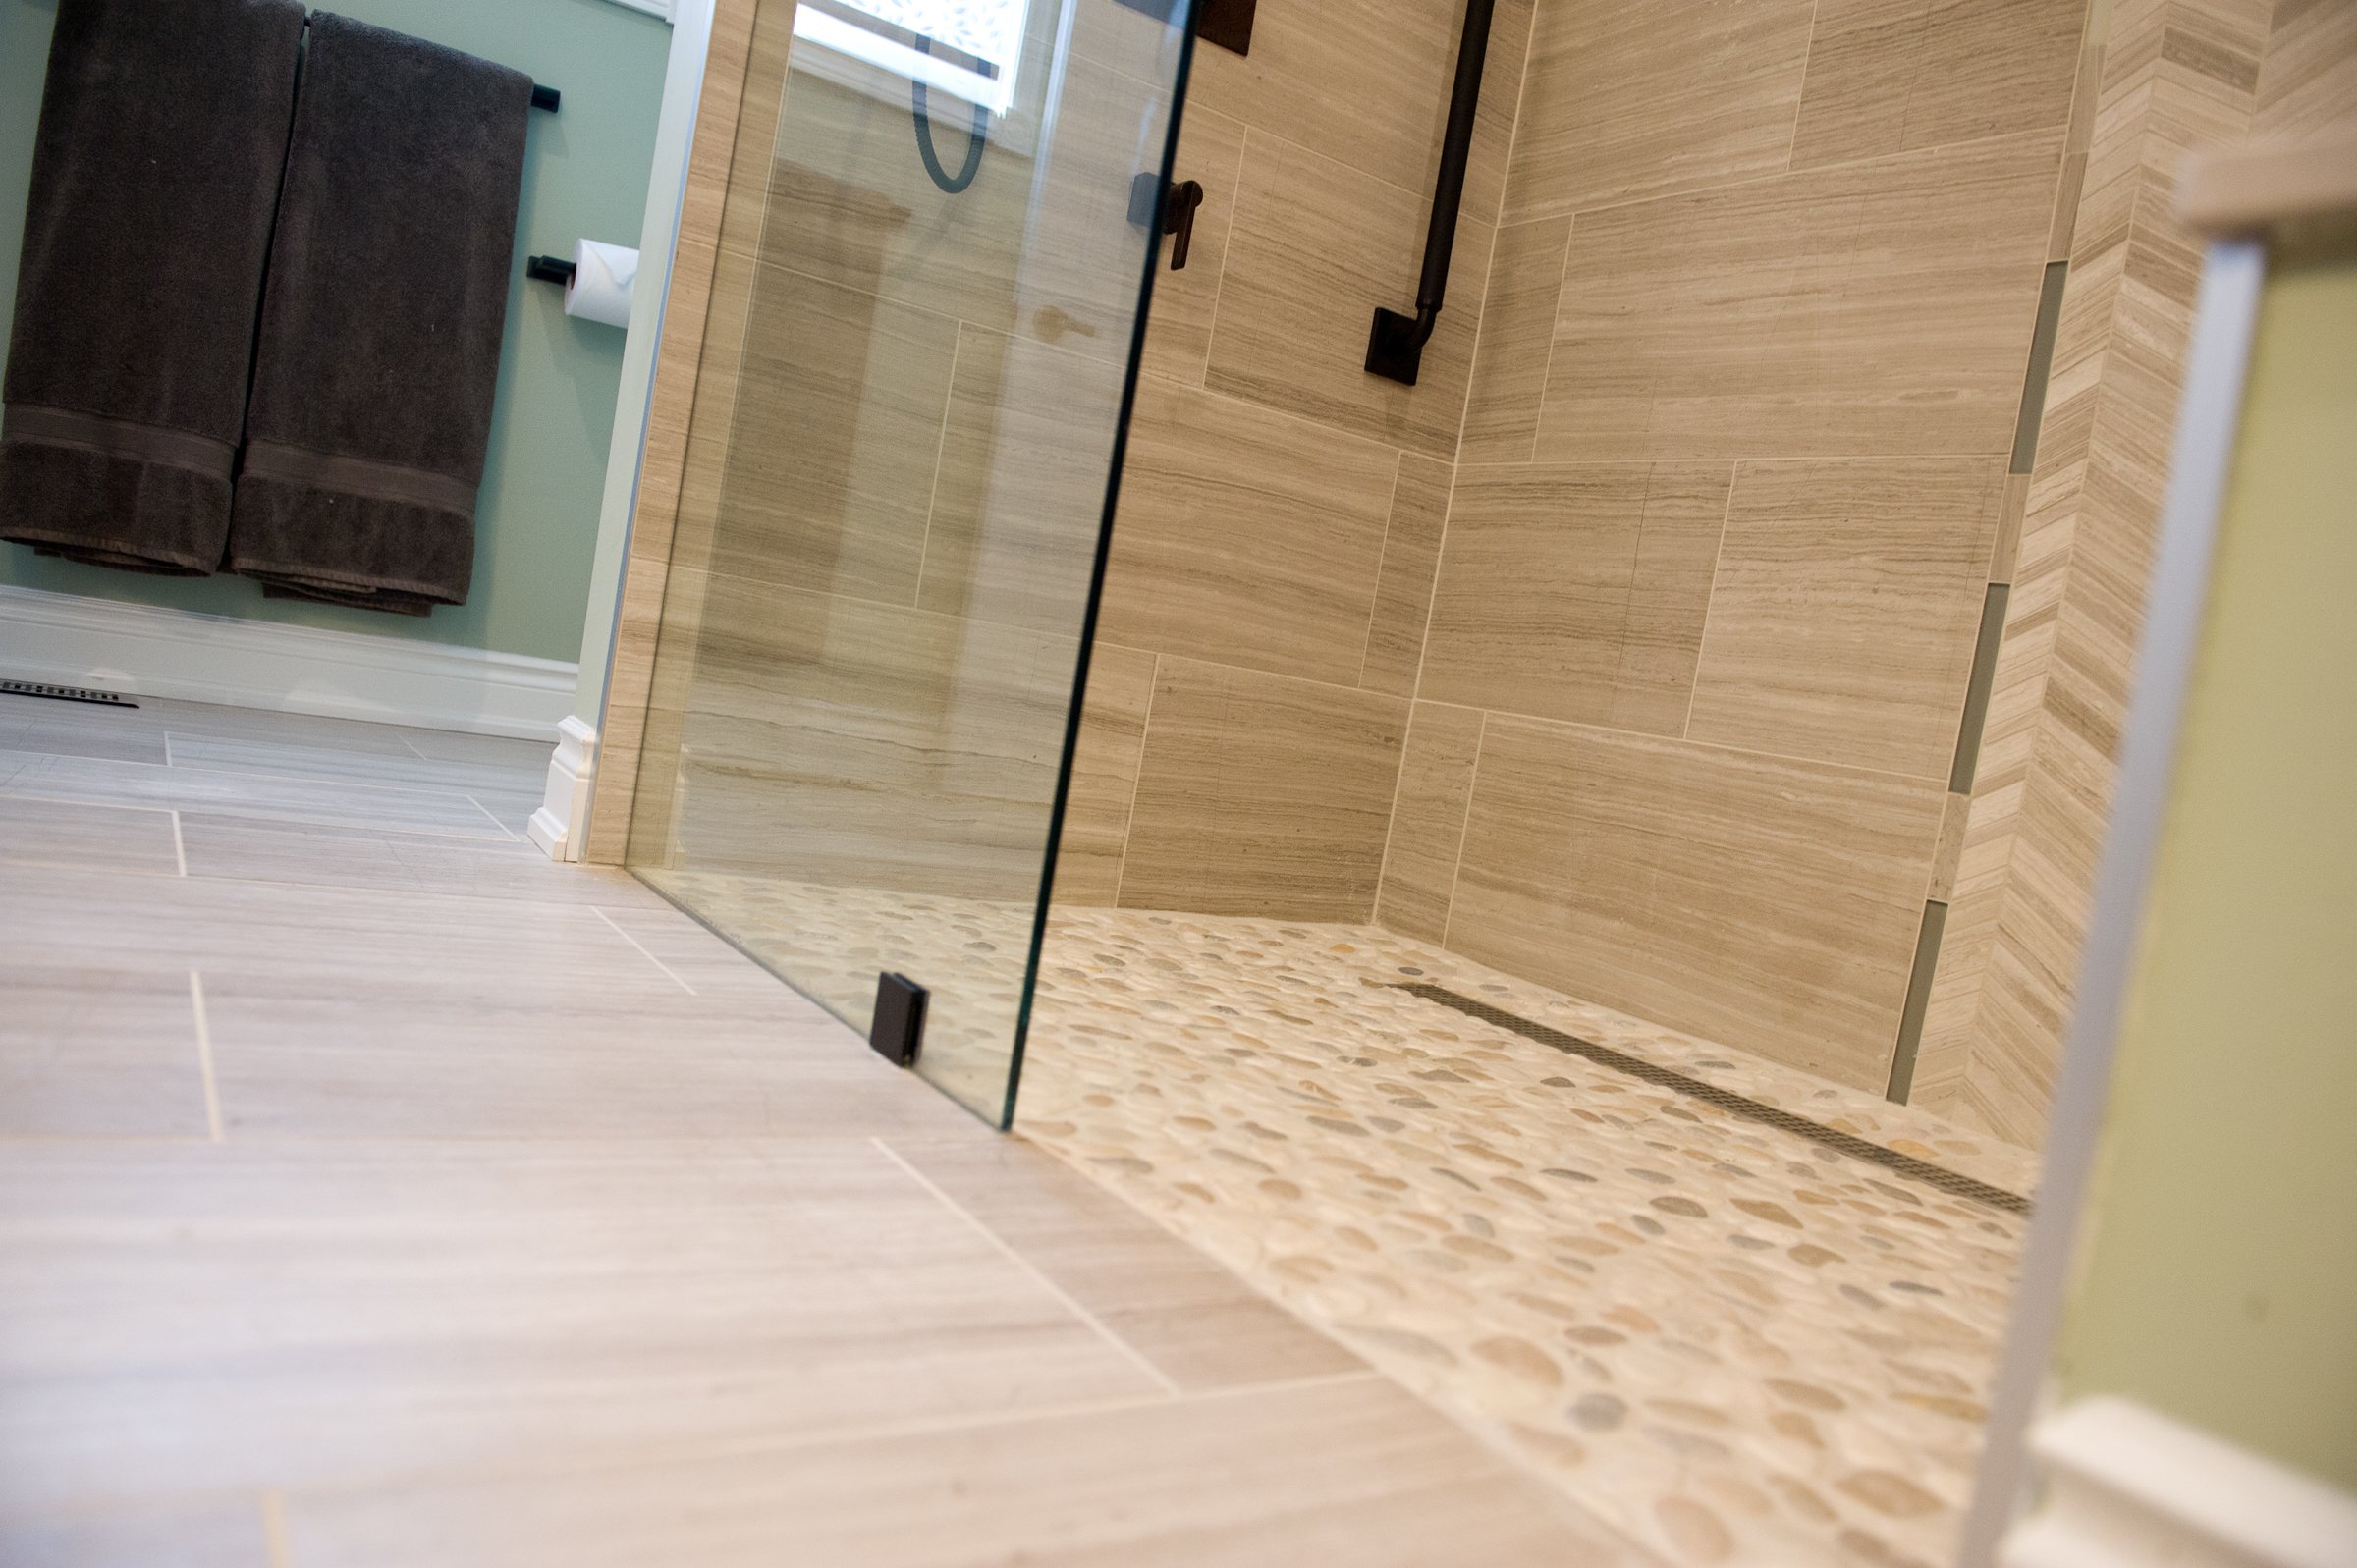
Many people associate heated floors with the comforting warmth of a tiled bathroom. Although the bathroom is the most popular room in which to install radiant heated floors, the possibilities go well beyond that. Enjoy radiant heat in any room of your home, even beneath the timeless elegance of nailed hardwood floors. You might be surprised to learn that you can actually use radiant heat in any room of the home and under nearly any flooring type!
Why Choose Radiant Heat for Wood Floors?
Beginning the journey to install radiant heat under a wood floor is more than just a practical decision; it is a choice that perfectly blends practicality and luxury. Contemplate the warmth and comfort that will saturate every inch of your living area, rather than the usual association with bathroom tiles. Discover the unmatched beauty and timeless appeal of radiant heat beneath the elegance of nailed hardwood flooring.
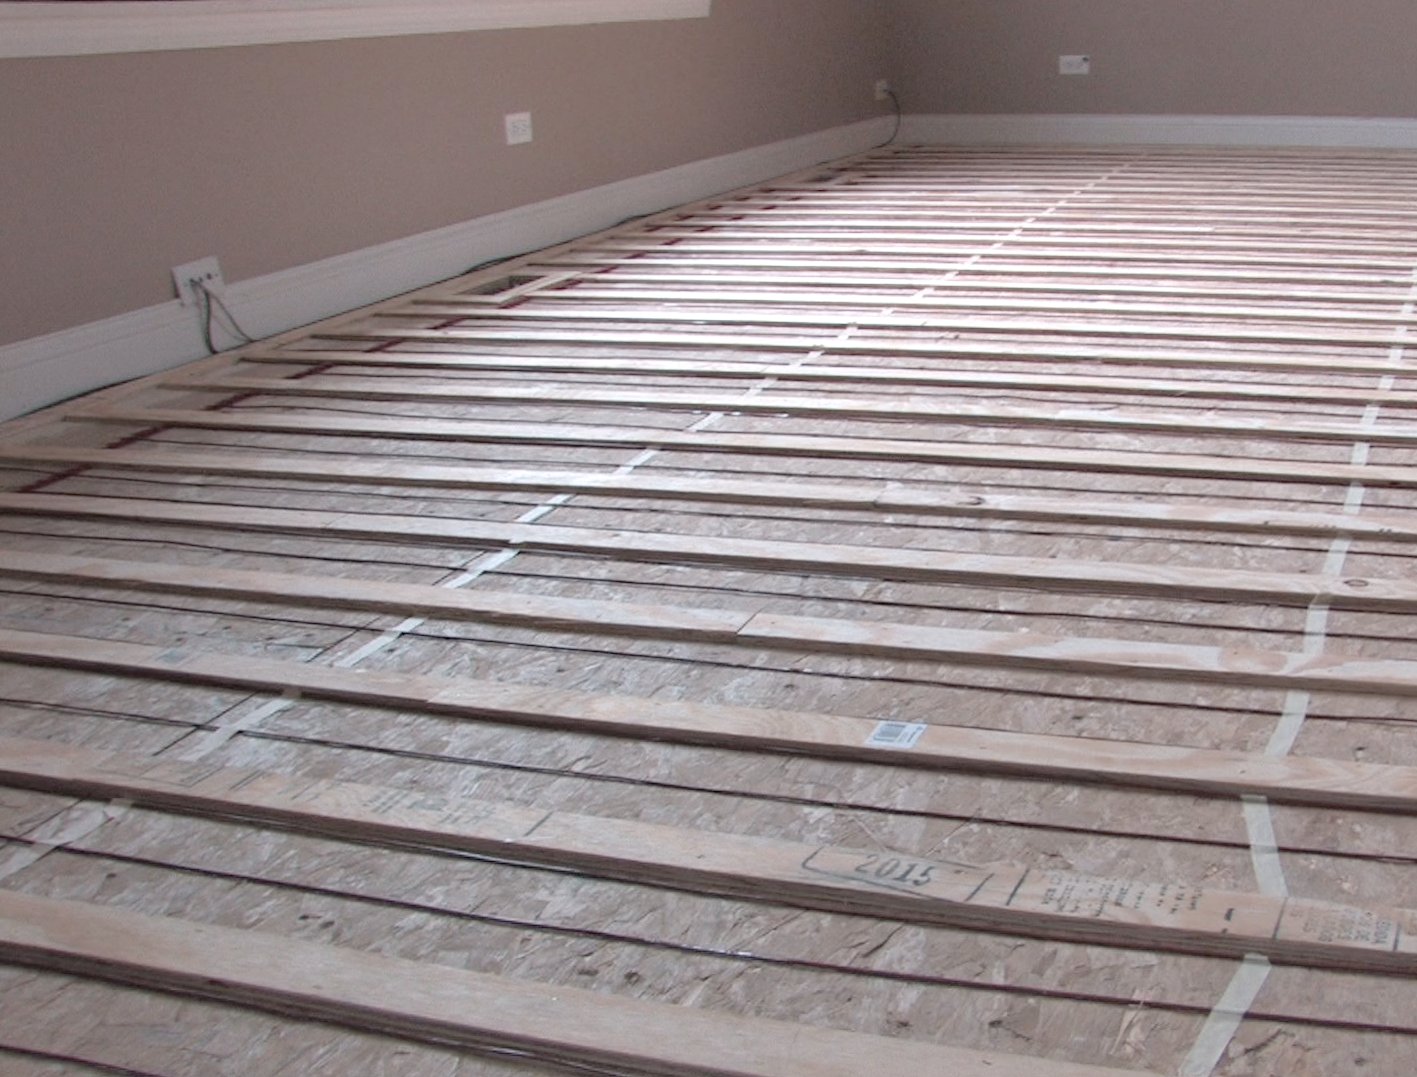
- Install Wood Sleepers:
- The first stage in putting radiant heat under hardwood floors is strategically placing wood sleepers. The infrastructure for the warming system build has these narrow strips that meet the manufacturer's nail spacing criteria.
- Installing radiant heat under wood floors can be challenging. A subcontractor ought to authorize the wood flooring you select for radiant heat. Share your nail spacing specifications with WarmlyYours to get a personalized SmartPlan.

Can You Put Underfloor Heating Under Engineered Wood Floors?
Absolutely! Radiant heat's versatility extends effortlessly to engineered wood flooring. The installation method is the same whether you select natural hardwood or engineered wood. The key is careful planning and following manufacturer requirements for the flooring and the radiant heating system.
- Selecting the Right Heating Element:
- Delve into the extensive offerings of WarmlyYours' TempZone™ line, approved for radiant heat beneath wood floors. The efficiency is unparalleled whether you use TempZone™ Flex Rolls or Cable.
- This option extends to engineered wood floors, ensuring an uninterrupted and pleasant warmth, matching engineered wood's superior design.

How to Install In-Floor Heating Under Wood Floors
Navigating the installation of in-floor heating under wood floors demands precision and expertise. Start by carefully arranging the wood sleepers according to the specifications of the flooring and heating system you have selected. Continue with the heating element's precise placement and the application of self-leveling cement. These procedures guarantee a faultless installation that maximizes both functionality and comfort.
- Lay Out the Heating Element:
- Whether you opt for TempZone™ Flex Rolls or Cable, the installation process remains straightforward. Subcontractors must roll out a heating element between the sleepers to provide a snug fit. An ideal heating experience is ensured by following the same careful procedure when installing beneath engineered wood.
Can You Put Heated Floors Under Hardwood?
Indeed, the attractiveness of heated floors dissolves all limitations of the natural beauty of hardwood. Radiant heat blends perfectly with hardwood, giving your living space a layer of comfort and sophistication. The techniques for putting under nailed hardwood floors are the same as for installing traditional hardwood, creating a pleasant sanctuary in any homeroom.

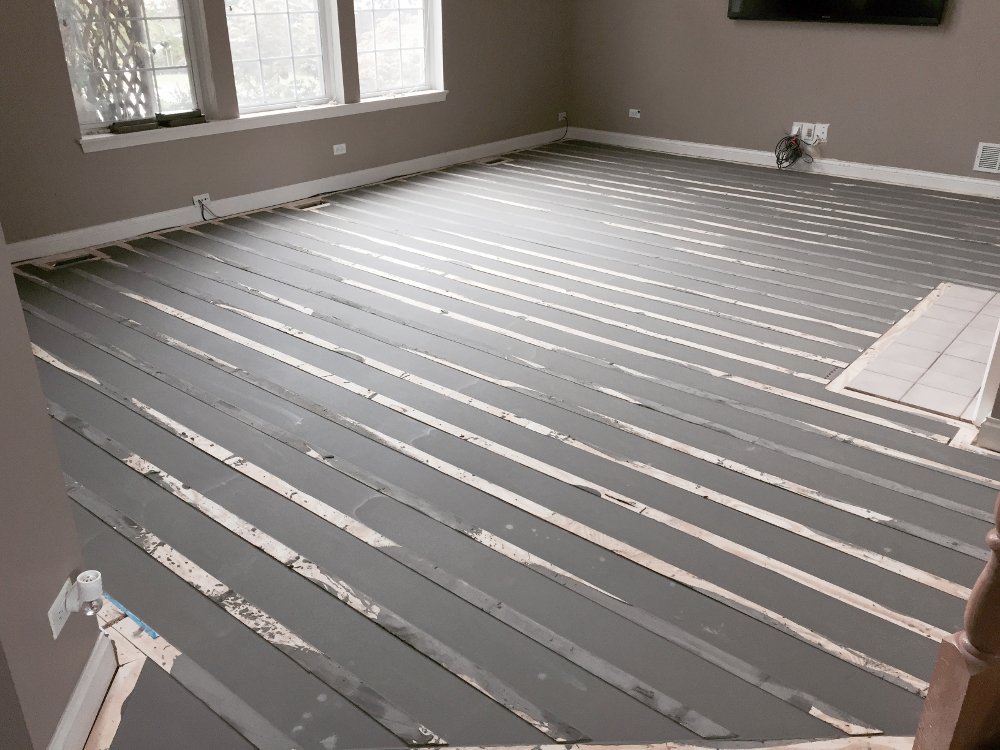
- Cover the heating element with self-leveling cement.
- Following the installation of the heating element, the critical step of applying self-leveling cement guarantees an even surface. This process is essential for safety and efficiency in traditional hardwood and engineered wood installations.
How to Install hardwood flooring.
- Once the cement has dried and cured, it’s time to install your hardwood floors! As you lay the hardwood plank by plank, nail it into the wood sleepers below. Note: Be sure to nail straight down into the sleepers. If the nails go through the sleeper at an angle, there is a chance they could pierce the heating cable. If you do accidentally nick the heating cable, don’t worry — all of your hard work hasn’t been in vain. The cable can be repaired with our splice kit, but it will save you a lot of time and effort if you’re extra careful during this last step.
Installing radiant heat under wood floors may appear complicated initially, but it becomes a gratifying project with the appropriate information. Integrate this exquisite heating system to improve the comfort of your home.
Ready to begin your radiant heat project?, contact sales@warmlyyours.com for a personalized installation plan. Prepare for a smooth process using the tools recommended by WarmlyYours, all accessible for evaluation - here.
If you need assistance during installation, contact WarmlyYours' technical support team at 800-875-5285, available 24/7. We're here to ensure the success of your radiant heat under a wood floor project from start to finish.
Have Questions About Your Project?
Our team of Radiant Experts is ready to help!
Comments
Stay Updated
Get the latest radiant heating news and tips delivered to your inbox.


I just read your installation method for naildown hardwood floors over the sleeper floor and I'm wondering if you have read the installation guidelines on nailing down hardwood flooring and/or have consulted the National Wood Flooring Association? According to a Wood Flooring installation guide I have, provided by National Flooring Products, when nailing or stapling a hardwood floor it must be stapled every 3-4" along the tongue. I don't see how this is possible when the sleeper planks are spaced apart every 19". This may be a good method for a floating engineered hardwood but doesn't fall in the guidelines for stapling down. If the stapled or nailed down floor doesn't have fasteners every 3-4 inches there will be deflection of the planks causing squeaking and popping of the tongue and groove. Furthermore, there are many wood species that are not approved over radiant heat flooring. I suggest you do some more research so there aren't any installation fiasco's should someone actually use the method you describe above.
When I installed red oak tongue and groove directly on a plywood subfloor I used rosin paper or felt paper as underlayment. In this installation, do you lay rosin paper or felt over the sleepers/radiant heat? Or do you install t&g directly to the sleepers/radiant heat?
Thanks for the questions, Jason. Typically, you would install the tongue and groove flooring directly over the sleepers and embedded electric floor heating cable without either rosin paper or felt paper in-between. Here's a great video showing the entire process: https://www.warmlyyours.com/video-media/how-to-install-tempzone-cable-under-hardwood If you have any other questions, feel free to chat us or give us a call at 800-875-5285
Thanks for the questions, Jason. Typically, you would install the tongue and groove flooring directly over the sleepers and embedded electric floor heating cable without either rosin paper or felt paper in-between. Here's a great video showing the entire process: https://www.warmlyyours.com/video-media/how-to-install-tempzone-cable-under-hardwood If you have any other questions, feel free to chat us or give us a call at 800-875-5285