Floor Heating for Luxury Vinyl Flooring
Follow our detailed guide and learn how to install a floor heating system for a basement with Luxury Vinyl Tile flooring.
What is Floor Heating?
All radiant heating systems rely on a thermal mass. The heat moves from the source (Heating Element) into a thermal mass (thin-set) and spreads out and warms the floor without creating an excessively hot spot. In the WarmlyYours Floor Heating System the thin-set and/or self-levelling cement acts as a thermal mass. It is important to follow the installation guidelines to create a proper thermal mass.
Learn More About Floor HeatingStart Smart with a Free SmartPlan
Perhaps the most important stage in installing a floor heating system is getting a good installation plan.
WarmlyYours provides a free, no-obligation SmartPlan that includes an installation plan, an electrical plan, and an itemized quote, all of which is prepared by a highly skilled team of engineers.
All you have to do to take advantage of this service is to provide WarmlyYours with a sketch of the project that includes dimensions and other relevant information, like where power will be most readily accessible.
The WarmlyYours Floor Heating System must not be installed under cabinets or plumbing fixtures that will be permanently installed and attached to the floor. Built-in cabinets and other furniture or fixtures with solid bases must not be placed on the heated portion of a WarmlyYours system. Additionally carpets or area rugs thicker than 3/4” should be avoided, as they act as an insulator over the heated area, reducing the efficiency of the installation.
Request a Free SmartPlanWhen to Install a Floor Heating System in a Basement
Because floor heating is installed beneath the floor covering (or within a concrete slab), the best time to install radiant heating in a basement is either when the basement is being built during new construction or when it is a part of a remodel where the pre-existing floor is going to be replaced.
If you're building a new construction project, we recommend embedding our Slab Heating Mats or Slab Heating Cables within the cement slab itself. You'll want to install the heating mats so that they are between 2" to 3" from the finished flooring surface and you won't want to use any floor coverings or underlayments with a high degree of thermal resistance or the performance of the heating system may be negatively impacted.
For remodeling projects, like the one featured in this design guide, a heating element is installed above the cement slab but below the flooring surface.
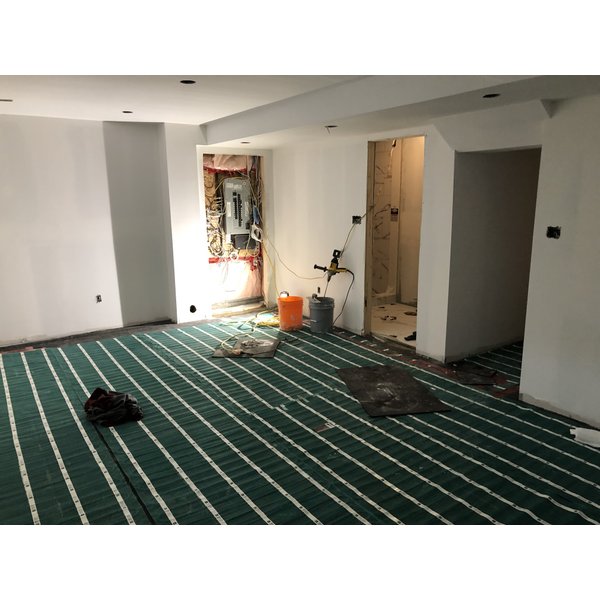
About This Project
- 6 year old fully detached home with an unfinished basement. As the family extended (2 dogs and 2 boys with one newborn, it was time to expand.
- Rather than looking to purchase a larger home, they decided to finish the basement and create more space for a home office, guest bedroom, bathroom and play room.
- Floor heating was the perfect solution for several reasons:
- No other source of heat available downstairs
- Basement concrete floors make the room really cold all year long, which is a plus in the summer but a nightmare in the winter
- The space should be designed for spending quality time with family and pets, and we all know they love spending time on the floor barefoot
- The home office is going to be used daily and there is a need to have a space that is comfortable to live and work in
- Designing the basement by dividing the space into 3 sections: Play Room, Hallway/Bathroom/Office and Office/Bedroom
GTA Basement Experts were picked to complete the job. After taking measurements and discussing the purpose of the spaces, the design was finalized.
How Do WarmlyYours Experts Help With Floor Heating Projects?
The final floor plan is passed on to our team of experts at WarmlyYours in order to provide a customized layout for the project. That will help us assist not only the installation on site but also provide all vital information for the electrician and the floor installer.
Understanding the purpose of the rooms is critical in order to make the best choice possible in products. In this particular scenario we know that:
- The owners want to make it a place to spend quality time together with pets and children in all areas
- There is no other source of heat available
In addition to that, we will need to know what application we are dealing with. In this scenario:
- The basement has a concrete floor and is located on the ground level
- The owners chose a durable LVT (FUZION Flooring) that is floor heat compatible and water resistant for the play room and the office/bedroom and tile for the bathroom
How to Choose LVF for Radiant Heat
Here's a few things to consider when choosing luxury vinyl flooring for your project:
- Try to find LVF with no or minimal backing
- If there is a foam/rubber/cork backing, you may want to remove this to improve the efficiency of your floor heating system
- Look for an assembled plank with an R-value of less than 1
- Check the warranty of your flooring choice: Is it compatible with radiant floor heat? What is the maximum temperature?
Design Recommendations
- We recommend full coverage considering the use of the rooms on daily basis
- Because of the need of primary heat we will use our TempZone™ Flex Roll for this application, which carries 15 watts per sq. ft., perfect to be used as a primary source of heat
- Because this is on a slab and we want the maximum heat, we will also recommend the use of ThermalSheet underlayment
- We will divide each section with its own thermostat for optimized control of each area
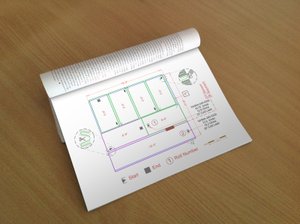
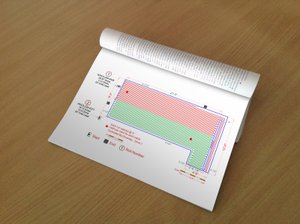
WarmlyYours SmartPlans for This Project
Electrical Requirements
Once the plans were ready, it was time to meet with the contractor and the electrician to highlight each component of the install and to make sure we were complying with Canada’s National Electrical Code.
Here are the most important items that were reviewed:
- Spacing of the heating element from the wall: as per CEC, you must stay away 3” from the wall for any floor heating install in the basement
- The floor plans really help us provide a visual on the install and verify we are in compliance
Electrical components:
- Voltage needed
- Positioning of the thermostats
- Size of the wires
- Size of the breakers
Thanks to WarmlyYours Electrical plans, we were able to answer all these questions right away, as each electrical plan is tailored for each room.
WarmlyYours Electrical Plans for This Project
Installing the Floor Heating System
Materials needed:
- WarmlyYours Floor Warming Rolls
- Thermostat with Sensor Probe
- Custom Design Layout (provided no charge with quote)
- Digital Ohm Meter
- Circuit Check (sold separately)
- Scissors
- Staple Gun or Hot Glue Gun
- Duct Tape
- Modified Thinset Mortar
- Self Leveling Cement (if applicable)
- Flat Rubber Trowel, Square Notched Trowel
Step 1. Insulation – Proper Heat Retention

When WarmlyYours floor heating systems are installed on a concrete slab, we strongly recommend adding a layer of insulation to the slab prior to installing the radiant floor heating system, since the slab will always act as a “heat sink.” Some of the heat that would otherwise be transferred to the flooring surface will remain in the slab, causing the floor’s surface temperature to be considerably lower. This is true with any floor heating system. Adding insulation on top of the slab and beneath any floor heating system will allow a greater percentage of the heat generated to transfer to the flooring surface. This leads to greater efficiency and therefore faster warm up times, higher expected surface temperatures, and lower energy usage.

WarmlyYours offers 2 different insulating underlayments: ThermalSheet and cork. ThermalSheet is a synthetic cork material and has twice the R-value of cork. Due to its higher level of thermal resistance, ThermalSheet is the underlayment that we typically suggest for installing floor heating on top of a slab.
Cork is an economical alternative to ThermalSheet. It is made of natural materials.
Step 2. Dry Fit / Cutting & Turning
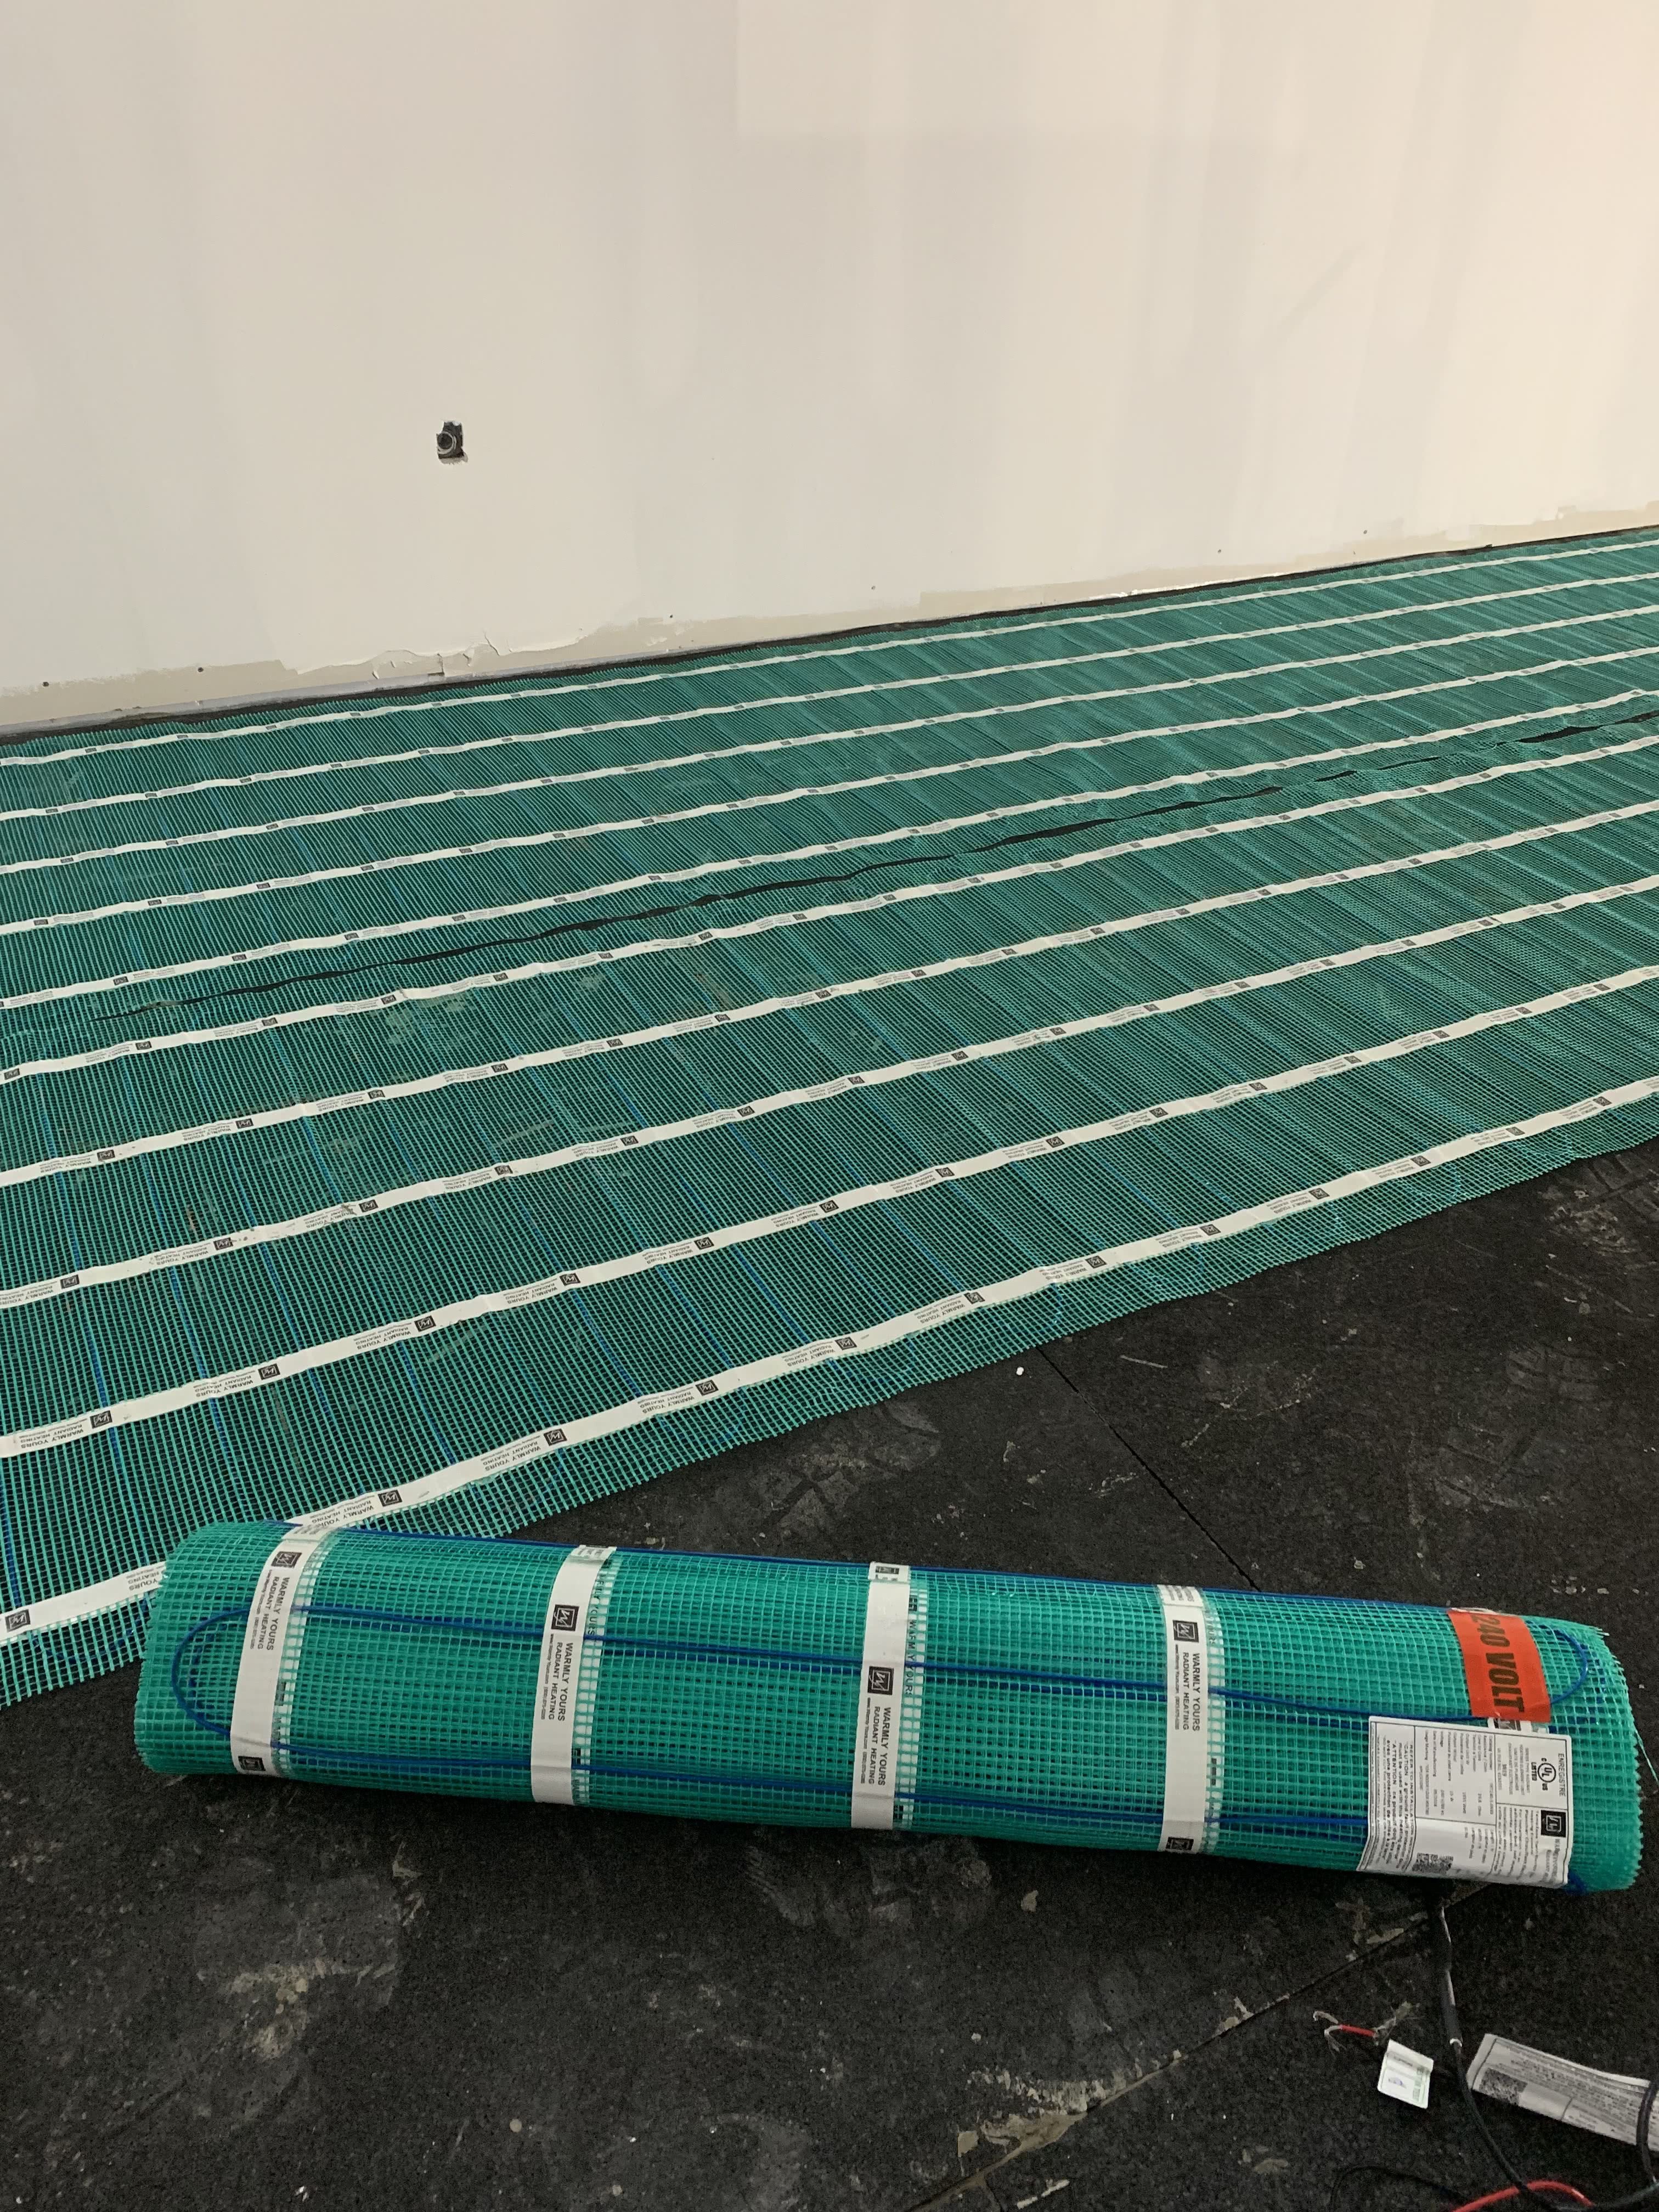
Verify dimensions on plan match the location’s actual dimensions. Prepare the subfloor to be clean and free of debris. Use the included custom design or cut & turn sheet to plot your path beginning closest to the thermostat location and utilizing a wire down/mesh up configuration as much as possible. Following the design, cut the fiberglass mesh with scissors to create “panels”. Position the panels around fixtures using cuts and turns to accommodate the system design layout and proper room coverage. NEVER cut the heating wires, cut the mesh only.
Once the roll(s) is fitted into the space, it needs to be secured to the subfloor to prevent movement during the installation of the floor covering. Staple, hot glue, or tape the mat panels and cold leads to the sub floor every 6-8 inches. Staples should never cross, pierce or nick the Heating Element, and never be used to secure the cold lead.
Step 3. Free Form

Free form spaces are filled with loose lengths of Heating Element. A wavy line with an arrow will appear on the Installation Plan to indicate the area that needs to be filled. This symbol is accompanied by a unit of measure in a circle that will indicate the amount of Fiberglass Mesh to be removed. Once the Heating Element is separated from the Fiberglass Mesh, position the Heating Element by hand and secure it to the floor with Hot Glue or Tape. Try to maintain the 3 inch spacing similar to the spacing on the Heating Roll(s).
TIP: NEVER fold or position the Heating Element so that it overlaps itself or other wires. The heating portion of the product should never touch, cross over, or overlap itself. This will cause dangerous overheating.
Step 4. TempZone Floor Heating Cross-Section
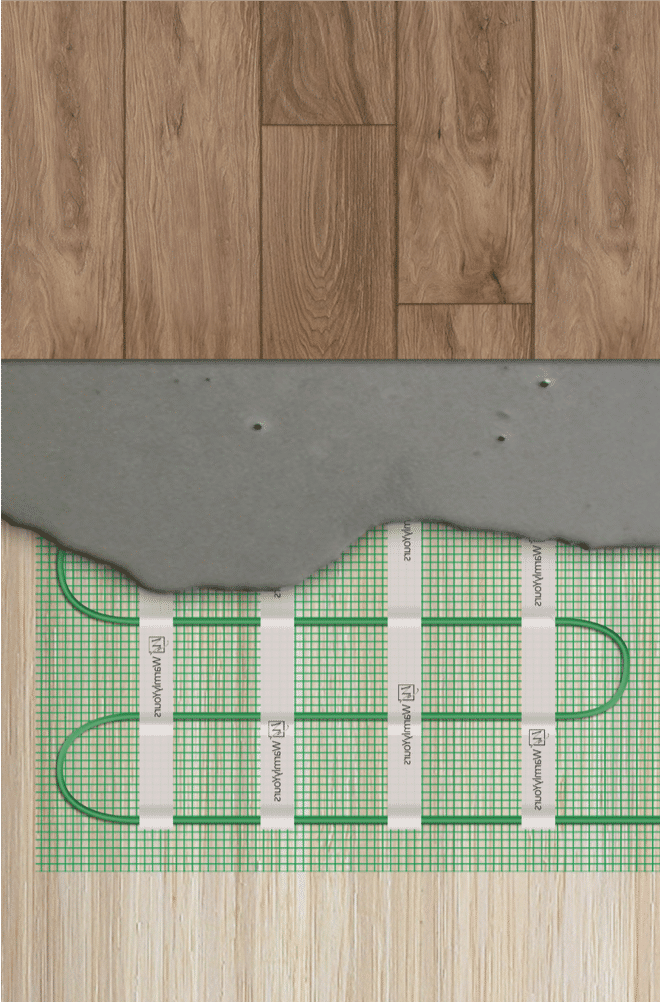
Use a flat trowel to encase the heating rolls in 3/8” of self-leveling cement or latex-portland cement and allow proper manufacturer recommended cure time. Follow manufacturers recommended mixing directions carefully.
Apply manufacturer’s recommended adhesive as per flooring installation instructions.
Install flooring as per manufacturer’s recommendations.
Step 5. Sensor Installation

Install the floor sensor 6” into the mat directly centered between the heating wires using tape. NEVER staple the heating wires or floor sensor wire.
TIP: Always test a floor sensor and verify 8-15 kOhm resistance. A secondary backup sensor may be installed, but only one can be connected to a thermostat at a time.
Step 6. Making Sure the Manufacturer’s Splice is Embedded in Concrete

The power lead (D) is 15-feet in length. The lead is spliced to the Heating Element (E) at the factory. If necessary, this lead wire may be shortened or even extended.
Please note the thickness of the factory splice and cold lead and plan accordingly. The factory splices must be completely embedded in thinset or self-leveling underlayment.
Step 7. Electrical Connections
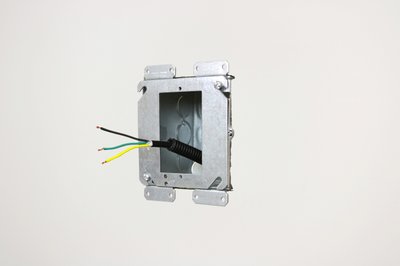
The system should be attached to the thermostat and then the thermostat is wired to the home electrical system and installed in a wall box by a licensed, certified electrician.
Ensure supplied voltage to thermostat matches heating system’s. Review and save the electrical plan that includes all the electrical information about the system.
TIP: Dedicated non-GFI circuit is typically needed for the heating system to avoid any nuisance tripping or interference. The GFCI feature is incorporated in the thermostat.
Step 8. Commissioning The System

Allow proper thinset cure time as recommended by the manufacturer (typically 7-28 days) before powering up the WarmlyYours electric radiant heat system.
TIP: When commissioning the system or adjusting the temperature setpoint, follow flooring manufacturer temperature restrictions/recommendations. Temperature limits can be set under ”Floor Protection” setting on the thermostat.
A Finished Basement
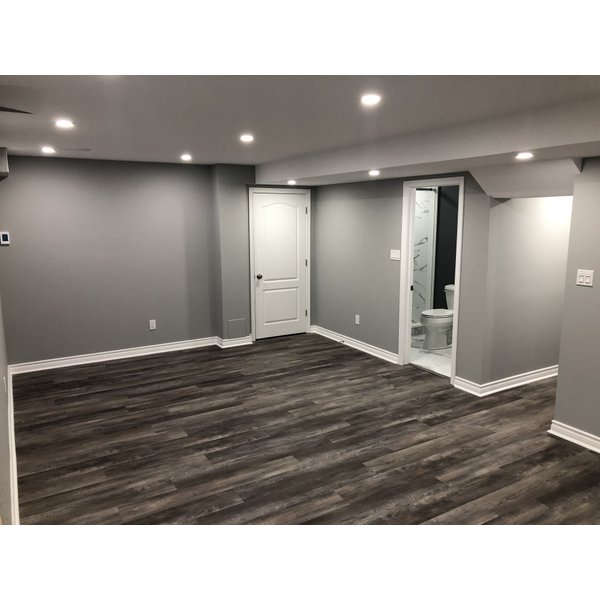
Now you can create an inviting space that’s private and comfortable or have an open play area for entertainment. This space can be modified as needed, depending on the occupants. This project took about a month to complete. With great planning you can avoid delays especially during inspection time. Now they are ready to enjoy their warm floors! And Kelev, one of their babies, is in full agreement!
The Control for Your Floor Heating System
A great thermostat is the secret to any great heating system. Not only is it the way you control the temperature, it’s also how you customize your comfort.
Our nSpiration Series of controls offers a wide variety of options — from programmable models, to controls that will allow you to easily monitor and manage your home comfort remotely from any device. All of our controls are designed to help you get the most out of your floor heating system.
For more information about the variety of controls and sensors available from WarmlyYours, check out our comparison chart.
Shop ControlsFloor Heating System Costs
Guide’s Example
*All pricing information is MSRP and is subject to change. Operating cost calculation is based on the national average of $0.16 per kWh, but consumption may vary based on individual conditions.


