Configuration switches for TH115
Small screwdriver required. (Usually included in the thermostat box).
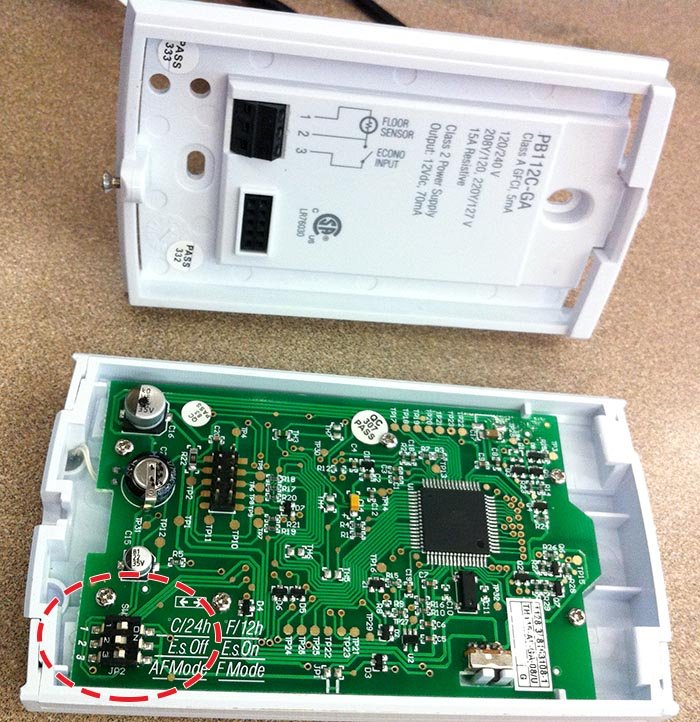
Step 1 – Loosen, but do not remove the screw on the bottom of thermostat.

Step 2 - Remove the faceplate from the base of the thermostat.

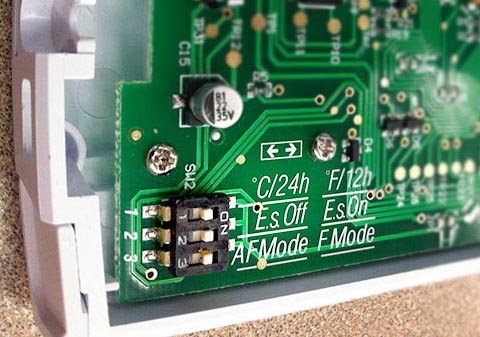
Step 3 - On the bottom right side corner of the electrical board there are 3 switches used for setting options.
Switch #1 is to choose between Celsius/24h and Fahrenheit/12h format, so when the switch is set to the ON(UP) position, the unit will operate in the Fahrenheit/12hour mode.
Switch #2 is to turn on/off Early Start Function. Early Start is used in Automatic mode only. When Early Start is enabled (on), the thermostat determines when to start heating so the Comfort temperature is attained at the beginning of periods 1 and 3. When Early Start is disabled (off), heating starts only at the beginning of periods 1 and 3; thus there is a delay before the Comfort temperature is reached. We suggest this switch be set to “on”.
Switch #3 is to choose between Floor sensing mode and Ambient+Floor sensing mode. We always recommend to use Floor sensing mode, it provides better control of the temperature of the floor. Ambient+Floor Mode can be used when the floor sensor has been damaged or when the system is designed as a primary heat source.