

Heated Tile Floor Systems for Bathrooms, Kitchens & More
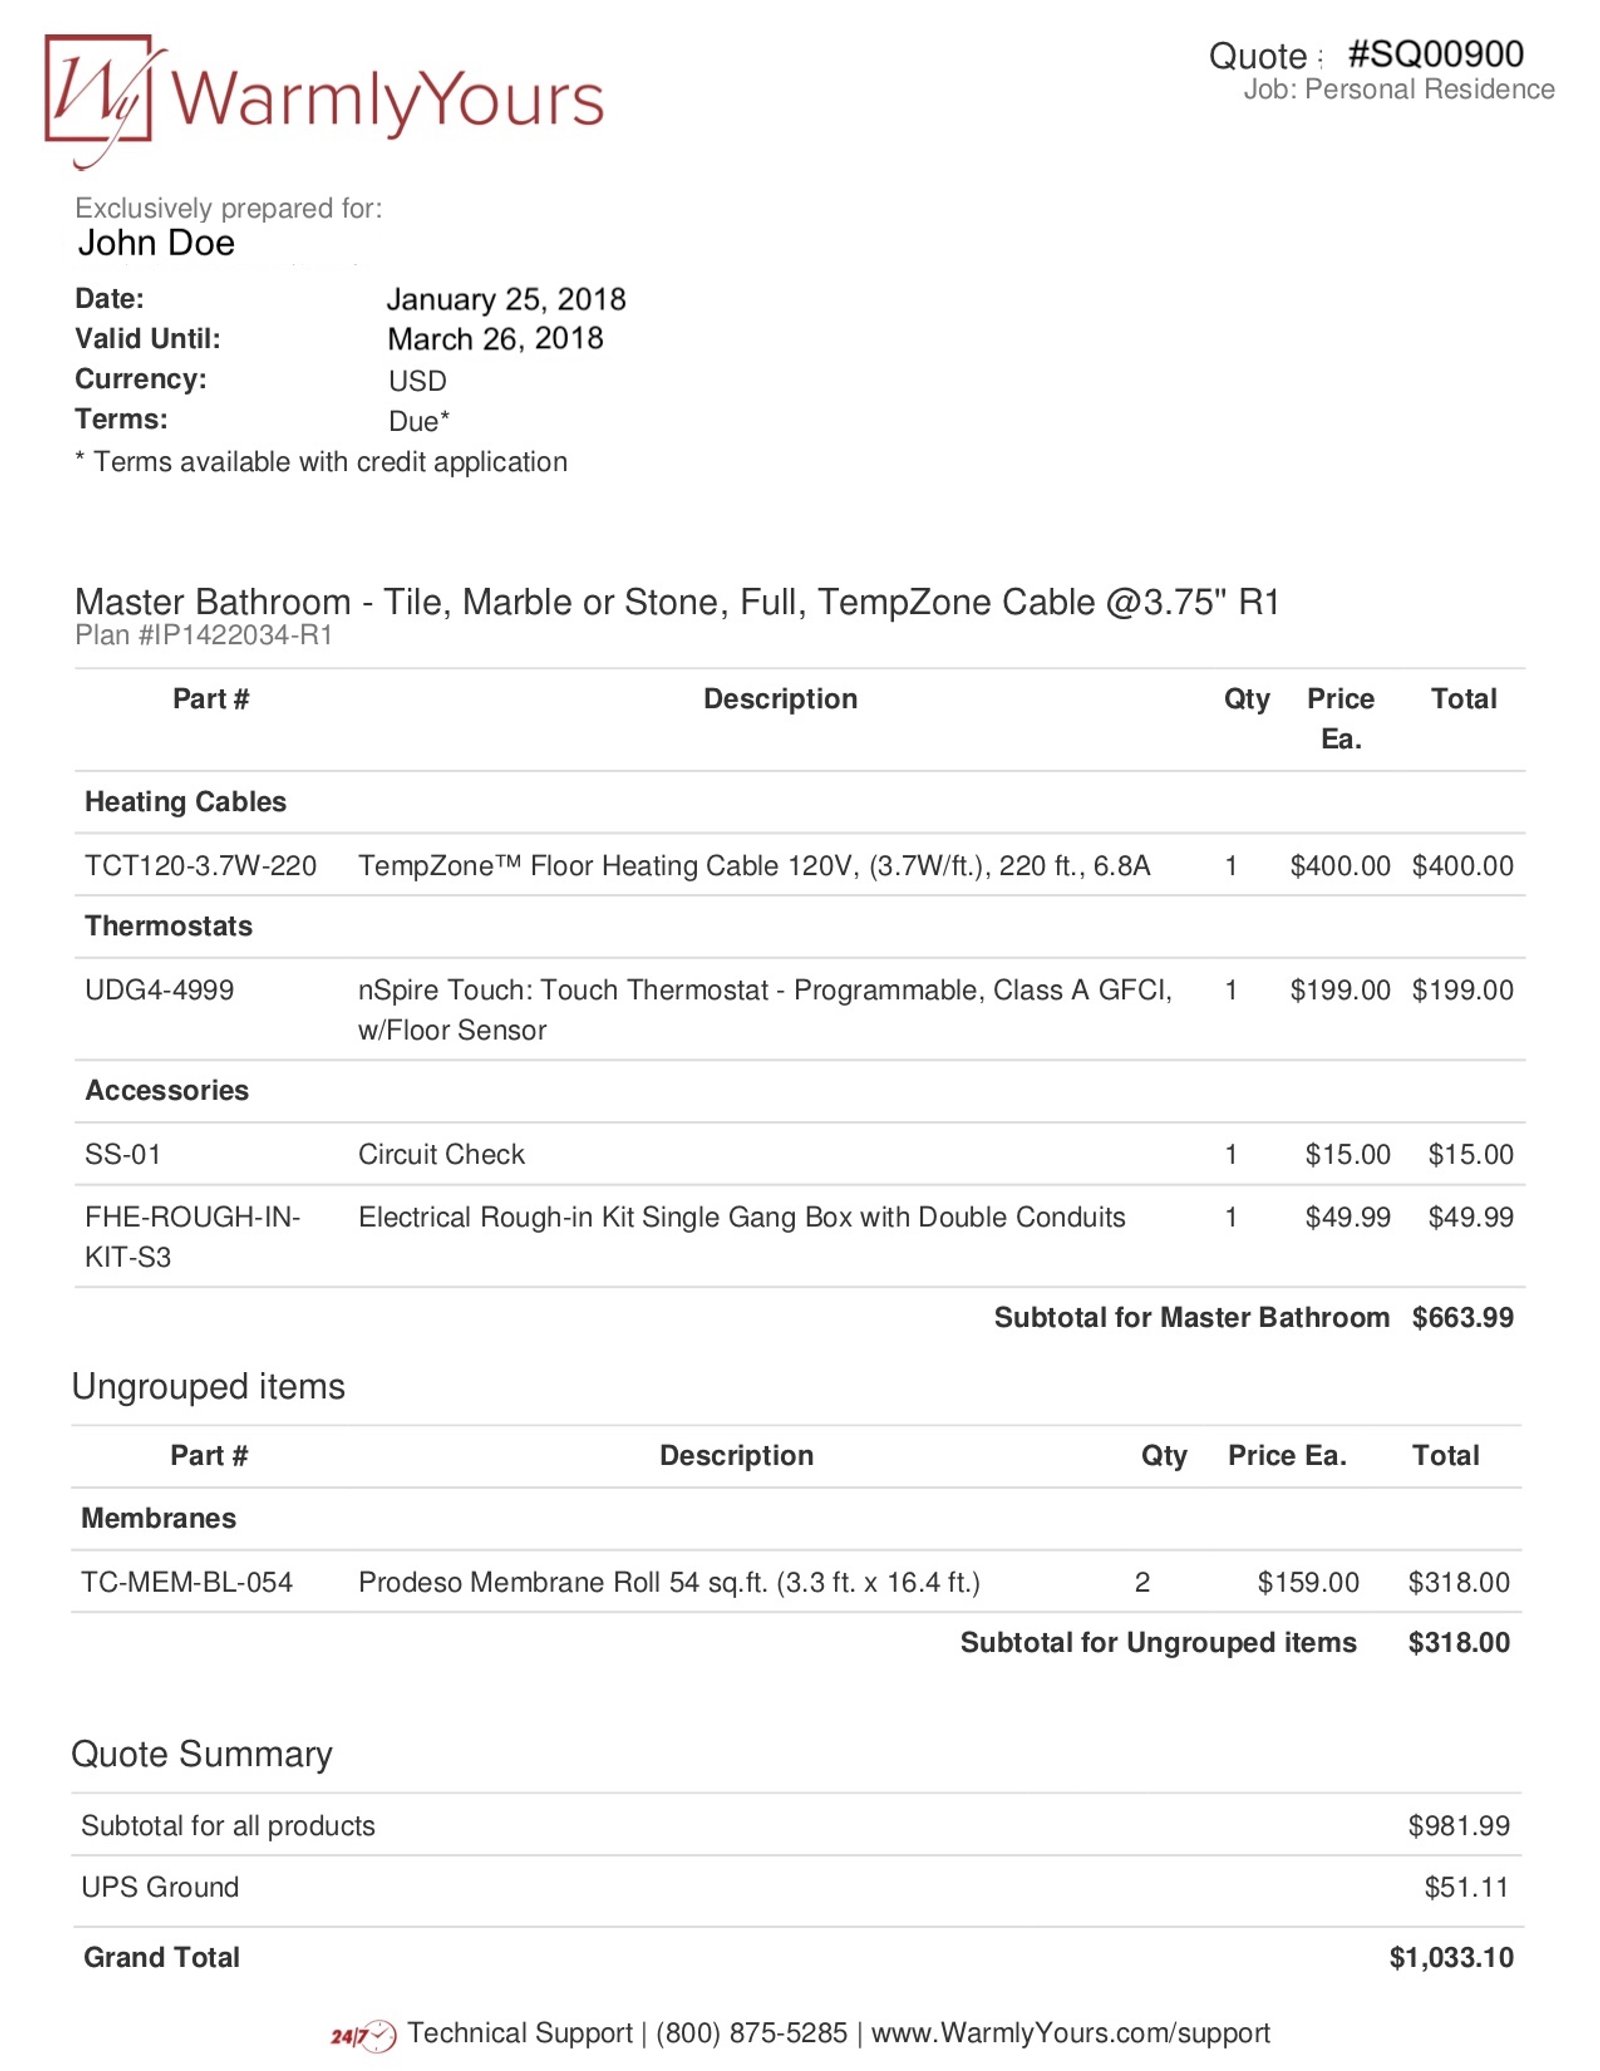
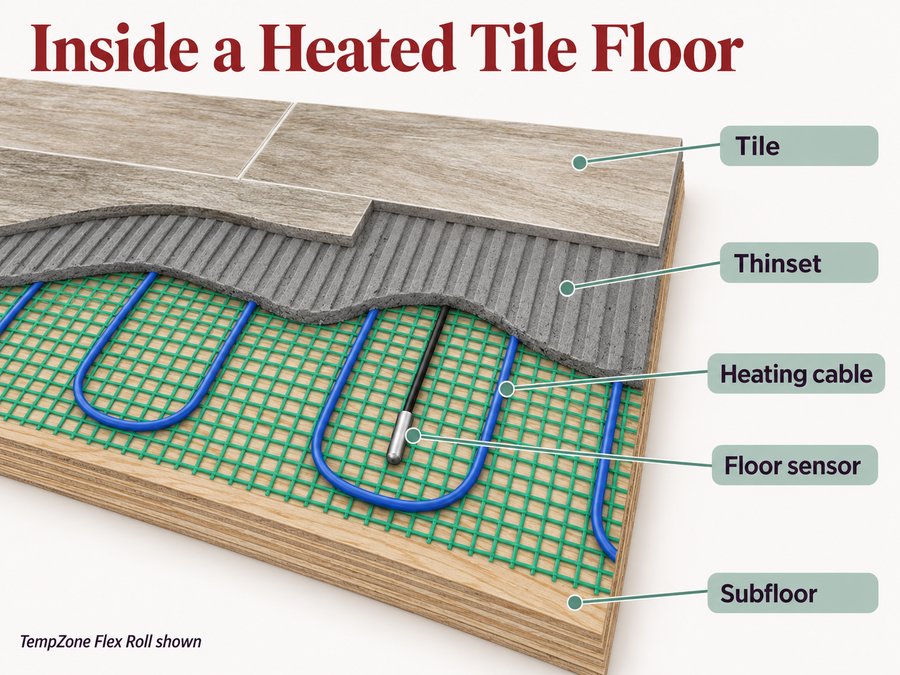
A heated tile floor is a radiant heating system installed beneath ceramic, porcelain, marble, or stone tile — using electric heating cables or pre-spaced mats embedded in thinset mortar. Because tile and stone conduct heat efficiently, they're the ideal flooring for radiant systems: floors warm up quickly, hold heat longer than wood or carpet, and typically run on $0.15–$0.35 per hour for a standard bathroom. WarmlyYours TempZone™ systems start at $5/sq.ft. and include free SmartPlan installation design and a 25-year warranty.
Get an Instant Quote
Answer a few quick questions and we'll match you with the best floor heating system.
Jump to
Why Install a Heated Tile Floor?
Tile and stone are the ideal conductors for radiant heat—they heat up fast, retain warmth beautifully, and feel luxurious underfoot.
Perfect Heat Conductor
Tile and stone transfer heat more efficiently than any other flooring. Your floors reach target temperature faster and hold warmth longer.
No More Cold Tile Shock
Cold tile floors are the #1 complaint homeowners have. Radiant heating eliminates cold tile forever—every step on a heated tile floor is warm and comfortable.
Low Operating Cost
Tile's thermal conductivity means lower energy costs. A typical heated tile floor costs just $0.07–$0.36/hour. Use our calculator below to estimate.
Radiant Floor Heating Reviews
We take pride in providing both exceptional service and great products. But don't just take our word for it, check out what some of our customers have had to say or View More Floor Heating Reviews.


Featured Floor Heating Projects
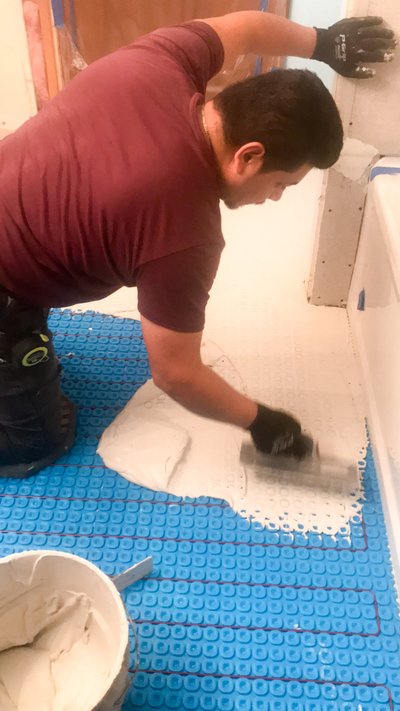
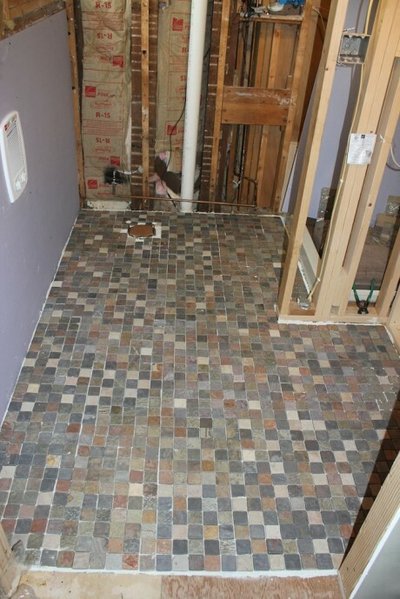
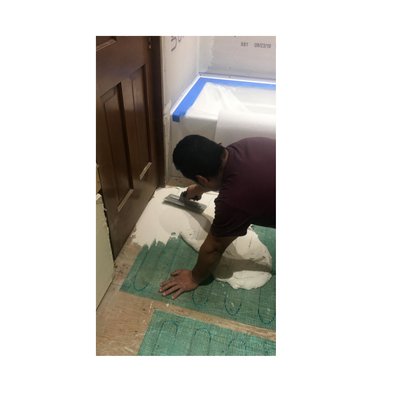
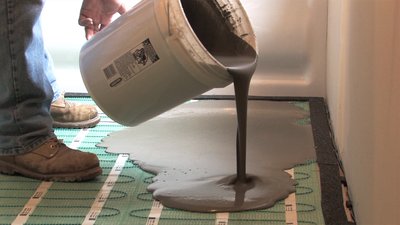
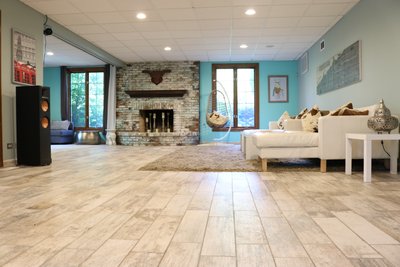
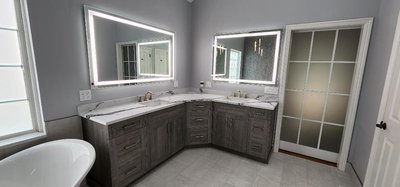
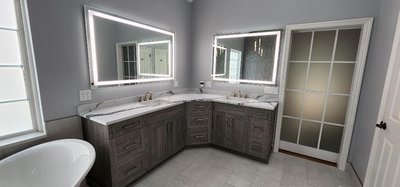
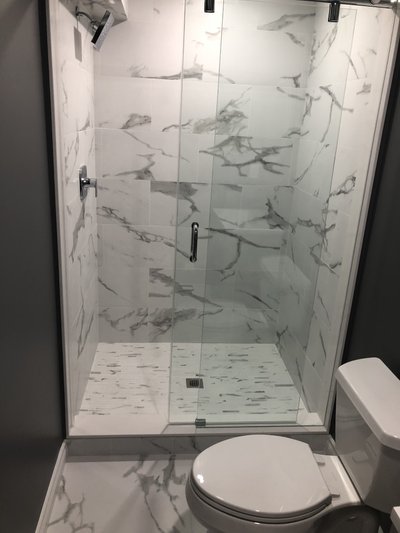
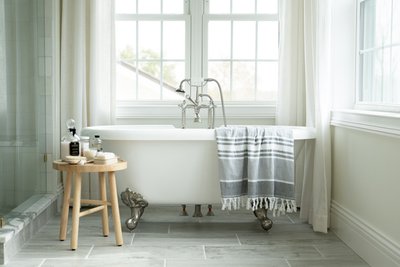
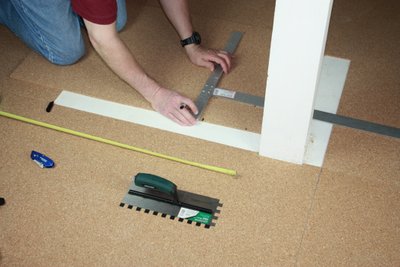
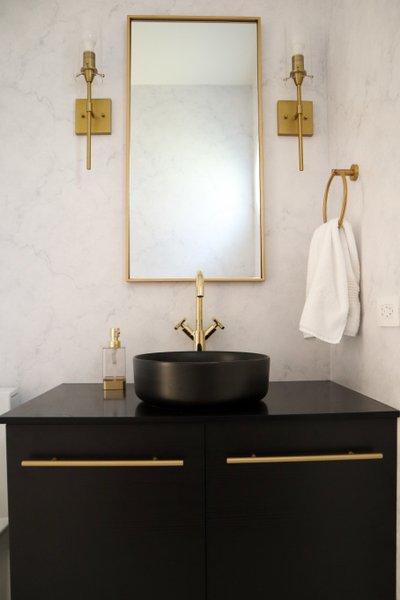
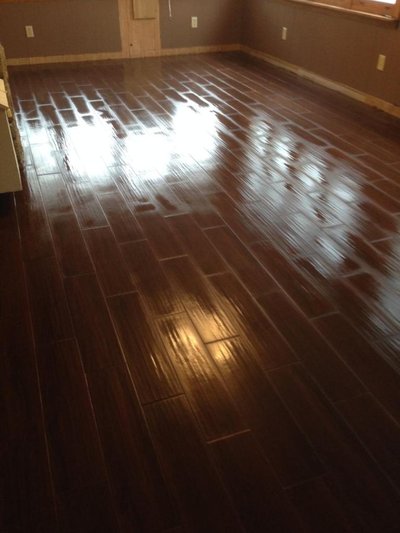
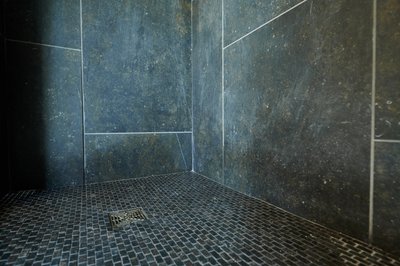
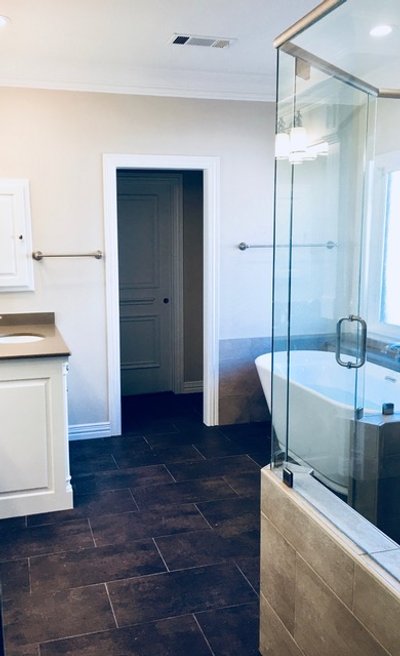
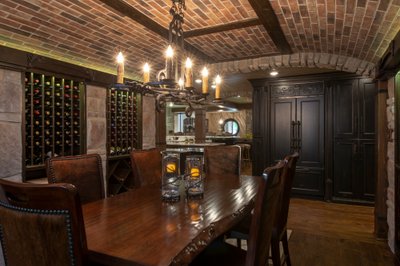
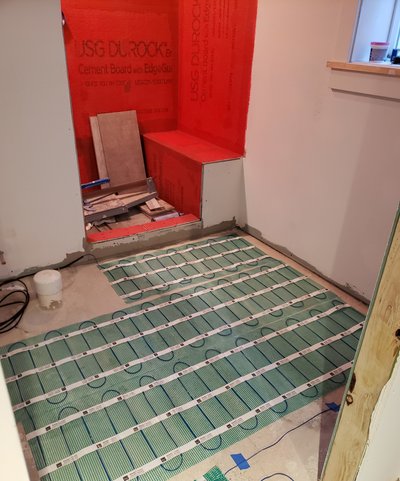
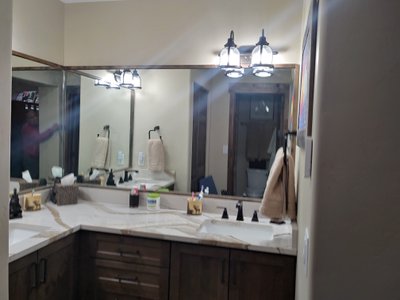
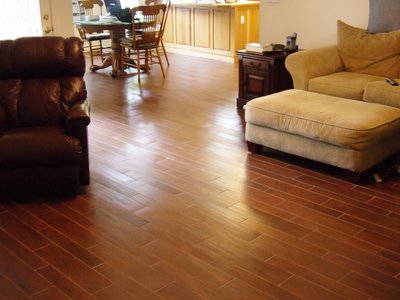
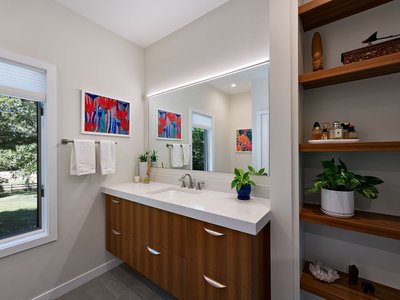
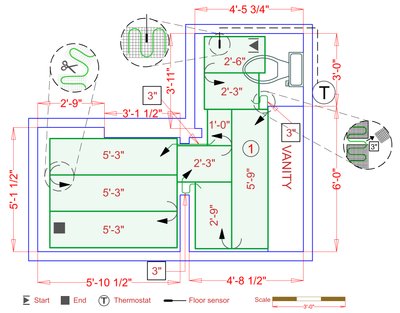
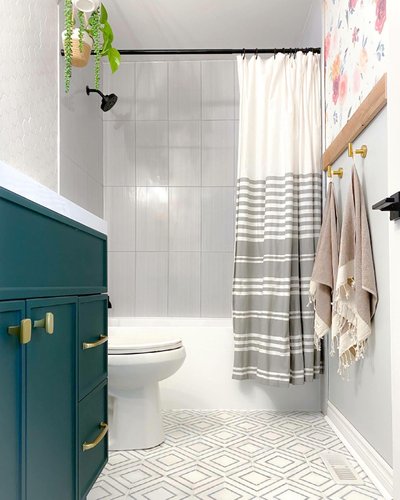
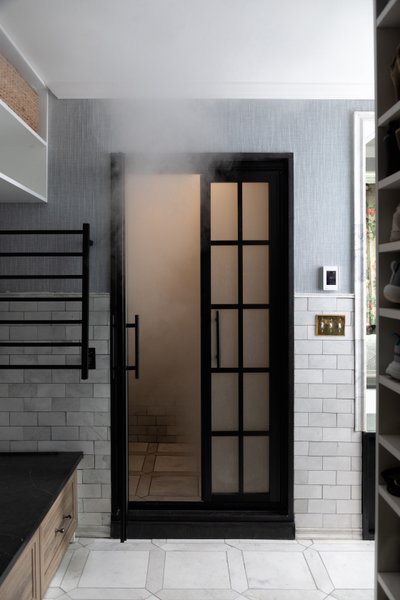
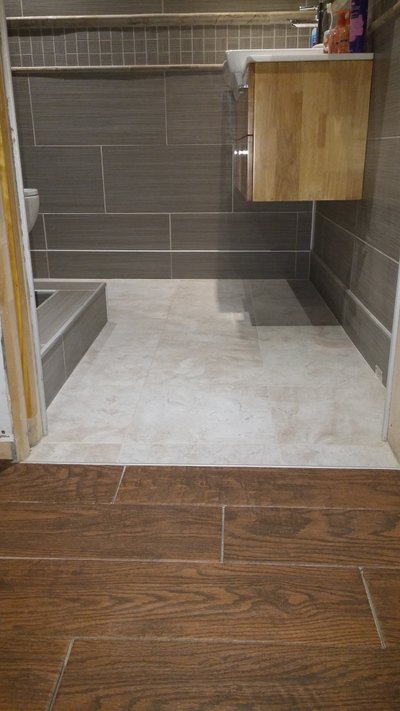
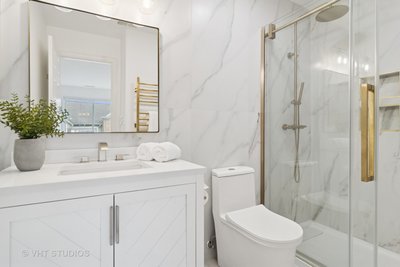
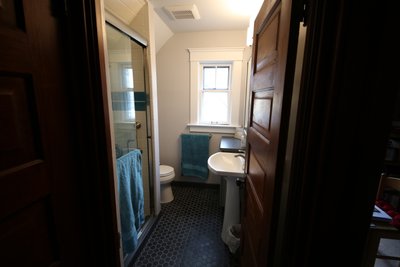
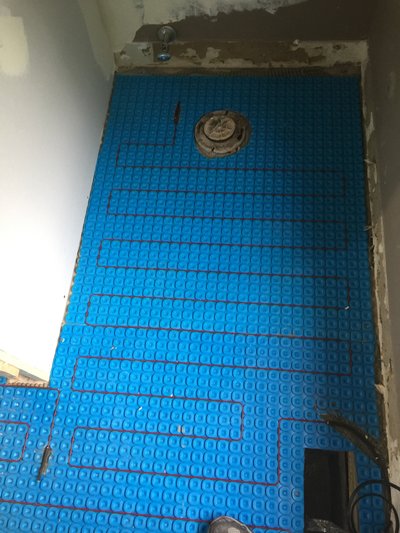
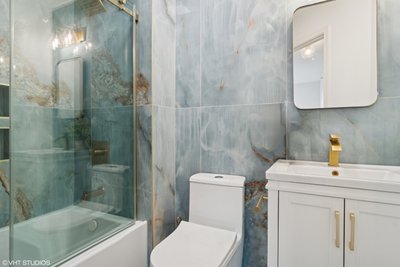
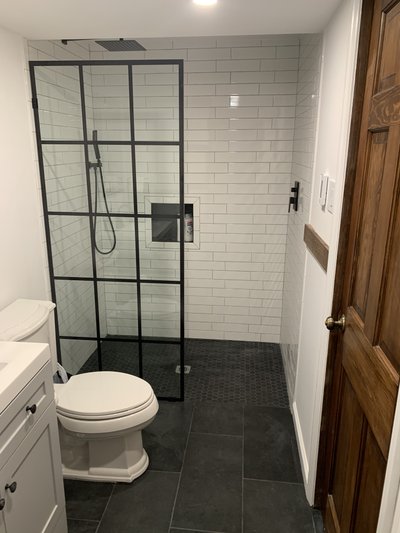
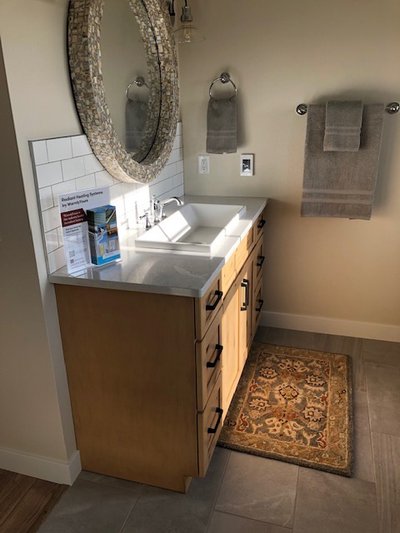
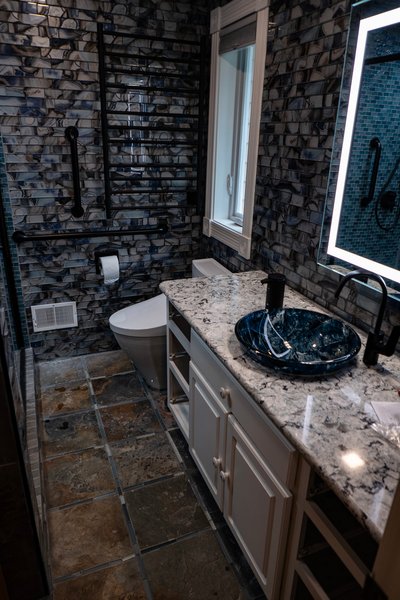
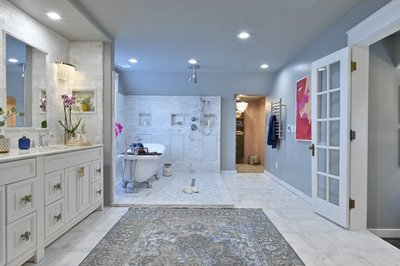
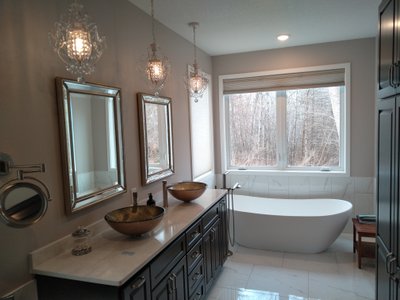
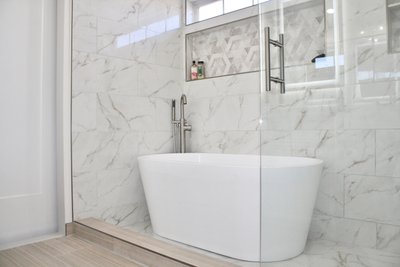
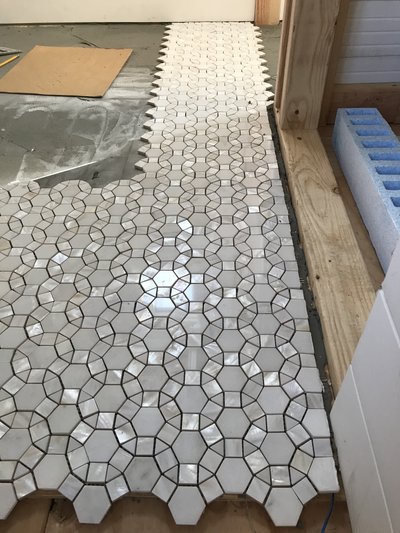
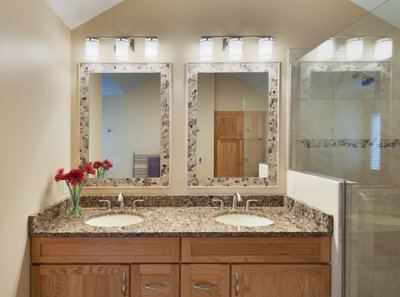
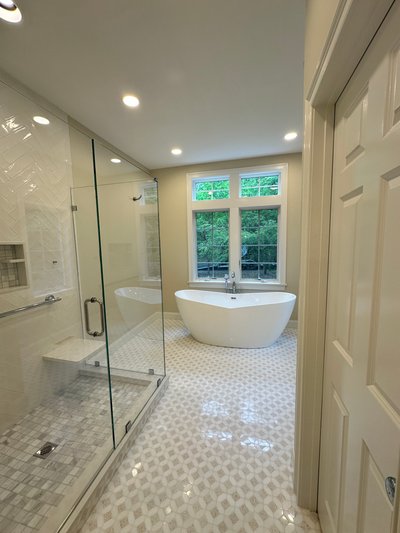
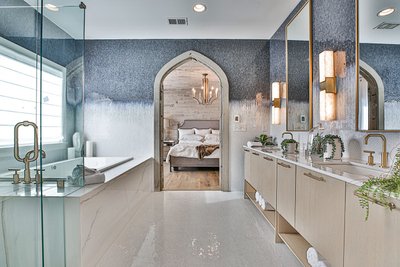
Check out these customer-submitted projects to see real world examples of how a floor heating system is installed in a variety of different rooms.









Consult with a Floor Heating Expert
Do you need to discuss your project with our experts? We will respond within 1 business day.
Typically respond within 1 business day
Why Choose a Heated Tile Floor?
Tile, marble, and stone are beautiful but notoriously cold underfoot. A heated tile floor turns that cold surface into a source of bottom-up warmth — eliminating cold-shock mornings, reducing slips on wet bathroom floors, and adding measurable resale value to a home. For the shower enclosure itself — floor and bench — see our guide to heated shower floor systems built for wet areas.
Unlike forced-air heating, electric radiant tile heating warms the floor first and the air second, which means:
- Faster comfort: tile reaches comfort temperature in 30–45 minutes vs. hours for hydronic systems.
- No dust circulation: radiant heat doesn't move air, which is better for allergy-prone households.
- Zone-level control: heat only the rooms — and times — you need with a programmable thermostat.
A heated tile floor pairs especially well with bathrooms, kitchens, mudrooms, and entryways — anywhere bare feet meet hard flooring.
Consult with a Floor Heating Expert
Do you need to discuss your project with our experts? We will respond within 1 business day.
Typically respond within 1 business day
Compare WarmlyYours Heated Tile Floor Systems
| System | Best for | Cost / sq.ft. | Install time (35 sq.ft. bath) | Wattage | Works with |
|---|---|---|---|---|---|
| TempZone™ Flex Roll | Open rectangular rooms | $10–$12 | 2–3 hrs | 15 W/sq.ft. | Ceramic, porcelain, stone |
| TempZone™ Cable + Strips | Irregular layouts, partial coverage | $5–$8 | 3–4 hrs | 9–15 W/sq.ft. | All tile, marble, stone |
| TempZone™ Cable + Prodeso Membrane | Crack-prone substrates, slab-on-grade | $12–$15 | 2 hrs | 9–15 W/sq.ft. | Tile and stone (recommended for concrete) |
| TempZone™ Easy Mat | Spot heating (vanity, entry, small zones) | $8–$10 | 1 hr | 15 W/sq.ft. | Tile and stone |
| TempZone™ Ruler Cable | Large rooms, precise spacing (pro) | $5–$8 | 3–4 hrs | 9–15 W/sq.ft. | All tile and stone |
How Much Does a Heated Tile Floor Cost?
The cost of heated tile floors depends on the heating system and room size. TempZone Flex Rolls typically cost $10–$12 per square foot, while TempZone Cable with fixing strips costs around $5–$8 per square foot. For a standard 35 sq.ft. bathroom with about 25 heated square feet, expect to spend between $125 and $300 on heating materials.
Tile and stone are among the best conductors of radiant heat, meaning your heated tile floor will warm up quickly and operate efficiently. Most homeowners spend less than $1 per day to heat a single bathroom zone. Use the calculator below to estimate your exact operating costs based on your room size and local electricity rates.
Operating Cost Calculator for Floor Heating
Estimate your daily and monthly energy costs based on room size and local rates.
ft²
¢/kWh
Estimated Cost
$0.04
per hour
$0.15
per day
$4.50
per month
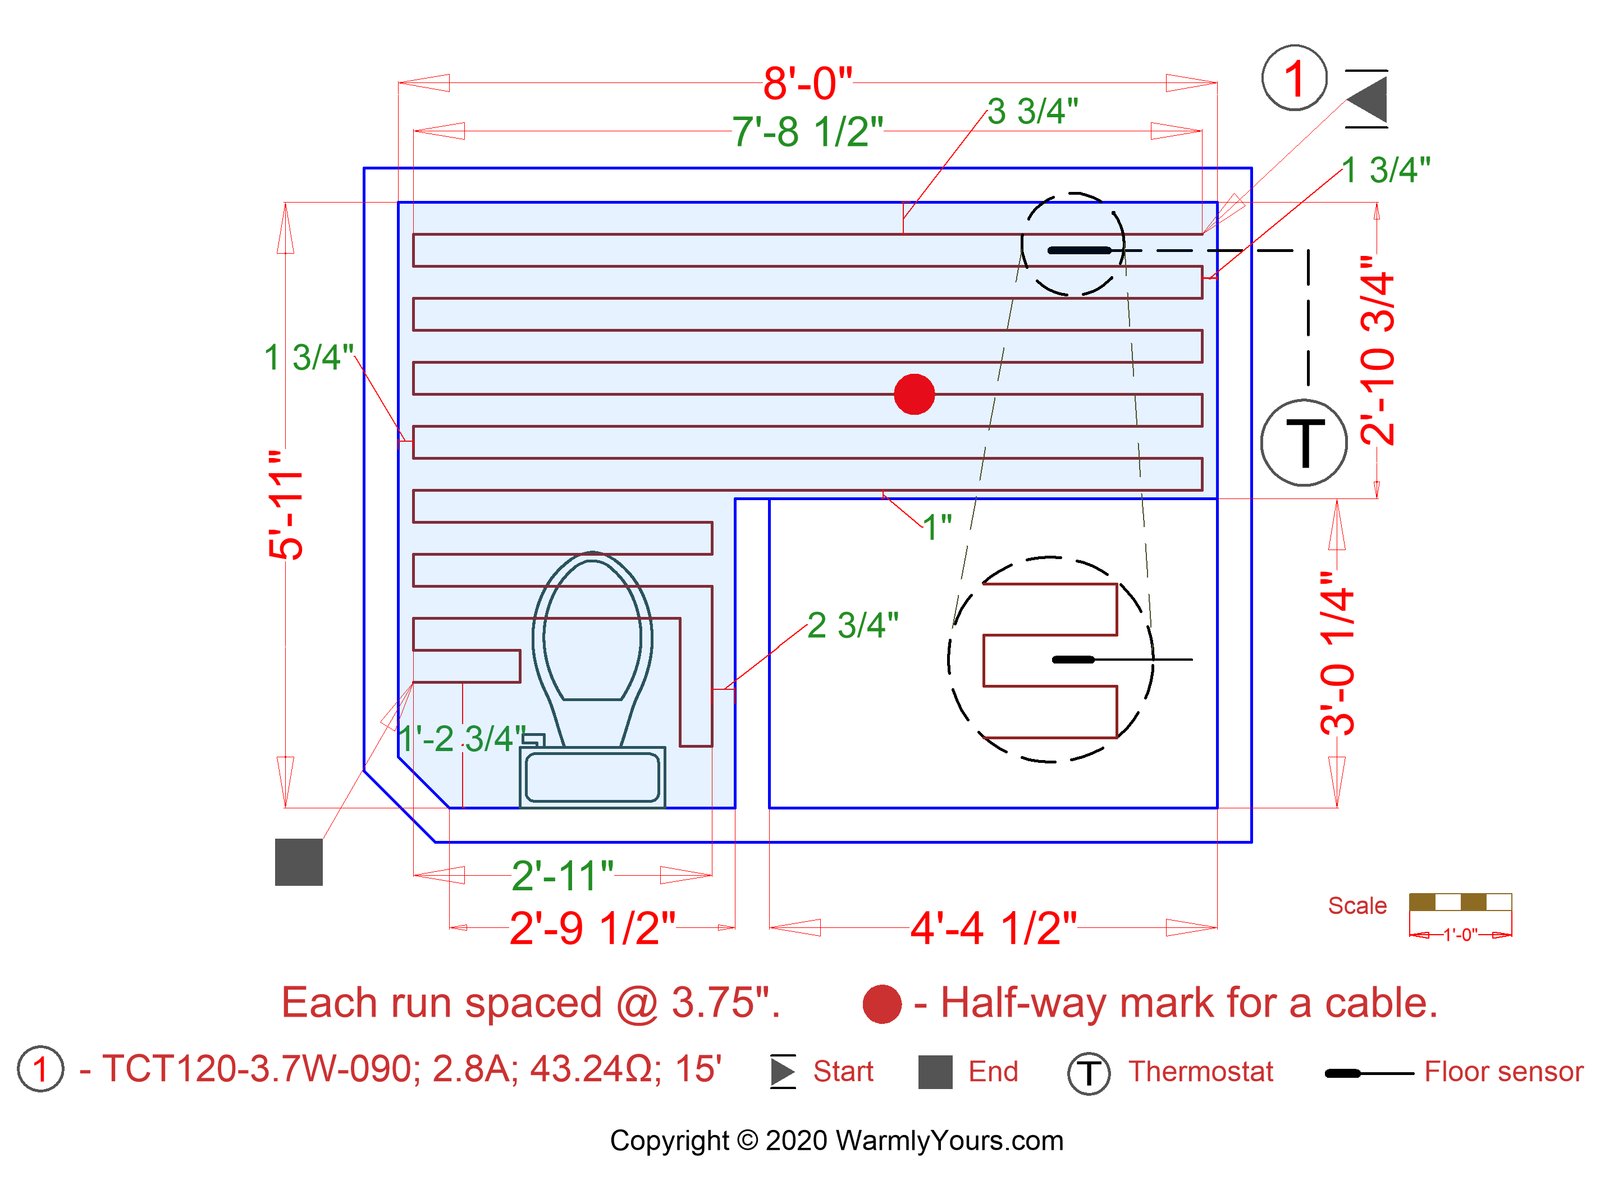
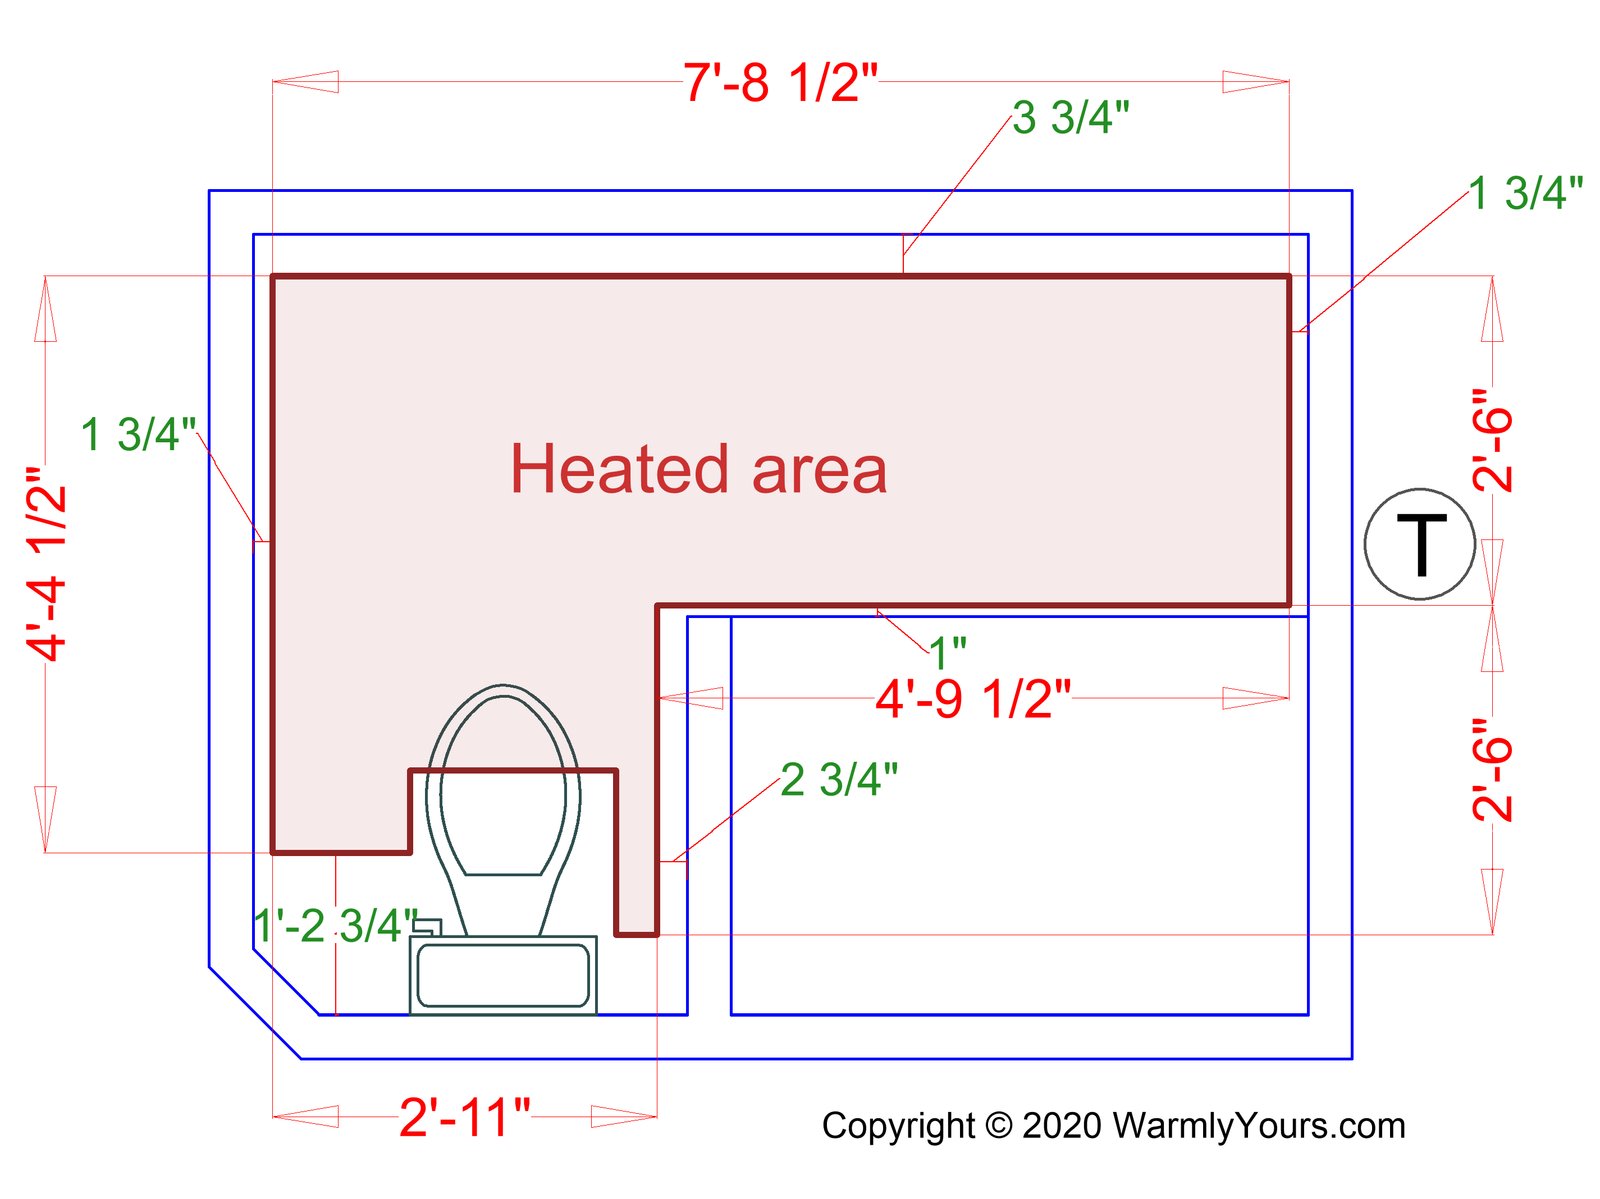
Free SmartPlan
Get a custom installation plan for your tile floor in just 1 business day.

"I'll create a custom installation layout showing exactly where your heating elements go, plus a complete materials list with pricing."
Our Floor Heating Systems
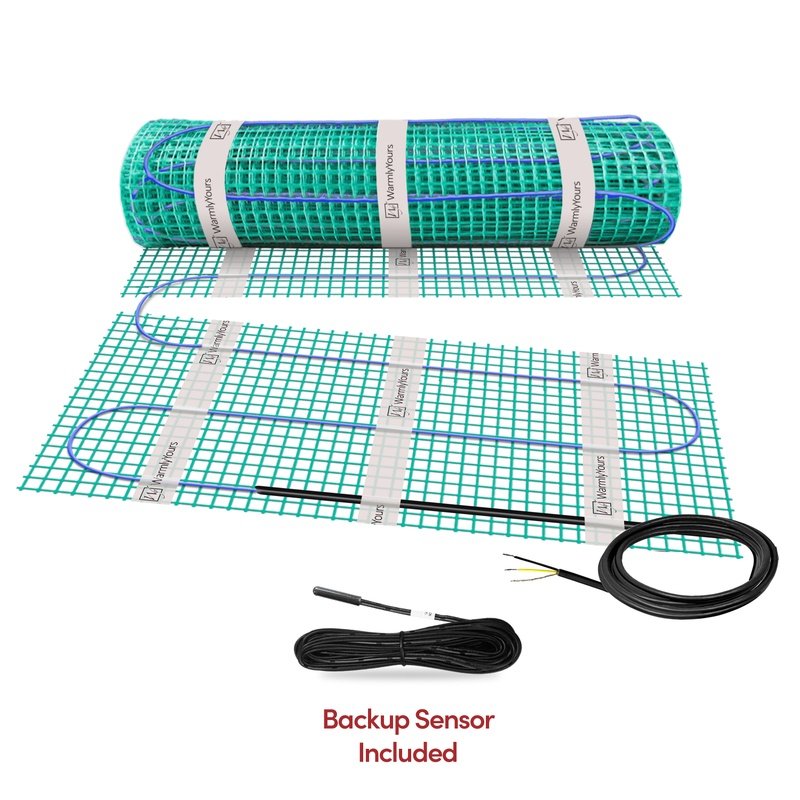
Roll Out, Cut, and Fit
TempZone™ Flex Roll installs underneath ceramic tile, natural stone, hardwood, wood, and other popular flooring materials, giving homeowners radiant in-floor heating that's truly luxurious.
Features
- Ideal for full-room coverage (primary or supplemental heat)
- Pre-spaced heating cable for fast, consistent installation
- Most popular choice for bathrooms & kitchens
- 25 Year Warranty
- 15 Watts Per Sq. Ft
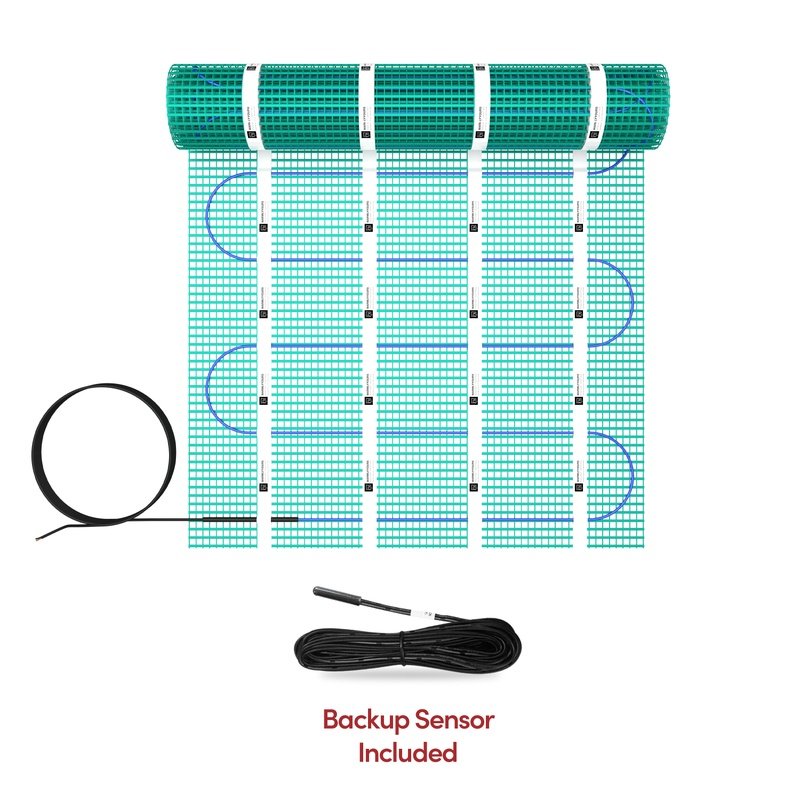
Place, Connect, and Heat
TempZone™ Easy Mats allow for radiant heating of smaller, simpler areas at an affordable cost. These under floor mats are perfect for providing targeted heating for moderately sized bathroom and kitchen floors.
Features
- Pre-sized mats for quick installs with no complex cuts
- Perfect for spot heating (vanities, entryways, small spaces)
- Cost-effective and beginner-friendly option
- 25 Year Warranty
- 15 Watts Per Sq. Ft
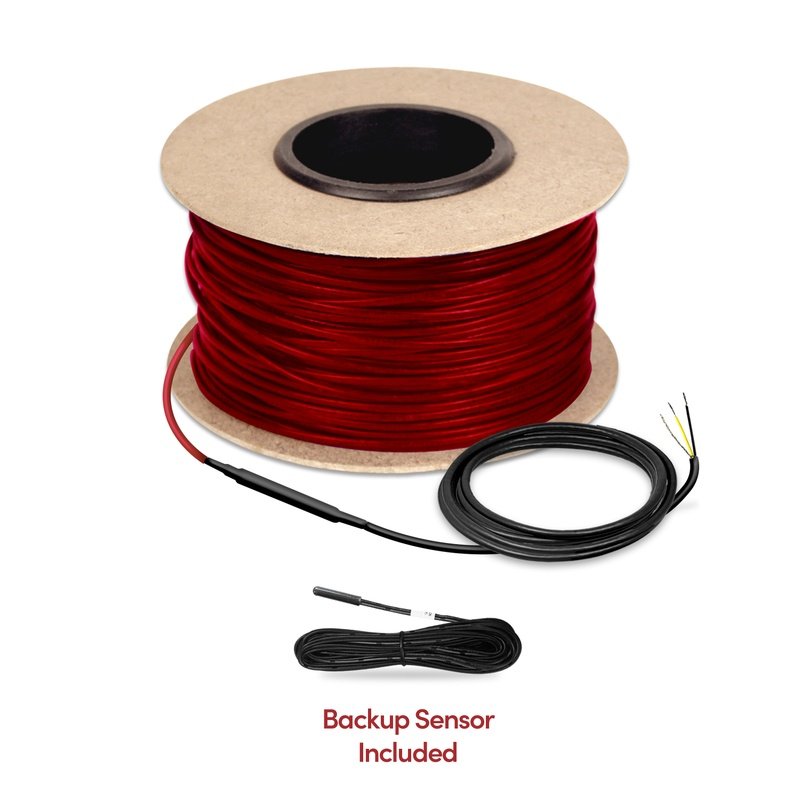
Snap-In, Secure, and Heat
TempZone™ Cable is ultra-low EMF by design and is available in two voltage options and a range of lengths to meet the requirements of any installation.
Features
- Works under tile, stone, and luxury vinyl floors
- Provides radiant heat and crack isolation
- Flexible layouts for irregular or custom-shaped rooms
- 25 Year Warranty
- 9-15 Watts Per Sq. Ft
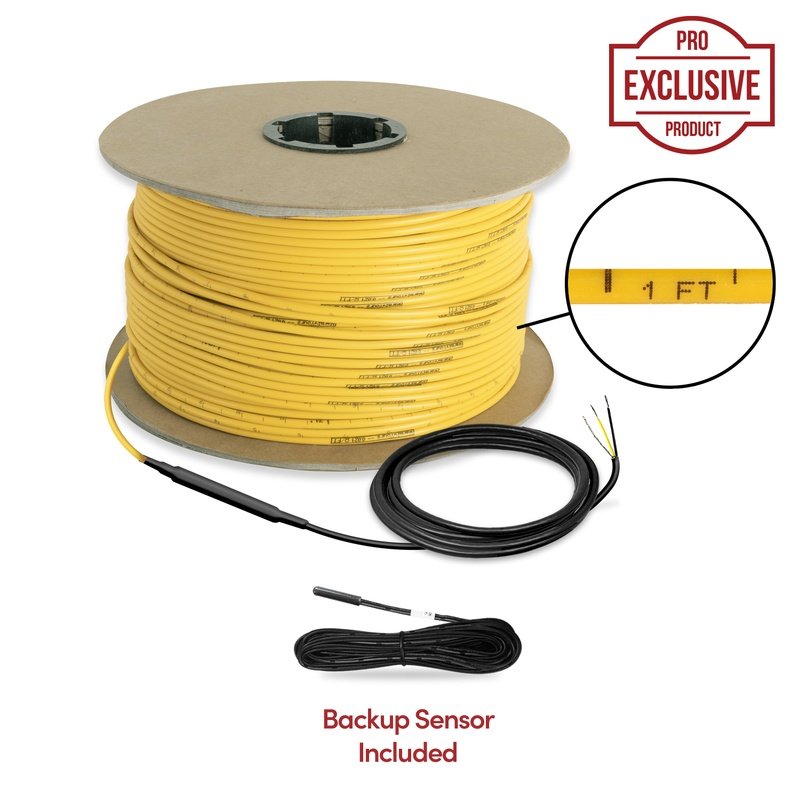
Pro‑exclusive: Measure, Lay, and Heat
TempZone™ Ruler Cable is ultra-low EMF by design and is available in two voltage options and a range of lengths to meet the requirements of any installation.
Features
- High-visibility ruler marks at every half-inch, inch and foot for cable layout.
- Available in 120V or 240V lengths; 3.7W per linear foot, or 9–15W per square foot depending on spacing.
- Install with fixing strips or an uncoupling membrane beneath suitable tile, stone, marble or luxury vinyl floors.
- Flexible, durable cable construction; cULus listed.
- Covered by the 25-year No Nonsense Warranty.
We've Got Your Back: A Backup Floor Sensor
Every complete WarmlyYours floor heating system—TempZone™, Environ™, or Slab Heat—ships with two floor sensors: one with the heating mat or cable and one with the thermostat. Install the backup right beside the primary sensor and run both leads to the thermostat box, but connect only the primary; the backup stays disconnected until it is needed.
The floor sensor lives under your tile, wood, carpet, or concrete, where it tells the thermostat how warm the floor really is. If that sensor is ever nicked during installation or fails years down the road, replacing it would normally mean tearing up the finished floor.
With the backup already embedded in the floor, the fix takes minutes: turn off power at the breaker, disconnect the original sensor at the thermostat, connect the backup, and your heat is back on. No torn-up floor, no new flooring, no second installation. Follow your thermostat's instructions, or have a qualified electrician make the swap.
Installer tip: Install both sensors side by side, centered between the heating wires, and test each one for 8–15 kΩ before covering the floor. For Slab Heat, place the sensors in capped 3/4″ rigid metal conduit between cable runs, clear of the heating cable, as the Slab Heat installation manual describes.
How to Install a Heated Tile Floor
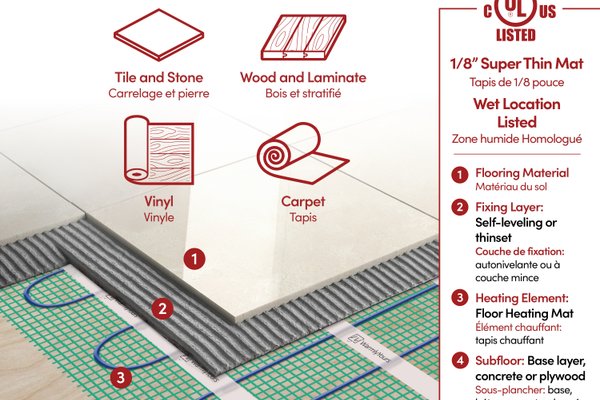
A heated tile floor installs directly into the thinset mortar layer — the same material you already need for setting tile. The heating element (cable or mat) goes down on a clean subfloor, gets embedded in modified thinset, and the tile is laid on top. Showers and steam-wet areas need purpose-built mats or cable — see shower floor heating for wet-location options. For extra crack-prevention on concrete substrates, pair TempZone Cable with our Prodeso Uncoupling Membrane.
Before choosing the tile assembly, read about the difference between crack-isolation and uncoupling membranes. For an existing painted slab, review surface preparation before installing thinset over painted concrete.
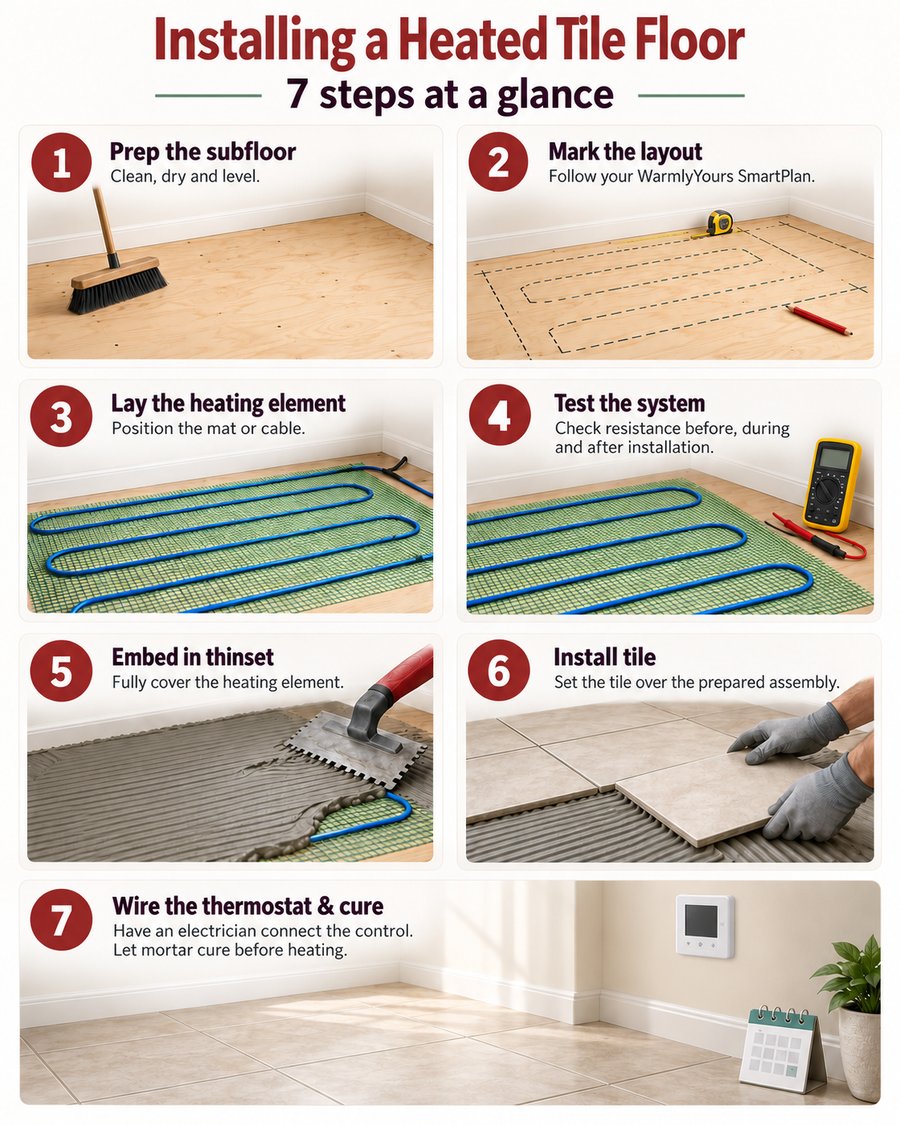
Step-by-Step Installation
- Prep the subfloor — clean, dry, and level.
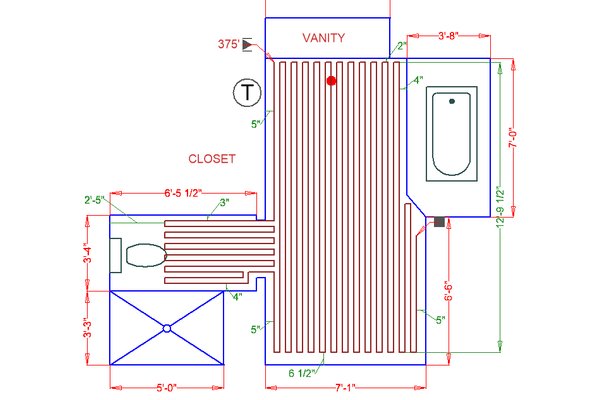
- Mark the layout using your free WarmlyYours SmartPlan.
- Lay the heating element — TempZone Flex Roll for open spaces, Cable with strips for irregular shapes, or Cable in Prodeso Membrane for slab-on-grade or crack-prone substrates.
- Test the system with an ohmmeter (before, during, and after).
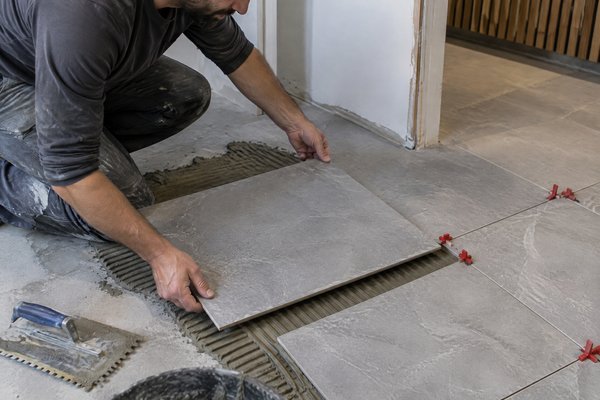
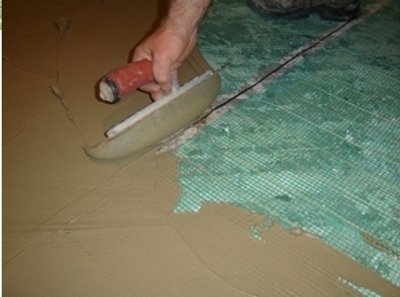
- Embed in modified thinset with a notched trowel.
- Install tile, marble, or stone using standard tile-setting techniques.
- Wire the thermostat and allow thinset to fully cure before powering on.
See the full step-by-step guide: How to Install Heated Tile Floor
Best Tile Types for Heated Tile Floors
- Ceramic and porcelain tile — the most popular choice; excellent heat conduction, broad design options, and the most cost-effective install.
- Natural stone (granite, slate, travertine) — conducts heat extremely well; heats up fast and retains warmth.
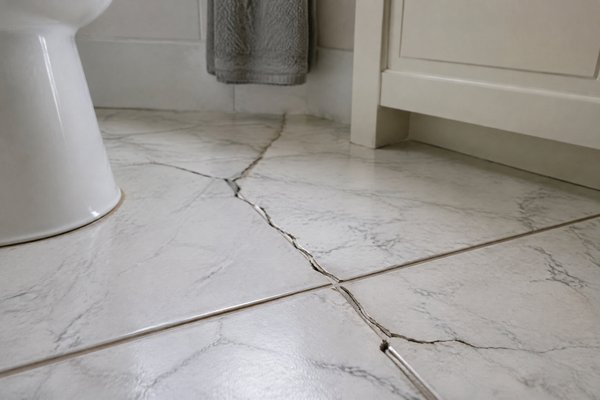
- Marble — luxurious and an excellent conductor; ideal for primary bathrooms with proper underlayment for crack prevention.
- Large-format tile (24″×24″ and up) — pairs well with TempZone Cable + Prodeso Membrane to prevent thermal-cycling cracks.
Avoid: unsealed natural stone in shower floors without waterproofing; see our heated shower floor guide for wet-area systems. And always use a modified (polymer-modified) thinset mortar — unmodified thinset may crack over time with thermal cycling.
Floor Heating Videos
Documents

PDF

PDF

PDF

PDF
Tile, Marble or Stone Radiant Floor Heating Posts











Heated Tile Floor FAQs
A heated tile floor is a radiant heating system — usually electric cables or pre-spaced heating mats — installed beneath ceramic, porcelain, marble, or stone tile. The heating element is embedded in the thinset mortar layer, so it adds almost no floor height. When the thermostat calls for heat, the element warms the tile directly, which radiates warmth upward into the room.
For most homeowners, yes. A heated tile floor eliminates the cold-shock feeling of bare tile, reduces slip risk in bathrooms, and adds resale value (radiant heat is a top-cited feature in home listings). Operating cost is typically less than $1 per day for a bathroom zone, and a well-installed system lasts 30+ years.
Material cost for a heated tile floor with WarmlyYours runs $5–$15 per square foot depending on system type. For a standard 35 sq.ft. bathroom (about 25 heated square feet), the heating elements typically cost $125–$300, plus $200–$500 for electrical hookup. Use the operating cost calculator on this page for exact running costs.
Not directly — heating systems install beneath tile, not on top of it. However, if you have access from below (a basement or crawlspace under the room), our RetroHeat system staples between floor joists from underneath. Otherwise, the existing tile needs to come up before installation.
Yes. WarmlyYours TempZone systems are UL-listed, GFCI-protected, and operate at low surface temperatures (typically 75–85°F). All systems include a 25-year warranty and an ohmmeter-based install protocol that catches any wiring issue before the tile goes down.
WarmlyYours TempZone heating elements carry a 25-year warranty, and installed systems routinely last 30+ years — typically as long as the tile floor above them. The thermostat is the only component that may need replacement during the floor's life (every 10–15 years).
In small rooms (bathrooms, mudrooms) with good insulation, yes — a heated tile floor can serve as the primary heat source. In larger rooms it's typically used as supplemental comfort heat alongside the home's main system. Our SmartPlan engineers will tell you which applies to your project.
Featured Projects




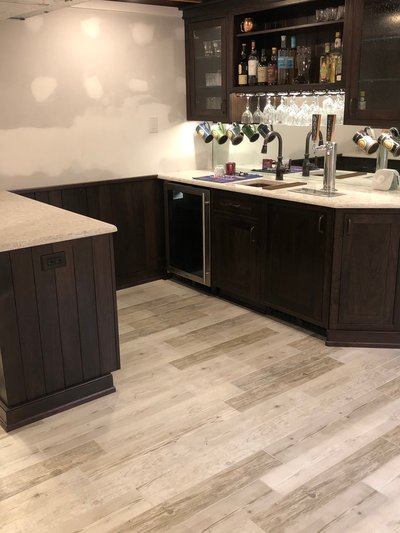


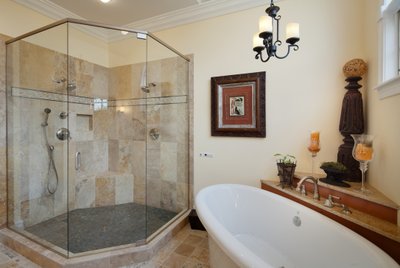


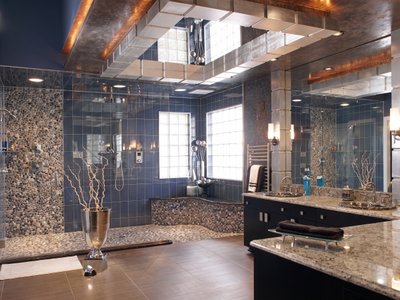

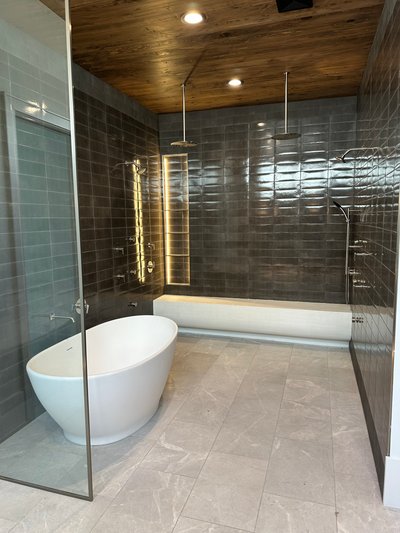











































Frequently Asked Questions
Showing 10 of 18 questions
Modified thinsets are stronger once cured. Most have additional anti-crack features, and better initial tack/grab (AKA less “slump”). They also are required for use with porcelain and glass tile.
7 people found this helpful
Was this helpful?
Approximately 3/8” to 1/2”, depending on tile thickness and thinset depth.
1 person found this helpful
Was this helpful?
Wait 7–14 days for the mortar to cure fully, as specified by the thinset or SLC manufacturer.
1 person found this helpful
Was this helpful?
To protect heating cables, always test resistance with an ohmmeter at every stage. Use a plastic notched trowel to avoid nicks, and never cut or shorten the heating cable. Promptly remove excess thinset from grout joints using a wooden stick or plastic tool rather than a sharp metal blade.
Was this helpful?
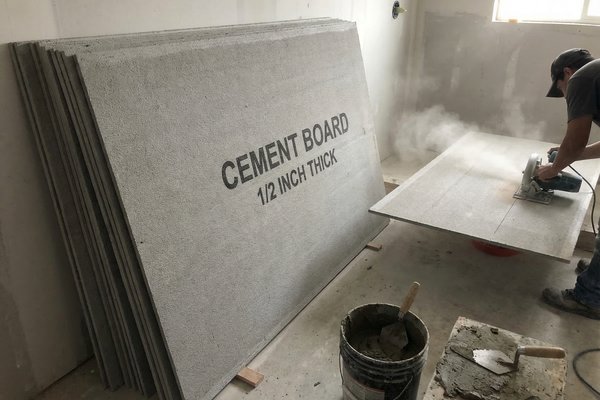
No, an uneven subfloor can cause tile lippage and stress the radiant heating cables, leading to cracks or system failure. Always level the subfloor using a self-leveling compound or patching material first. This creates a stable, flat surface that protects the heating elements and ensures a professional finish.
Was this helpful?
To safely clean grout lines without damaging radiant heating wires, avoid using metal blades or utility knives. Instead, use a wooden dowel or plastic tool to remove excess thinset while it is still wet. If the thinset has hardened, proceed with extreme caution using non-metallic tools to prevent nicks or cuts to the underlying heating system.
Was this helpful?
Never cut, shorten or splice the heating cable itself; cutting it damages the system. Only the non-heating cold lead can be shortened, as your product’s manual allows. Order the size your SmartPlan™ specifies, because unused cable can’t be cut off.
Some mats let you cut the mesh, never the cable, to turn or reposition them: TempZone™ and Environ™ Flex Rolls and Slab Heat mats. TempZone™ Easy Mats and Custom Mats are made to size and must not be shortened or cut. TempZone™ Cable has no mesh: lay all of it at the spacing on your SmartPlan™.
Was this helpful?
It’s highly recommended on concrete subfloors to prevent downward heat loss. Use ThermalSheet™ for best results.
Was this helpful?
We recommend it for temperature precision and energy efficiency.
Was this helpful?
Installation time depends on the room, subfloor preparation, heating layout, and tile assembly. TempZone mats or cable are installed in the approved mortar or underlayment below the tile, with the final electrical connection made by a qualified electrician. Do not energize the heating system until the mortar, underlayment, and grout have fully cured for the time specified by their manufacturers; a universal 24–48-hour waiting period is not appropriate.
Was this helpful?
For tile floors, electric radiant heating mats (like the WarmlyYours TempZone Floor Heating Mat) are the most popular choice because they embed directly in the thinset mortar layer without raising floor height significantly. For irregular room shapes, TempZone Flex Roll or TempZone Cable with Grip Strips offer more flexibility. All three systems work with ceramic, porcelain, and natural stone tile.
Was this helpful?
No—electric floor heating systems like WarmlyYours TempZone are designed for DIY installation. The heating mat or cable is embedded in the thinset mortar layer during tile installation, which most experienced DIYers can complete without a professional. However, the electrical connection to the thermostat should be done by a licensed electrician in most jurisdictions.
Was this helpful?
Tile, stone, and approved luxury vinyl tile/plank (LVT/LVP) are the best choices. These materials conduct heat efficiently and hold up well in bathrooms. Always check your flooring manufacturer’s specs for radiant heat compatibility.
Was this helpful?
TempZone™ shower heating mats are designed to be installed under tile, marble, or natural stone. These materials are ideal for wet locations and conduct radiant heat beautifully.
Was this helpful?
Large-format tile — any tile with a side longer than 15” — requires a subfloor flat to within ⅛” over 10 feet, and must be set with modified thinset rather than standard. Standard tile is more forgiving, tolerating up to ¼” over 10 feet. Flatter is always better over heating cables to prevent lippage and stress.
Was this helpful?
Yes, if the plywood is structurally sound, stiff, and within deflection limits — use exterior-grade, moisture-resistant plywood. For natural stone, two layers of plywood are mandatory. If the floor has any movement, add an uncoupling membrane first. A membrane cannot fix a framing problem, so correct structural bounce before you install.
Was this helpful?
Most bathroom flooring materials work great with radiant heating. The key is choosing materials that conduct heat well and resist moisture.
Excellent Choices:
Ceramic & Porcelain Tile:
- Best heat conductor (warms quickly)
- Moisture-resistant
- Easy to clean
- Most popular choice for heated bathrooms
- Durable and long-lasting
- Radiant heating for tile, marble, or stone floors
Natural Stone (Marble, Granite, Slate, Travertine):
- Excellent heat conductor and retains warmth very well
- Efficiently transfers heat from the system
- Floors feel luxurious and warm
- Thicker stones may take slightly longer to heat up initially, but then release heat slowly for consistent comfort
- Can potentially save energy due to excellent heat retention
- Moisture-resistant when properly sealed
- Premium aesthetic appeal
Luxury Vinyl Tile/Plank (LVT/LVP):
- Radiant-heat rated
- Waterproof
- Warm underfoot (more comfortable than tile)
- Popular choice for bathrooms
- Budget-friendly
- Explore bathroom LVT design options
Good Choices:
Engineered Hardwood:
- Compatible with radiant heating
- Requires careful moisture management
- Floating installation recommended
- Engineered wood floor heating guide
Laminate:
- Moisture-resistant varieties work
- Requires proper waterproofing
- Avoid standard laminate in high-moisture bathrooms
- Laminate floor heating guide
Avoid:
Solid Hardwood:
- Too sensitive to moisture and temperature fluctuations
- Risk of cupping, warping, or splitting
- Not recommended for bathrooms
Standard Carpet:
- Traps moisture underneath
- Creates mold risk
- Reduces heat transfer efficiency
Pro Tip: Tile and natural stone are the #1 choices for bathrooms because they combine excellent heat conductivity, moisture resistance, durability, and aesthetic appeal. LVT/LVP is an excellent budget-friendly alternative.
Bottom Line: Choose tile, natural stone, or LVT/LVP for best results. Avoid solid hardwood and standard carpet. These materials maximize comfort, durability, and the benefits of radiant heating.
Was this helpful?
Essential tools include a measuring tape, tile cutter, levelers, thinset mixer, and grout float. For radiant heating, you also need an ohmmeter to test cable resistance before, during, and after installation. WarmlyYours offers complete installation kits that include these specialized tools to ensure a successful project.
Was this helpful?
