We’ve known for some time that heat loss to a cement slab can drastically alter the performance of an electric floor heating system. Cement subfloors act as large heat sinks, in that they manage to consume a large portion of the heat produced and intended to heat the floor. A heating system installed directly on a cement subfloor can see a limited top-temperature, in addition to a much longer heat up time. Rest assured we have found a way around this dilemma.

Insulation.
For tile installations, we were thrilled to find a product called ThermalSheet. It was initially designed as a sound deadening membrane for use in condominiums and other buildings where limiting noise travel between floors was crucial. ThermalSheet also has the added bonus of offering some insulation value which means it was a great for use as heated floor insulation. ThermalSheet has an R-value of 1.5. Hot air rises, but heat, much like water, seeks out the path of least resistance. Insulation is essentially resistance, so when ThermalSheet is installed below the heating elements, the resistance inherent in the material is enough to redirect the heat upward through the flooring instead of down into the slab where it is, in essence, wasted energy.

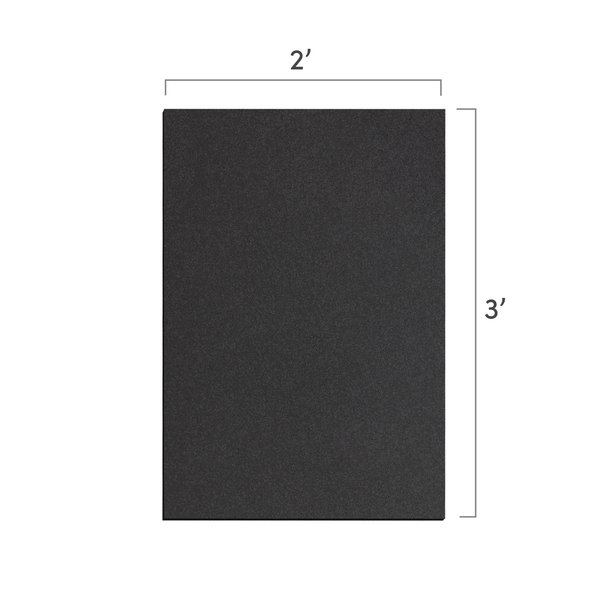
In addition to working as a heated floor insulation, ThermalSheet comes in 2 foot by 3 foot panels in a thickness of 6mm. ThermalSheet is a synthetic cork underlayment that will not rot, swell, or absorb water. It is also anti-microbial. According to the Robinson test, it has a light commercial rating, and in addition to providing acoustical benefits and insulation, ThermalSheet can also act as a crack suppression membrane up to a ¼”. This means cracks in your subfloor, of up to ¼” in width, will be prevented from damaging your tile floor.
Installation of heated floor insulation is fairly straightforward. You’ll want to start with a conditioned slab. First, inspect the concrete subfloor for any open cracks and if necessary fill them with a high-grade patch. Second, remove any excess concrete lumps or residue that may interfere with the installation of the ThermalSheet. Third, the concrete slab should be fully cured, dry, smooth, flat, and accept water penetration. Concrete must be free of efflorescence and not subject to hydrostatic pressure. A good quality concrete waterproof sealer may be required if moisture in the slab is above 10 percent. At this point it may even be necessary to assess the levelness of the slab, and if the slab is badly out of level, it is best to use a self-leveling compound and applicable primer to level the floor prior to installing the ThermalSheet.

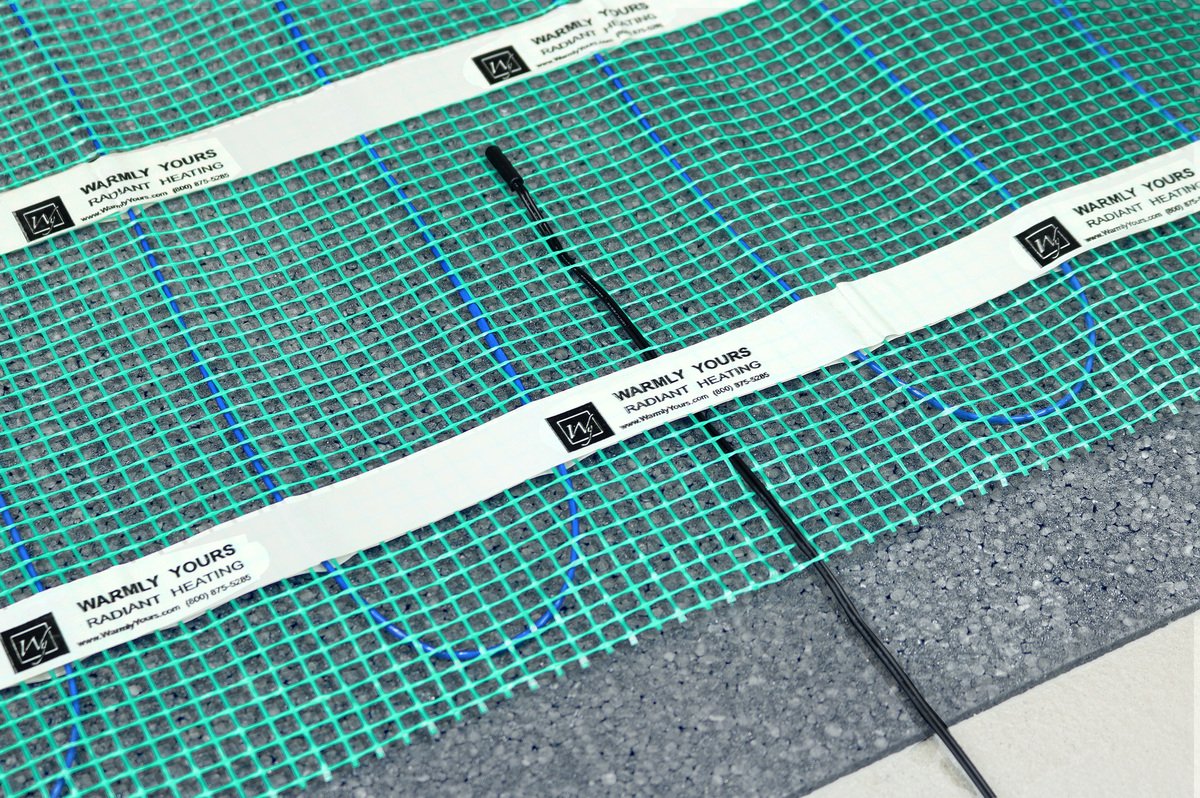
Using a 16th inch notched trowel, spread a layer of good quality latex modified thinset on the slab and then position the ThermalSheet into the thinset. Take care to stagger the seams just like brick work. Once the heated floor insulation is in place, locate a roller and roll out the floor to ensure the modified thinset has securely bonded the membrane to the subfloor. We recommend a 35 to 50 pound roller, but in a pinch a 100 pound roller can be used with good results. Once the ThermalSheet is rolled out and bonded with the subfloor, give it a day to cure and then it’s time to lay out the heating mat, followed by modified thinset and then start setting the tile over top of your
That thin layer of ThermalSheet acting as heated floor insulation will go to work for you in increasing the efficiency and output of your floor heating and in the long run will be saving you energy costs.
Happy Heating all around.
Have Questions About Your Project?
Our team of Radiant Experts is ready to help!
Comments
Stay Updated
Get the latest radiant heating news and tips delivered to your inbox.


can i install vinyl plank instead of tile
Thanks for reading and taking the time to ask a question! The short answer is yes! You can absolutely install vinyl plank with electric radiant heating. The heating element (and insulation) are embedded in self-leveling compound and then the vinyl plank floor covering is installed over that. Hope that helps but please reach out to us at 1-800-875-5285 if you have any questions.