 Albert Einstein once said: “When a man sits with a pretty girl for an hour, it seems like a minute. But let him sit on a hot stove for a minute and it’s longer than any hour. That’s relativity.”
 Similarly, a 20-year-old man or woman is considered young, whereas an asphalt driveway that is 20 years old is well past its prime. It’s all relative! But in the case of an old driveway, its age really matters. According to an Angie’s List article: “If your asphalt driveway is approaching 20 years old … it’s probably time to just completely redo the whole thing. After many years spent in the elements, these materials just start to fail. Trying to patch these ancient driveways is normally not worth the effort, since new issues will almost certainly arise as soon as you’ve patched the old ones.”
 So, if your driveway is at the end of its lifespan — as sad as it may be — it’s time to replace it. However, when one door closes, another one opens. If you live in a cold climate, this is your chance to consider heating your driveway with radiant heat!
 Many homeowners don’t know that electric snow-melt cables have the unique ability to withstand the high temperature of hot asphalt, so they might not even realize that a heated driveway is a possibility for them. In contrast, hydronic systems (which are another under-floor heating option that consist of hot water pumping through plastic tubing) cannot be installed under asphalt because they will melt. Because electric radiant heating systems can resist melting, they are a great option for heating an asphalt driveway!
But where should you begin? First, you’ll need to hire a contractor and electrician to install the driveway and heating system, respectively. Below are the steps they’ll take to replace your driveway and install a snow-melting system.
Step 1: Demolition
The contractor starts by using machinery to tear up your existing driveway. The debris is hauled away, leaving a fresh area to work with.
Step 2: Excavation
Then, the team excavates the area, ensuring that the top of the driveway will be higher than the bottom. This will result in proper water drainage, which will reduce any premature deterioration of the driveway and prevent water from flooding the home.
Step 3: Apply Sub-Grade
Using shovels and rakes, the team spreads the sub-grade material evenly across the driveway area. Then it is wet down and compacted to form a strong support system for the forthcoming driveway.
If the driveway consists of materials like clay, sand or top soil, you’ll also need to add road base on top of the sub-grade. Road base consists of recycled, crushed concrete and will help to further stabilize the driveway and make it even more durable.
Step 4: Spread Asphalt and Install Radiant Heat

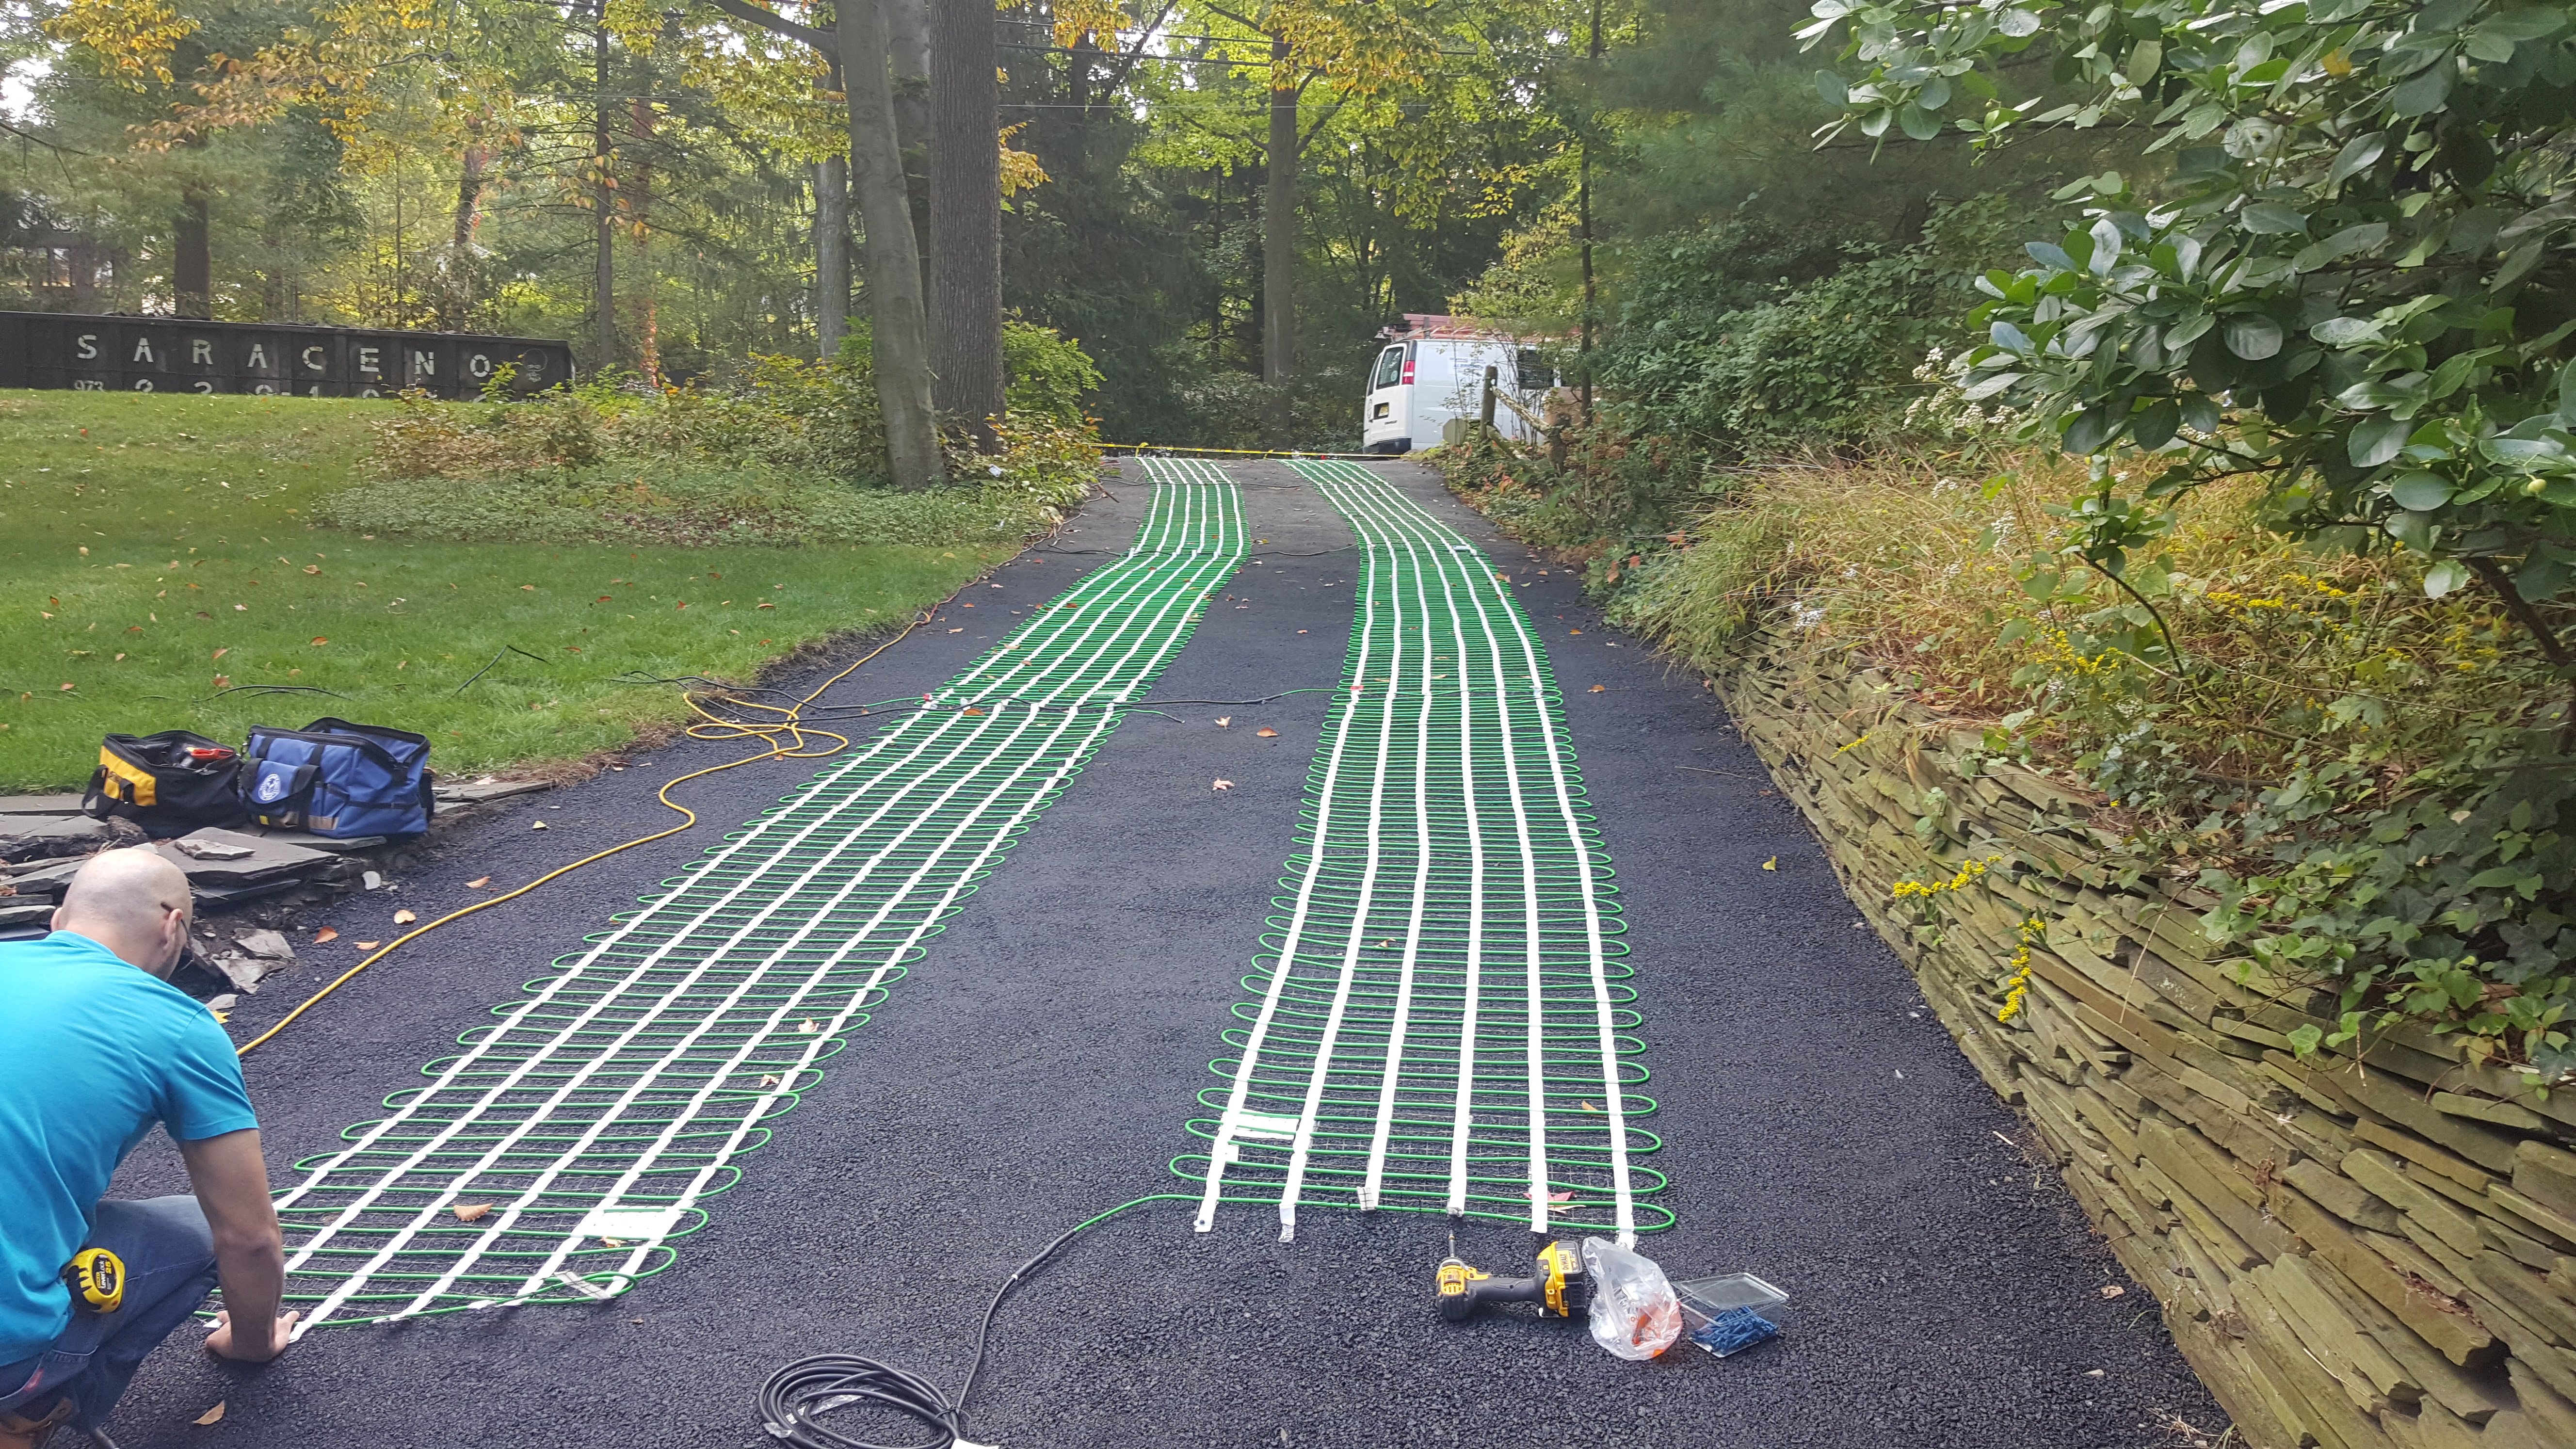
Now that the sub-grade and road base are in place, the contractor is ready to lay the asphalt. This means it’s also time to prepare your snow-melting cable. The contractor should lay the asphalt in “two lifts.” This means they’ll install one layer of asphalt and compact it before laying the second layer. This gives you and your electrician the perfect window in which to install a heated cable.
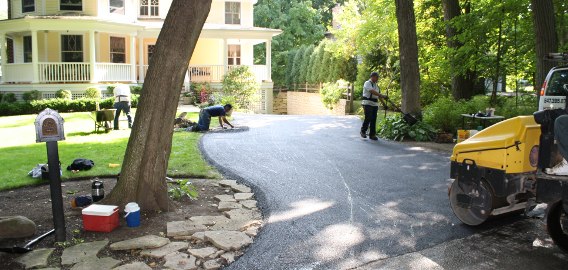
After the first layer of asphalt is laid and compacted, the heating cable installer should roll out the cable with the mesh side up. Then it should be staked down to the layer of asphalt using stakes provided by the electrician. An easy way to do this is to have one person unroll the heating mat as the second layer of asphalt is shoveled on top. It’s important that the heating cable is covered by at least 2 inches of asphalt and that the second layer of asphalt is spread manually with shovels and rakes. Heavy machinery should not be used while the heating cable is exposed. However, once the asphalt is leveled and ready for compacting, it can be rolled with a steam roller.

As the cable and asphalt are being installed simultaneously, the electrician should be using a megaohmmeter and multi-meter to test the functionality of the heating cable. That way, if the heating cable is damaged, you’ll be alerted before you finish asphalting. Once the heating cable is entirely in place, the electrician should route the cold lead to a weatherproof junction box. Finally, the electrician should test the heating cable one more time to make sure it will be ready when the snow starts falling next winter!
Now that you’re aware of what your project will entail, it’s time to get started! Visit www.warmlyyours.com to get an instant quote that will tell you what products are recommended for your space and how much they cost. For full installation instructions, please consult WarmlyYours Radiant Heating’s Snow-Melting Systems Installation Manual.
Sources:
AllAboutDriveways.com: https://www.youtube.com/watch?v=z7jmib1ztQ0
Angie’s List: https://www.angieslist.com/articles/driveway-repair-should-you-patch-resurface-or-replace.htm
Have Questions About Your Project?
Our team of Radiant Experts is ready to help!
Stay Updated
Get the latest radiant heating news and tips delivered to your inbox.
