

Innovations within the electric floor heating industry have provided an expansion of product offerings and installation practices. Specifically, the Prodeso uncoupling membrane has emerged within the past few years and installation experts, like Phil Green, are finding an easier time installing heated floors.
Phil is the owner and chief participating contractor of P.G.C Construction, Remodeling, and Design headquartered in Gilberts, IL. As a remodeling contractor for over 39 years, Phil develops and practices skills in all trades associated with the home remodeling industry. Phil attends major trade shows regularly related to the tile and floor warming industry and has been involved with main stage demonstrations during these shows. His knowledge, expertise, and experience has earned him a reputation as an expert in the field. Recently, WarmlyYours released a video titled ‘Tips for Installing Floor Heating with an Uncoupling Membrane’ hosted by Phil Green, himself. Throughout the span of the instructional video, 23 tips were featured. We have narrowed and consolidated the information down to 10 tips for your convenience.
Tip 1: Clean the Subfloor
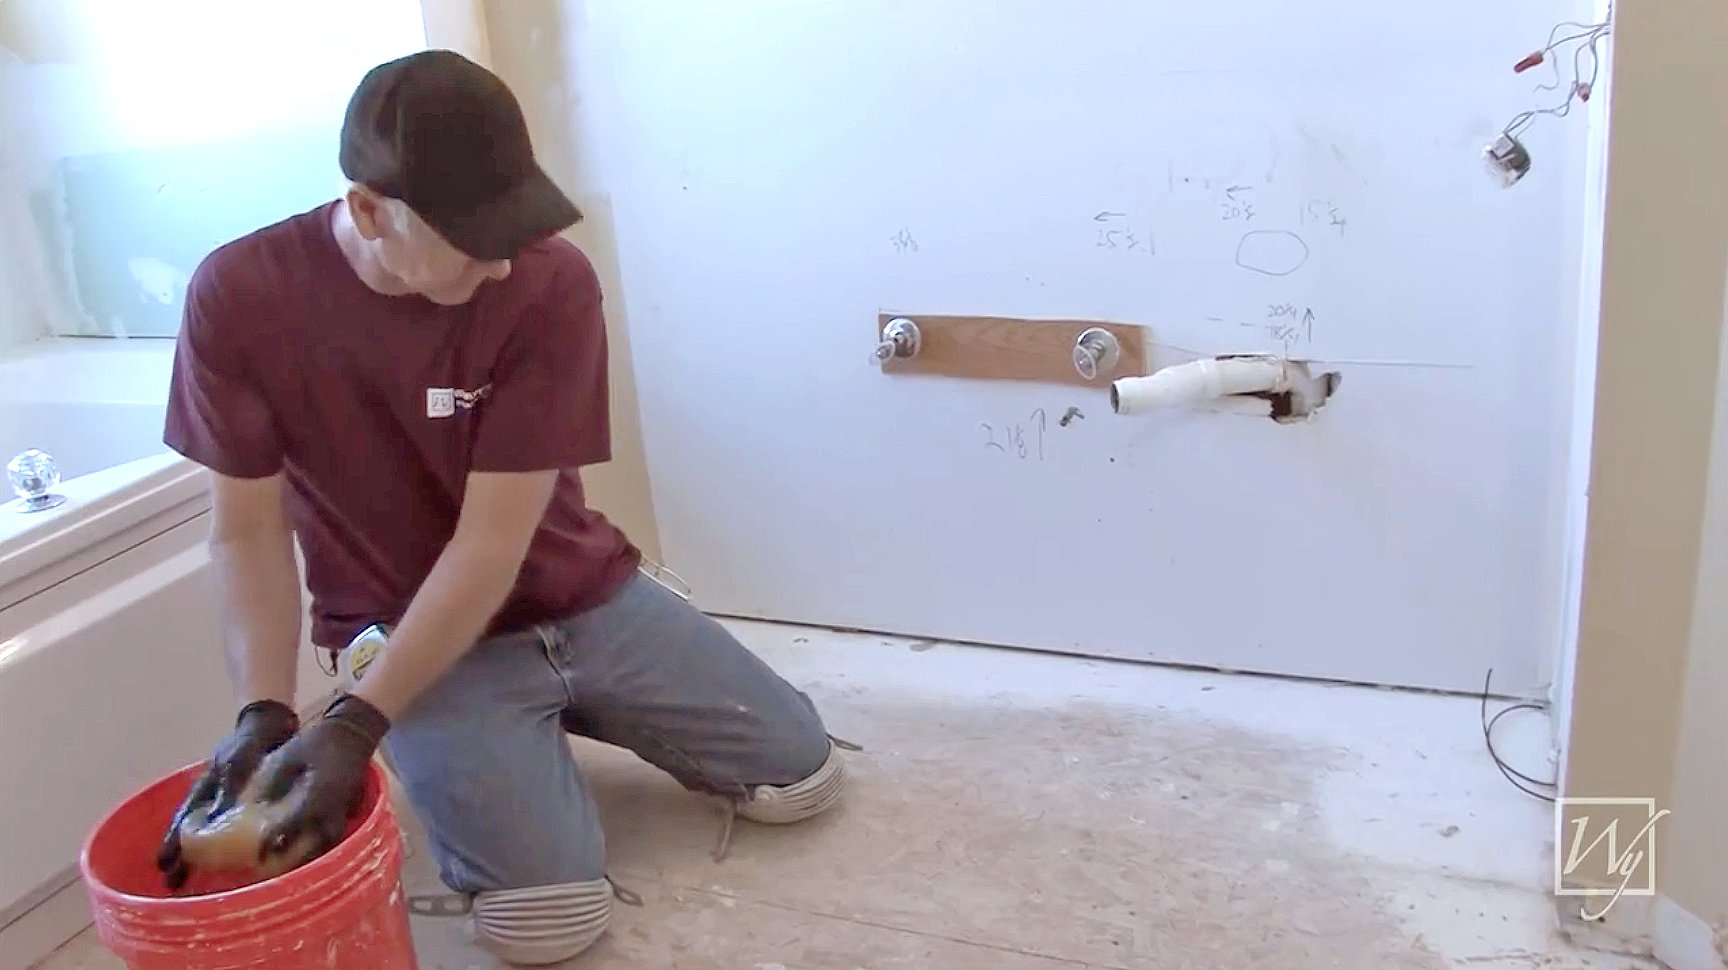
Be sure to clean the substrate of grease, oils, wax, and dust before installation. A subfloor is easy to clean when you have the right cleaning supplies. Primarily, the objective is to clean the foundation’s surface of any and all contaminants. If you're working with a plywood subfloor, consider prepping with a stain-resistant surface finish to improve durability.
Tip 2: Pre-cut the Membrane Based on Installation Plan
An easier installation means planning out and pre-cutting the floor underlayment into ready-to-go pieces. Locate a pair of scissors or a box cutter and begin cutting along the channels created by the rounded square nodules. Use a measuring device to confirm that the dimensions on the installation plan match the pre-cut membrane sheets just prior to installing. If dimensions of the project change at any point, just give us the new measurements and we will get a new plan to you, typically within 24 hours.
Tip 3: Layout of the Membrane
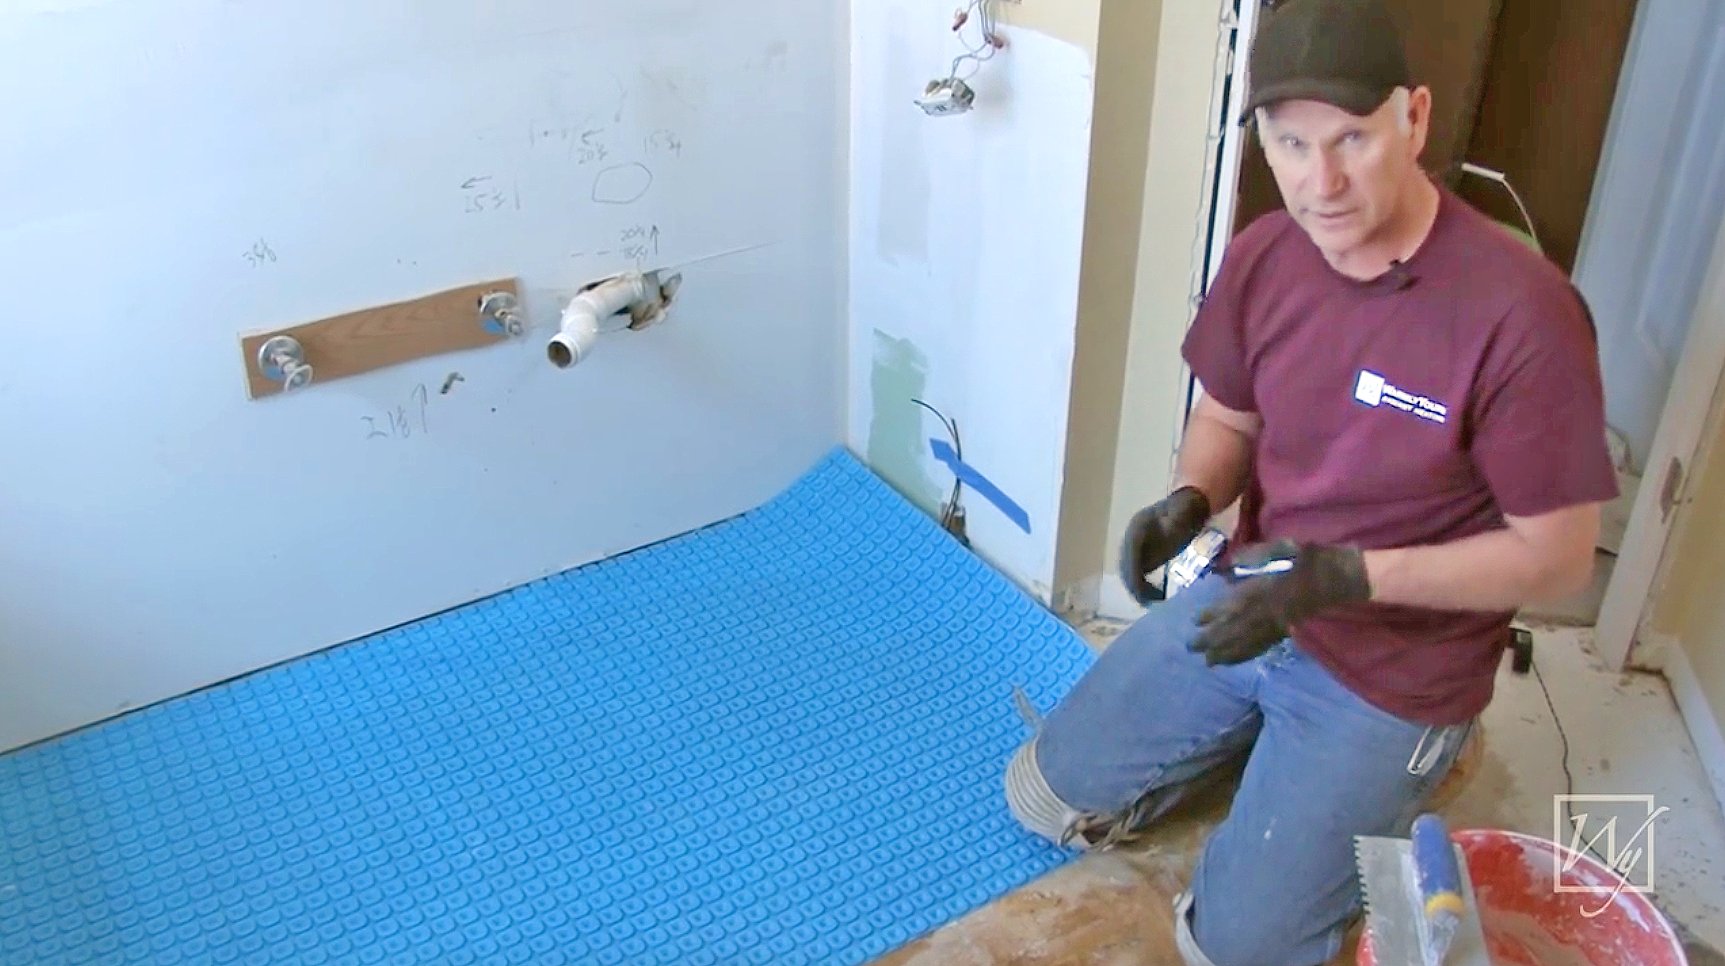
The next step is to mark where the membrane sheets are to be placed. Draw an outline of each section of underlayment with a writing utensil. If done correctly, the lines will be drawn where each piece converges. Make sure to reference the WarmlyYours installation plan, double checking that the placement is correct. Coverage should shield the entire area intended to receive floor heating. Use cardboard as a footprint to represent permanent fixtures such as the toilet flange and cover them with a cardboard cutout that you can make in the field.
Tip 4: Align Cable Channels
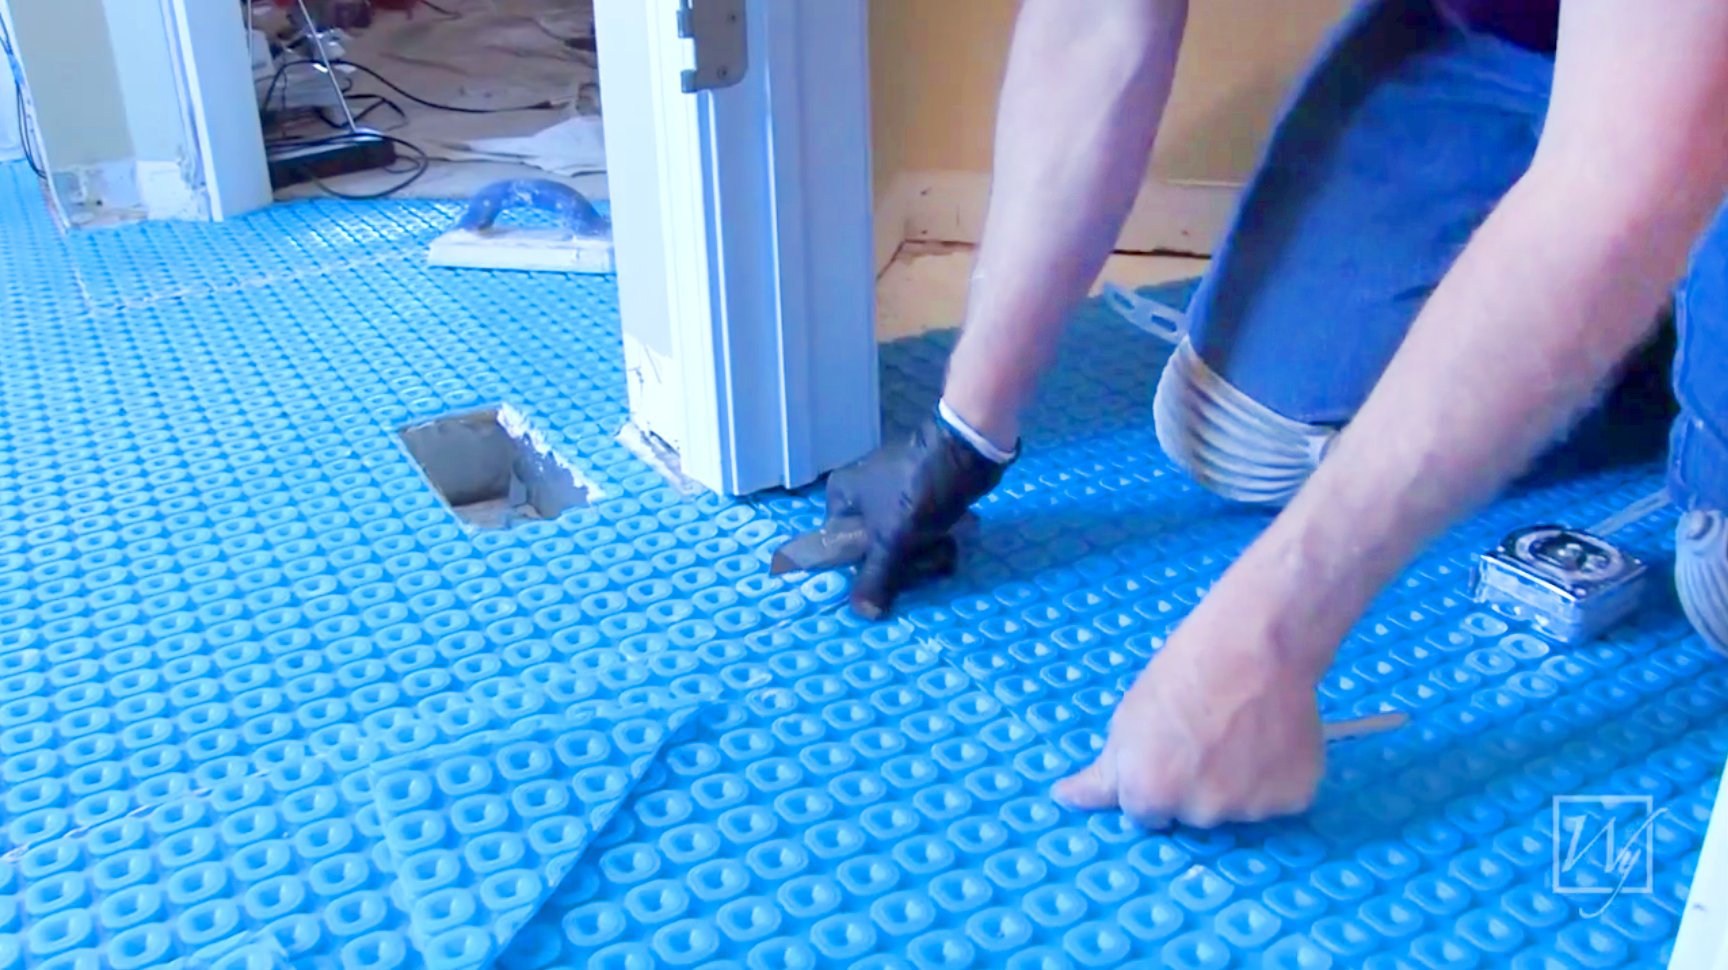
Start by examining the intersections of the underlayment. Properly align your sheets so that the channels between adjoining sheets match up. Many times, the dimensions of an area (for example a kitchen with a breakfast nook) aren’t perfectly square. It’s alright to cut the underlayment through the nodules to form alternative shapes.
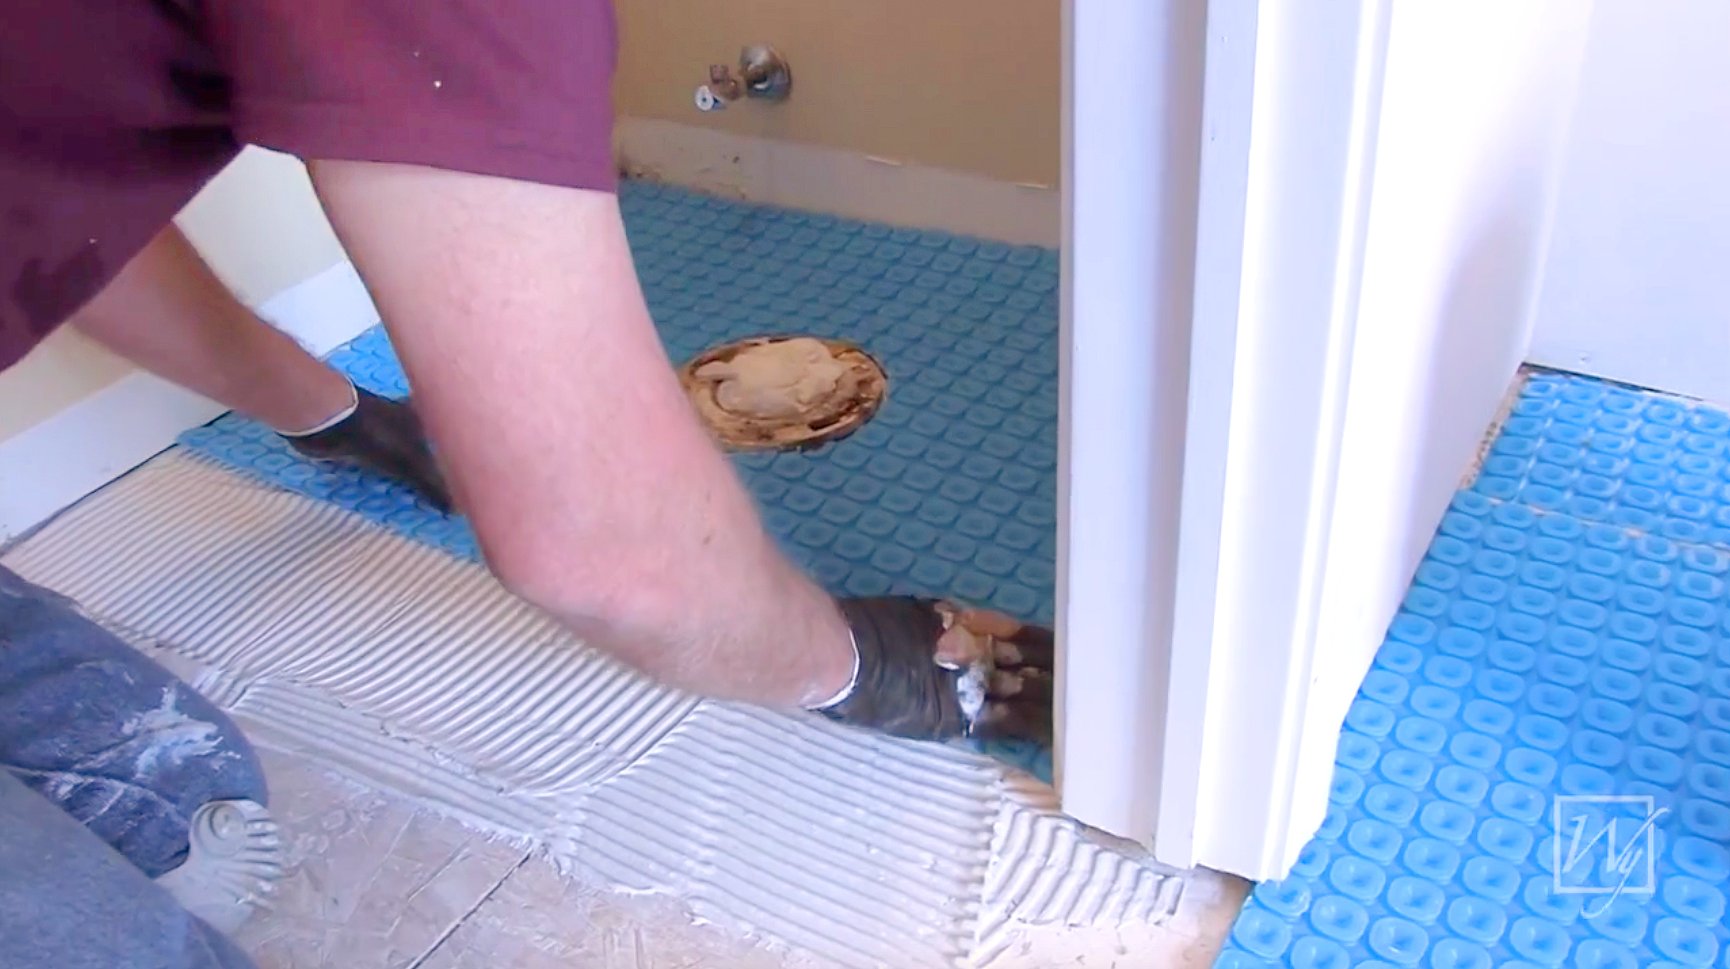
Tip 5: Press the Membrane
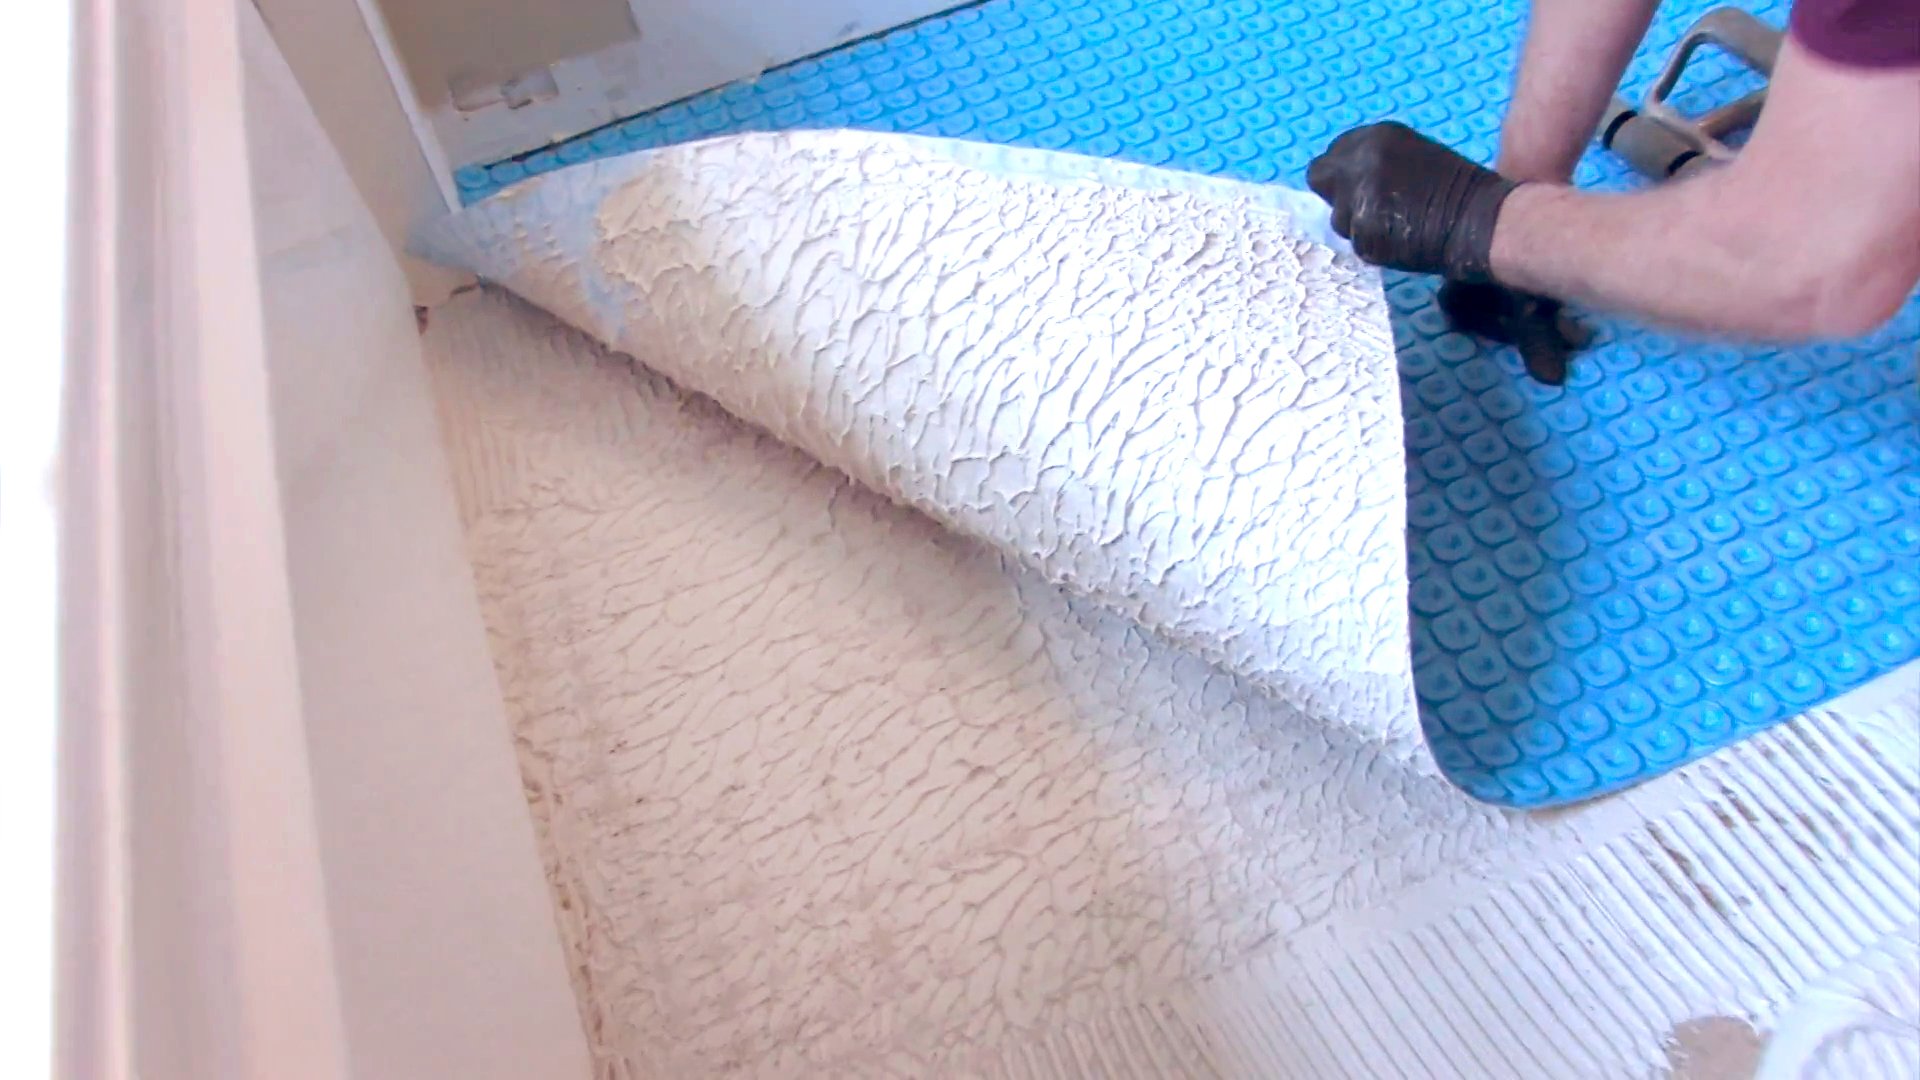
Use the flat side of a trowel to key in the adhesive and the notched side to spread it on. Then you can lay down the sheets of membrane. If you have a roller, plastic trowel, or float in the vicinity, apply pressure with one of these tools. Lift up a corner of the membrane and pull it back occasionally to make sure you have good coverage. If there is spotty coverage, don’t fret, just increase the amount of adhesive.
Tip 6: Use a Float to Secure the Straight Runs of Cable

Now it's time to install the floor hating cable itself. A float is really going to help speed up this step because not only does it make the cable easy to install, but it also prevents damage to the cable. Phil used a float to install the cable with minimal effort. A metal trowel could damage the heating cable, so for this step, use a float with a smooth rubber or plastic surface.
Tip 7: Check the Halfway Point
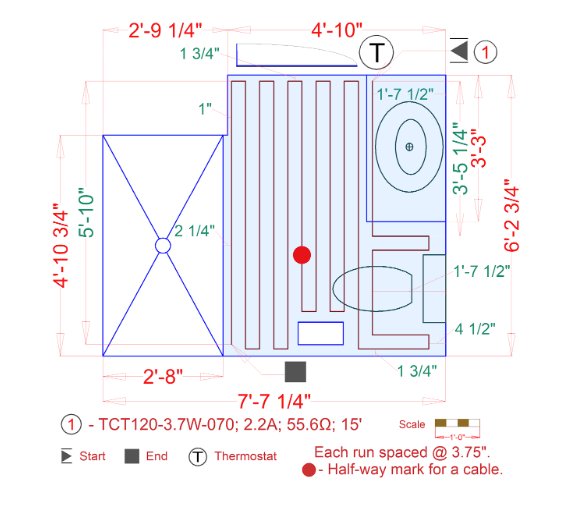
Remember to check if the halfway mark on the cable is correctly located according to your SmartPlan. The halfway point on the plan is illustrated by a red dot. You will find the halfway point indicated on the cable with white tape. If you end up too much or too little cable, this could be for several reasons. The cable may be spaced too closely, too far apart, or the dimensions of the room do not match the dimensions in the plan. If this happens, don’t hesitate to call 800-875-5285 to speak with a radiant heating professional.
Tip 8: Test Before, During, and After Installation
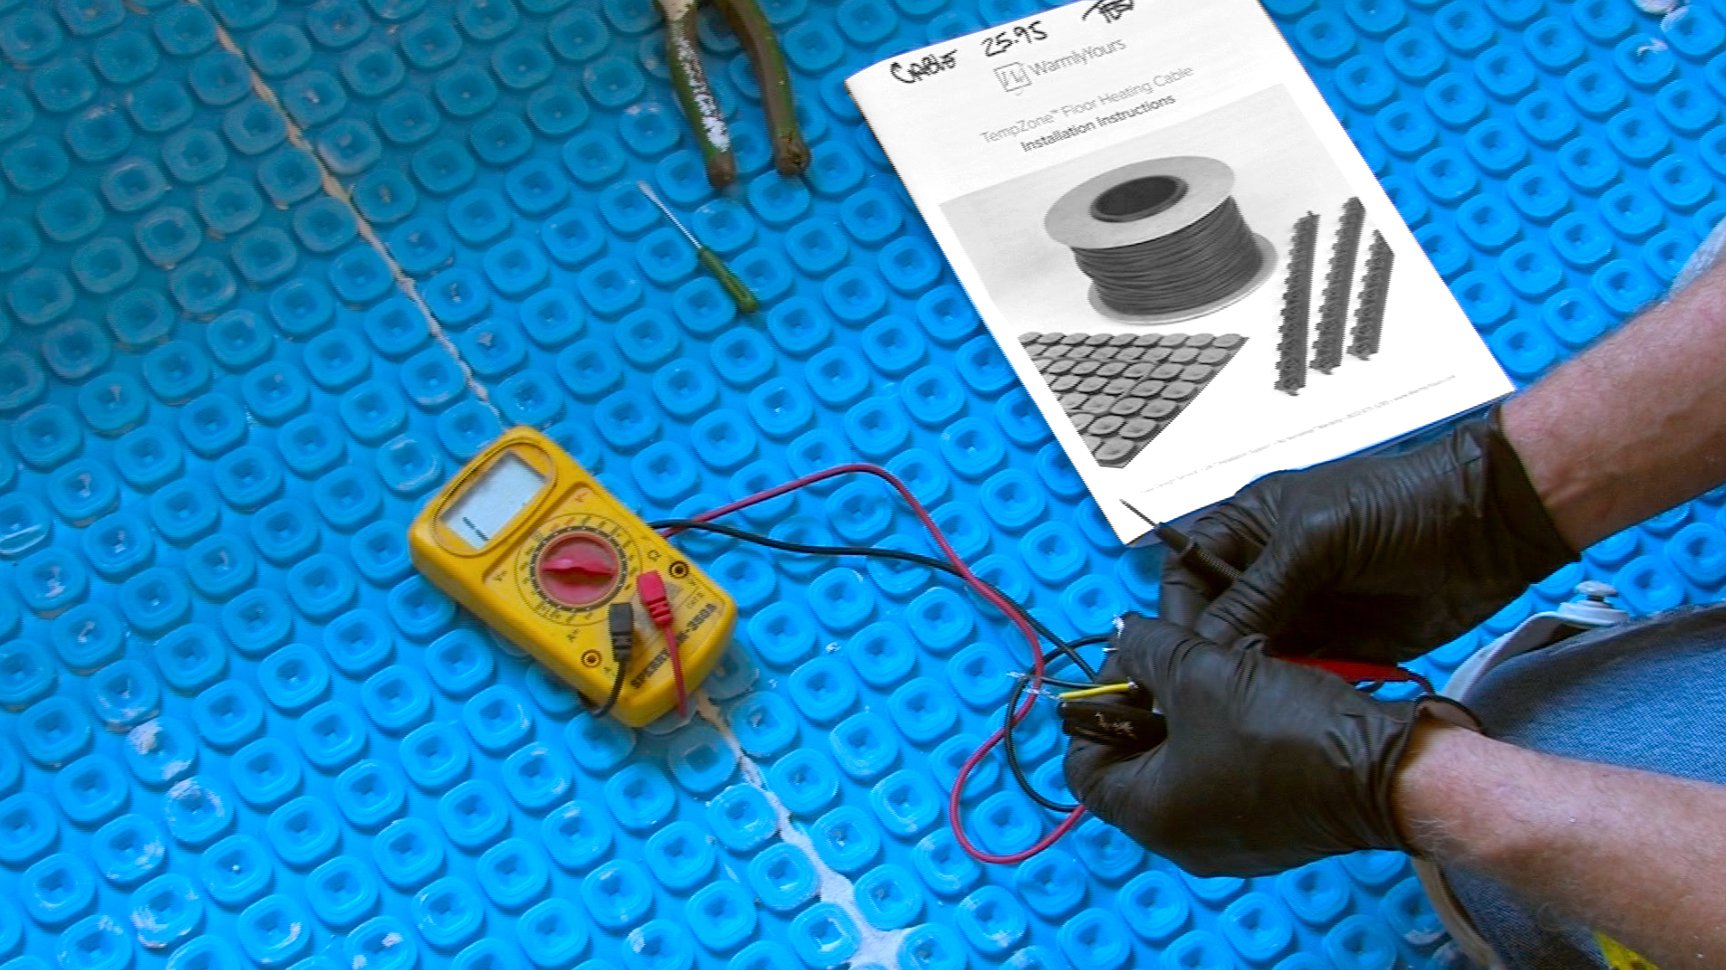
If there's one thing that separates a good install from a bad one, it’s consistent testing of the heating cable. Every cable that our company sells has undergone testing before leaving the warehouse. However, “stuff happens” in transit and/or during installation onsite. The purpose of the test is to check if damage has occurred which could affect the resistance in the cable.
Refer to this step by step guide for more information about how to properly test your heating cable.
Tip 9: Prevent Tile Lippage During Installation
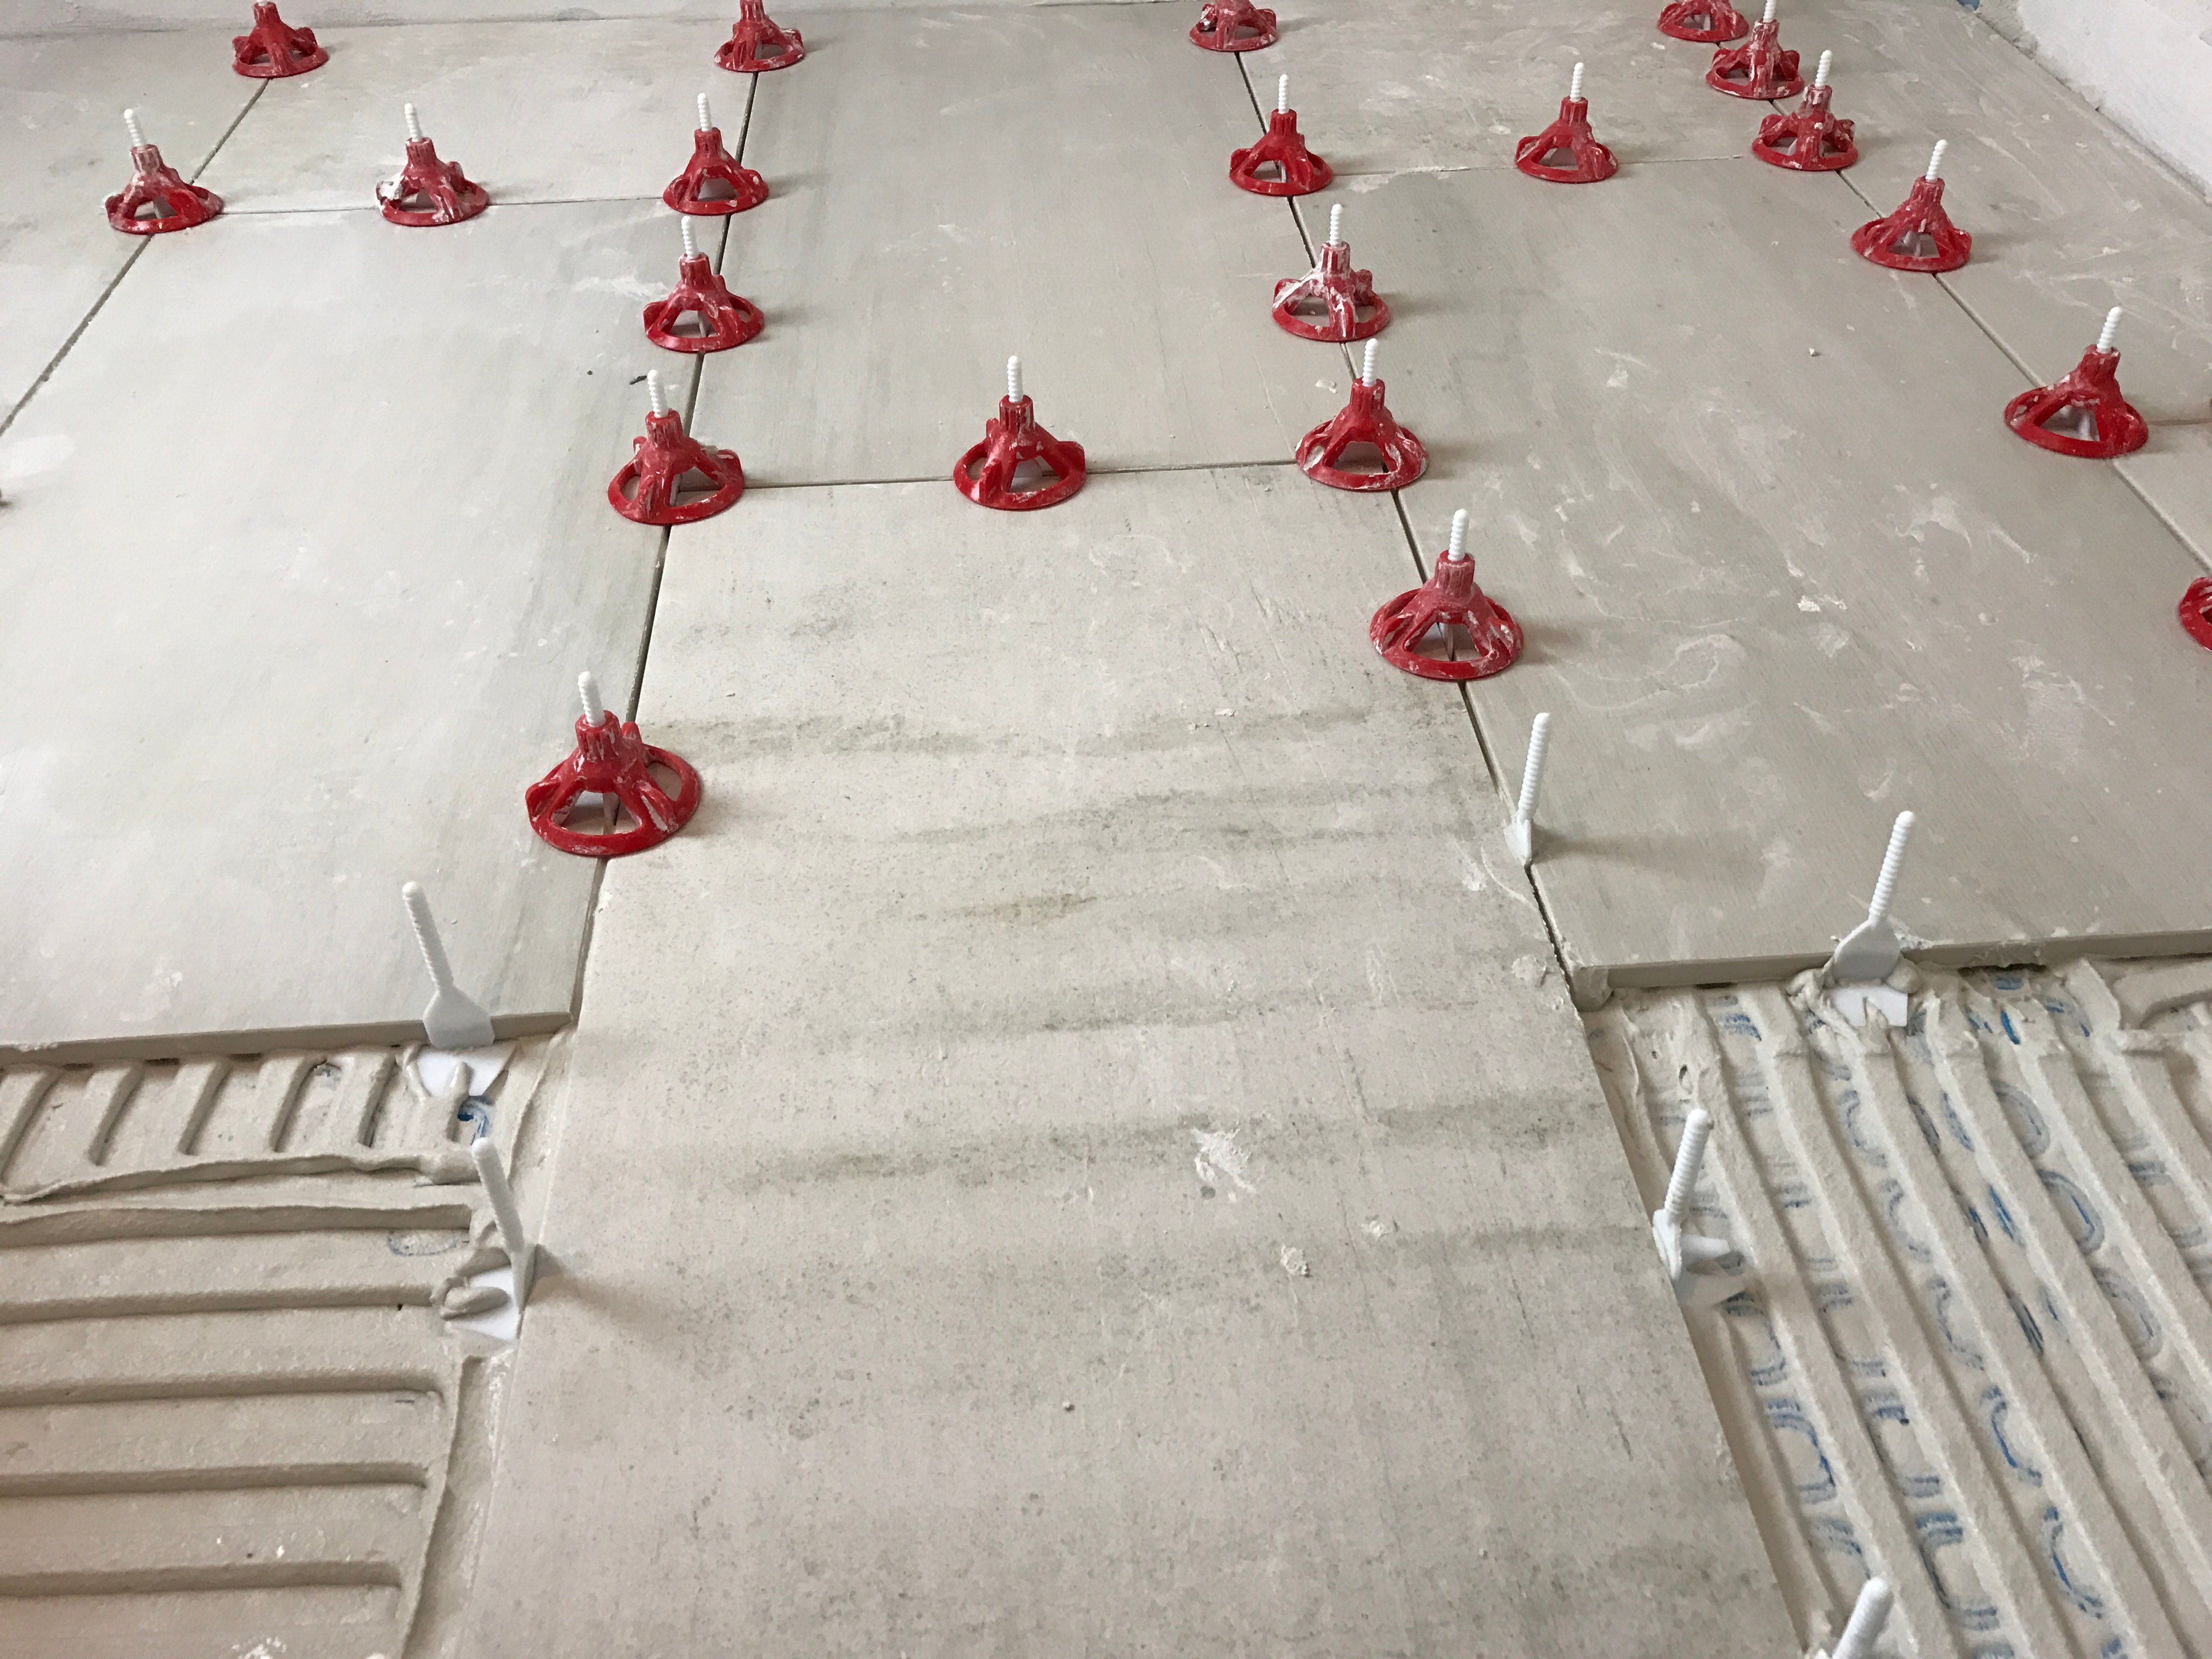
Tile lippage happens when a tile is set too high or too low in relation to adjoining tiles. When a customer walks around, the types of floors rendered compatible with Prodeso underlayment (like tile, marble, or stone) will be subject to differential pressure due to the uneven levels. And this shifting can lead to cracking or tile delamination. You can ensure a level floor with the Spin Doctor tile leveling system which will make sure that all of the tiles stay level with one another.
Tip 10: Make Sure the Floor has Fully Cured
Recently completed projects require time for the adhesives (like thinset) to cure. After installing underlayment and tile, the curing stage begins. Before turning on your floor heating system be sure that the thinset has completely cured. Turning on the heating system too early can result making the thinset brittle, which can cause failures such as the tiles breaking orpopping out of place.
In summary, we hope that you were able to take away a few of the tips that Phil Green shared. If you require any clarification, please check out the video or give us a call at 1-800-875-5285. Keep the conversation going by commenting below with any ideas or questions you'd like to share with the WarmlyYours community. Thank you for learning with us and have a radiant day!
Have Questions About Your Project?
Our team of Radiant Experts is ready to help!

Related Articles


Stay Updated
Get the latest radiant heating news and tips delivered to your inbox.