Floor Heating with Prodeso Membrane & Tile Flooring
Follow our detailed guide and learn how to install a floor heating system for a bathroom with Prodeso Membrane and Tile.
What is Floor Heating?
All radiant heating systems rely on a thermal mass. The heat moves from the source (Heating Element) into a thermal mass (thin-set) and spreads out and warms the floor without creating an excessively hot spot. In the WarmlyYours Floor Heating System the thin-set and/or self-levelling cement acts as a thermal mass. It is important to follow the installation guidelines to create a proper thermal mass.
Learn More About Floor HeatingStart Smart with a Free SmartPlan
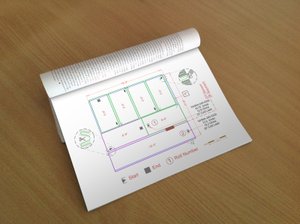
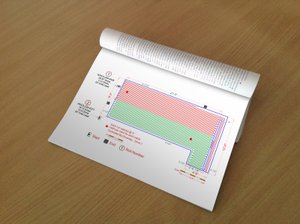
Perhaps the most important stage in installing a floor heating system is getting a good installation plan.
WarmlyYours provides a free, no-obligation SmartPlan that includes an installation plan, an electrical plan, and an itemized quote, all of which is prepared by a highly skilled team of engineers.
All you have to do to take advantage of this service is to provide WarmlyYours with a sketch of the project that includes dimensions and other relevant information, like where power will be most readily accessible.
The WarmlyYours Floor Heating System must not be installed under cabinets or plumbing fixtures that will be permanently installed and attached to the floor. Built-in cabinets and other furniture or fixtures with solid bases must not be placed on the heated portion of a WarmlyYours system. Additionally carpets or area rugs thicker than 3/4” should be avoided, as they act as an insulator over the heated area, reducing the efficiency of the installation.
Request a Free SmartPlanWhen to Install a Floor Heating System in a Basement
Because floor heating is installed beneath the floor covering (or within a concrete slab), the best time to install radiant heating in a basement is either when the basement is being built during new construction or when it is a part of a remodel where the pre-existing floor is going to be replaced.
If you're building a new construction project, we recommend embedding our Slab Heating Mats or Slab Heating Cables within the cement slab itself. You'll want to install the heating mats so that they are between 2" to 3" from the finished flooring surface and you won't want to use any floor coverings or underlayments with a high degree of thermal resistance or the performance of the heating system may be negatively impacted.
For remodeling projects, like the one featured in this design guide, a heating element is installed above the cement slab but below the flooring surface.
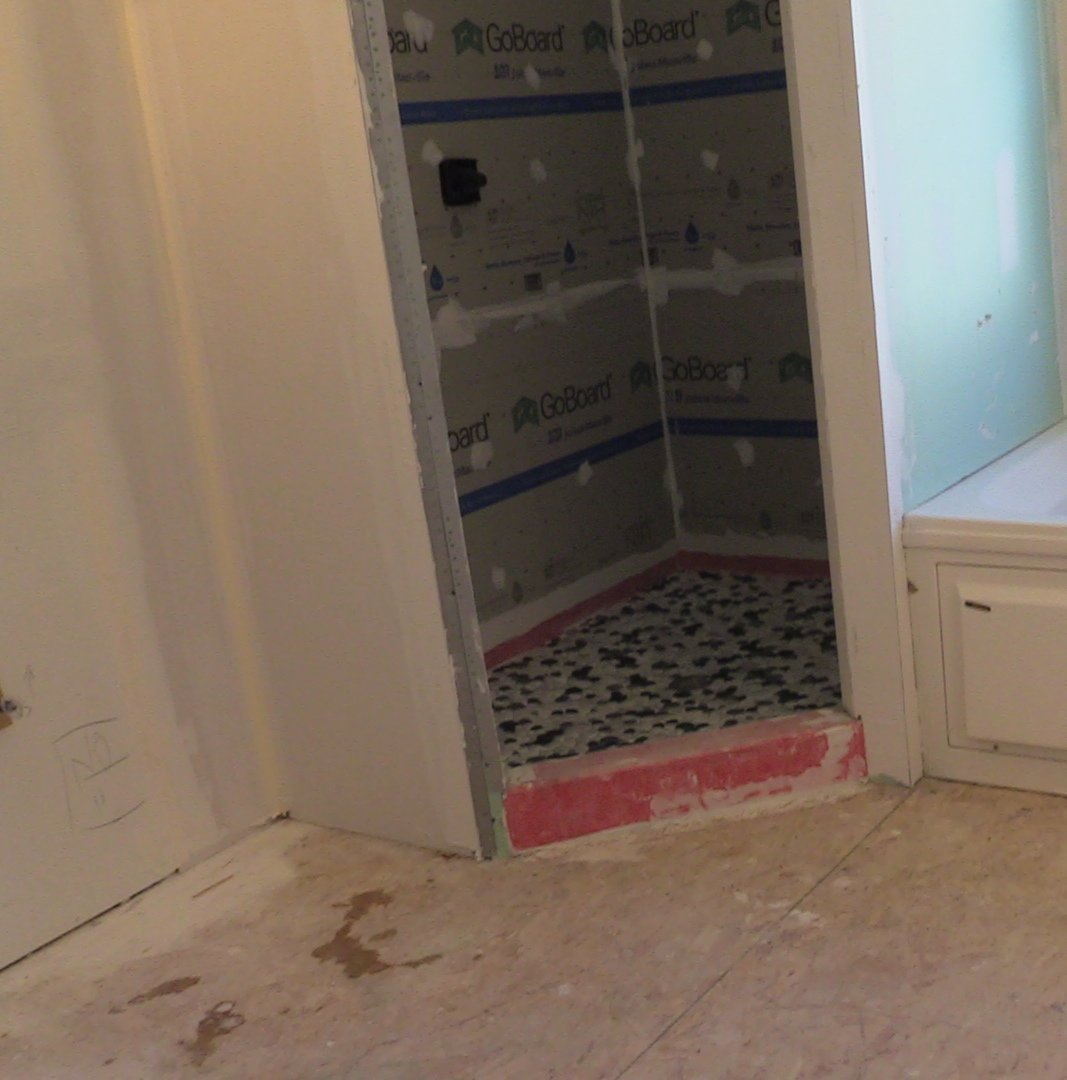
Installing the Floor Heating System
Materials needed:
- WarmlyYours Floor Warming Cable
- Prodeso Membrane
- Thermostat with Sensor Probe
- Custom Design Layout (provided no charge with quote)
- Digital Ohm Meter
- Circuit Check (sold separately)
- Scissors
- Modified Thinset Mortar
- Flat Rubber Trowel, Square Notched Trowel

Step 1. Clean the Subfloor
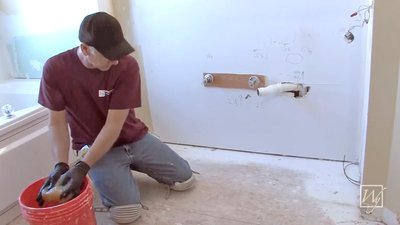
Verify dimensions on plan match the location’s actual dimensions. Prepare the subfloor to be clean and free of debris. A subfloor is easy to clean when you have the right cleaning supplies.
Primarily, the objective is to clean the foundation’s surface of any and all contaminants.
If you're working with a plywood subfloor, consider prepping with a stain-resistant surface finish to improve durability.
Step 2. Pre-cut the Membrane Based on Installation Plan
An easier installation means planning out and pre-cutting the floor underlayment into ready-to-go pieces. Locate a pair of scissors or a box cutter and begin cutting along the channels created by the rounded square nodules.
Use a measuring device to confirm that the dimensions on the installation plan match the pre-cut membrane sheets just prior to installing. If dimensions of the project change at any point, just give us the new measurements and we will get a new plan to you, typically within 24 hours.
Step 3. Layout for the Membrane
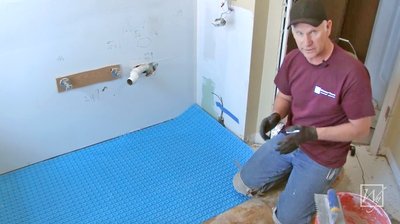
The next step is to mark where the membrane sheets are to be placed. Draw an outline of each section of underlayment with a writing utensil. If done correctly, the lines will be drawn where each piece converges. Make sure to reference the WarmlyYours installation plan, double checking that the placement is correct.
Coverage should shield the entire area intended to receive floor heating. Use cardboard as a footprint to represent permanent fixtures such as the toilet flange and cover them with a cardboard cutout that you can make in the field.
Step 4. Align Cable Channels
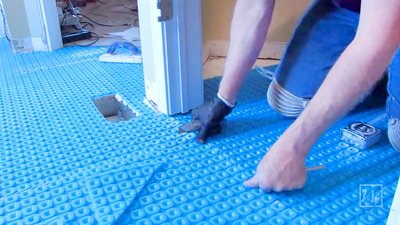
Start by examining the intersections of the underlayment. Properly align your sheets so that the channels between adjoining sheets match up. Many times, the dimensions of an area (for example a kitchen with a breakfast nook) aren’t perfectly square.
It’s alright to cut the underlayment through the nodules to form alternative shapes.
Step 5. Membrane Installation
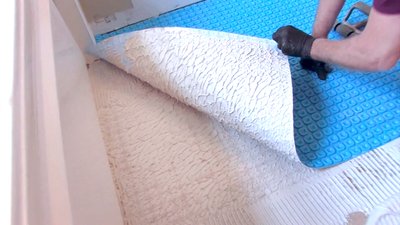
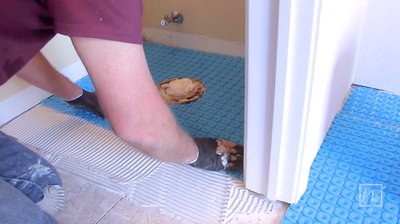
The uncoupling membrane is laid directly over the entire surface intended for tile installation and adhered with the latex modified Portland cement mortar using 1/4” x 3/8” square or U-notched trowel.
Use the flat side of a trowel to key in the adhesive and the notched side to spread it on. Then you can lay down the sheets of membrane.
If you have a roller, plastic trowel, or float in the vicinity, apply pressure with one of these tools. Lift up a corner of the membrane and pull it back occasionally to make sure you have good coverage.
If there is spotty coverage, don’t fret, just increase the amount of adhesive.
Step 6. Cable Installation
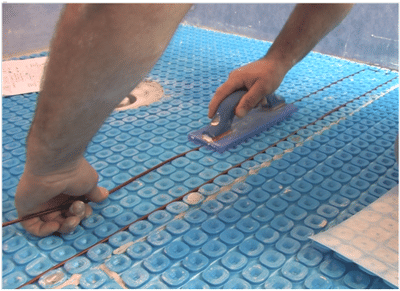
Now it's time to install the floor hating cable itself. A float is really going to help speed up this step because not only does it make the cable easy to install, but it also prevents damage to the cable. Phil used a float to install the cable with minimal effort.
A metal trowel could damage the heating cable, so for this step, use a float with a smooth rubber or plastic surface.
Step 7. Check the Halfway Point
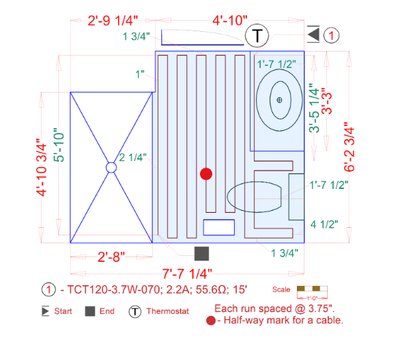
Remember to check if the halfway mark on the cable is correctly located according to your SmartPlan. The halfway point on the plan is illustrated by a red dot. You will find the halfway point indicated on the cable with white tape.
If you end up too much or too little cable, this could be for several reasons. The cable may be spaced too closely, too far apart, or the dimensions of the room do not match the dimensions in the plan. If this happens, don't hesitate to call 800-875-5285 to speak with a radiant heating professional.
Step 8. Test Before, During, and After Installation
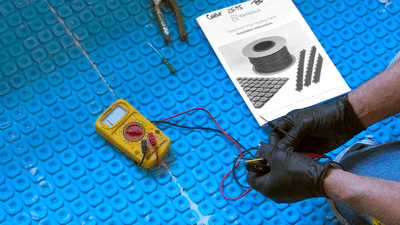
If there's one thing that separates a good install from a bad one, it’s consistent testing of the heating cable. Every cable that our company sells has undergone testing before leaving the warehouse.
However, “stuff happens” in transit and/or during installation onsite. The purpose of the test is to check if damage has occurred which could affect the resistance in the cable. Refer to this step by step guide for more information about how to properly test your heating cable.
Step 9. Sensor Installation

Install the floor sensor 6” into the heated area directly centered between the heating wires. NEVER staple the heating wires or floor sensor wire. Always test a floor sensor and verify 8-15 kOhm resistance. A secondary backup sensor may be installed, but only one can be connected to a thermostat at a time.
Step 10. Making Sure the Manufacturer’s Splice is Embedded.
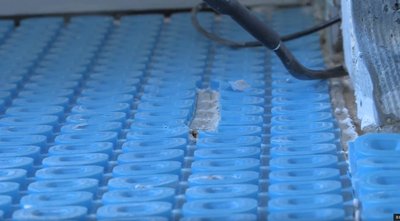
The power lead is 15-feet in length. The lead is spliced to the Heating Element at the factory. If necessary, this lead wire may be shortened or even extended. Please note the thickness of the factory splice and cold lead and plan accordingly. Mark where the factory splice will be placed.
Cut the matting or membrane and insert splice. It may be necessary to secure the splice to the floor with hot glue, adhesive or thinset. The factory splices must be completely embedded in thinset.
Step 11. Tile Installation and TempZone Floor Heating Cross-Section
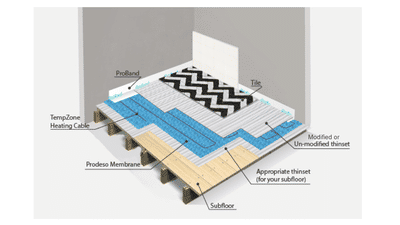
Be careful while applying the adhesive on the membrane not to damage the heating cable with the flat/notched trowel. Tiles can be immediately laid after the installation of the heating cables is completed.
Using the flat side of the trowel fill with thin set mortar the cavities of the membrane. Apply additional of the same mortar with a notched trowel over according to the tile size. Both modified (ANSI A118.11) or unmodified (ANSI 118.1) thin sets can be used when installing tiles to Prodeso Heat Membrane.
Please consult with your thin set manufacturer for proper thin set selection and proper curing time for your specific installation.
Step 12. Prevent Tile Lippage During Installation
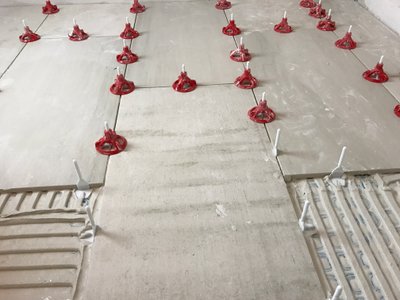
Tile lippage happens when a tile is set too high or too low in relation to adjoining tiles. When a customer walks around, the types of floors rendered compatible with Prodeso underlayment (like tile, marble, or stone) will be subject to differential pressure due to the uneven levels.
And this shifting can lead to cracking or tile delamination. You can ensure a level floor with the Spin Doctor tile leveling system which will make sure that all of the tiles stay level with one another.
Step 13. Electrical Connections
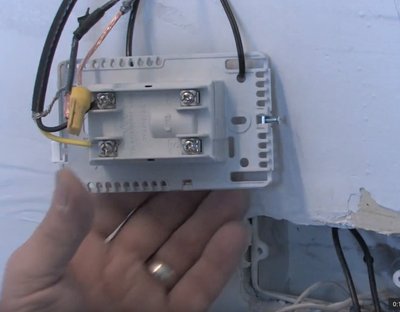
The system should be attached to the thermostat and then the thermostat is wired to the home electrical system and installed in a wall box by a licensed, certified electrician. Ensure supplied voltage to thermostat matches heating system’s.
Review and save the electrical plan that includes all the electrical information about the system.
TIP: Dedicated non-GFI circuit is typically needed for the heating system to avoid any nuisance tripping or interference. The GFCI feature is incorporated in the thermostat.
Step 14. Commissioning The System
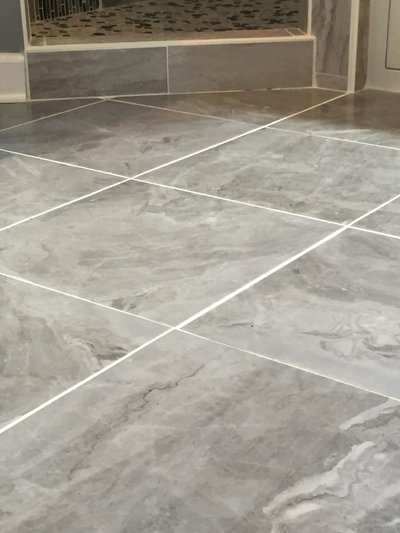
Allow proper thinset cure time as recommended by the manufacturer (typically 7-28 days) before powering up the WarmlyYours electric radiant heat system.
After installing underlayment and tile, the curing stage begins. Before turning on your floor heating system be sure that the thinset has completely cured. Turning on the heating system too early can result making the thinset brittle, which can cause failures such as the tiles breaking or popping out of place.
A Finished Bathroom
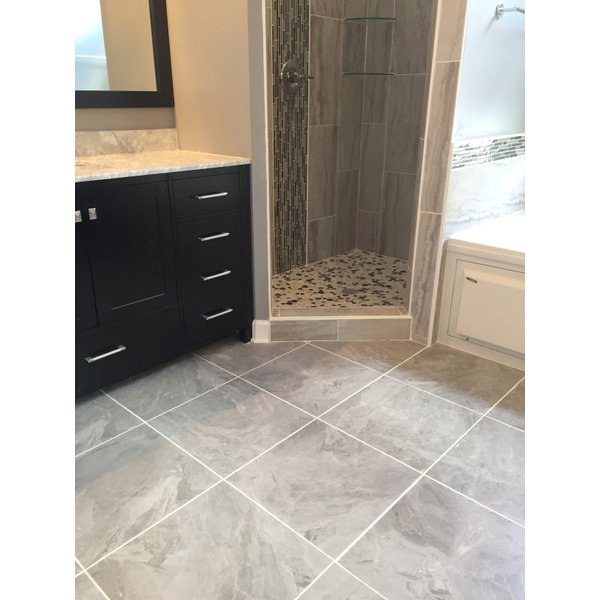
Now you can create an inviting bathroom and treat yourself to a spa-like experience within the comfort of your home. You can enjoy the health and rejuvenation that radiant heat can offer, without leaving your home! Radiant heating is the added touch that completes a beautiful bathroom design.

The Control for Your Floor Heating System
A great thermostat is the secret to any great heating system. Not only is it the way you control the temperature, it’s also how you customize your comfort.
Our nSpiration Series of controls offers a wide variety of options — from programmable models, to controls that will allow you to easily monitor and manage your home comfort remotely from any device. All of our controls are designed to help you get the most out of your floor heating system.
For more information about the variety of controls and sensors available from WarmlyYours, check out our comparison chart.
Shop Controls


