In This Article
- Safe winter access on a sloped paver driveway—without hours of shoveling
- Why Ken Needed a Snow Melting Solution
- What Snow Melt Mats Did Ken Install Under Pavers?
- How Did Ken Fix a Visibility Issue with His Snow Melt System?
- Why Did This Homeowner Choose WarmlyYours?
- How Fast Did the Snow Melt Mats Perform in Cold Weather?
- What Does It Cost to Run a Snow Melt System Per Hour?
- Thinking About Your Own Project?
- Want to Be Featured
Safe winter access on a sloped paver driveway—without hours of shoveling
When Ken Haas set out to solve his slippery winter driveway problem, he turned to WarmlyYours. By installing radiant Snow Melt Mats beneath his brick-paver tire tracks, he found a solution that was fast, affordable, and surprisingly simple. Here’s how he made his driveway usable again—and why he recommends the system to other homeowners.
Why Ken Needed a Snow Melting Solution
Ken’s driveway is built on a slope, which made it extremely difficult to use during winter months. Snow accumulation on the incline created a safety hazard and made daily driving inconvenient.
“My driveway is on a hill and that makes driving up and down in the winter very inconvenient. The snow melt mats have made my driveway usable again.”
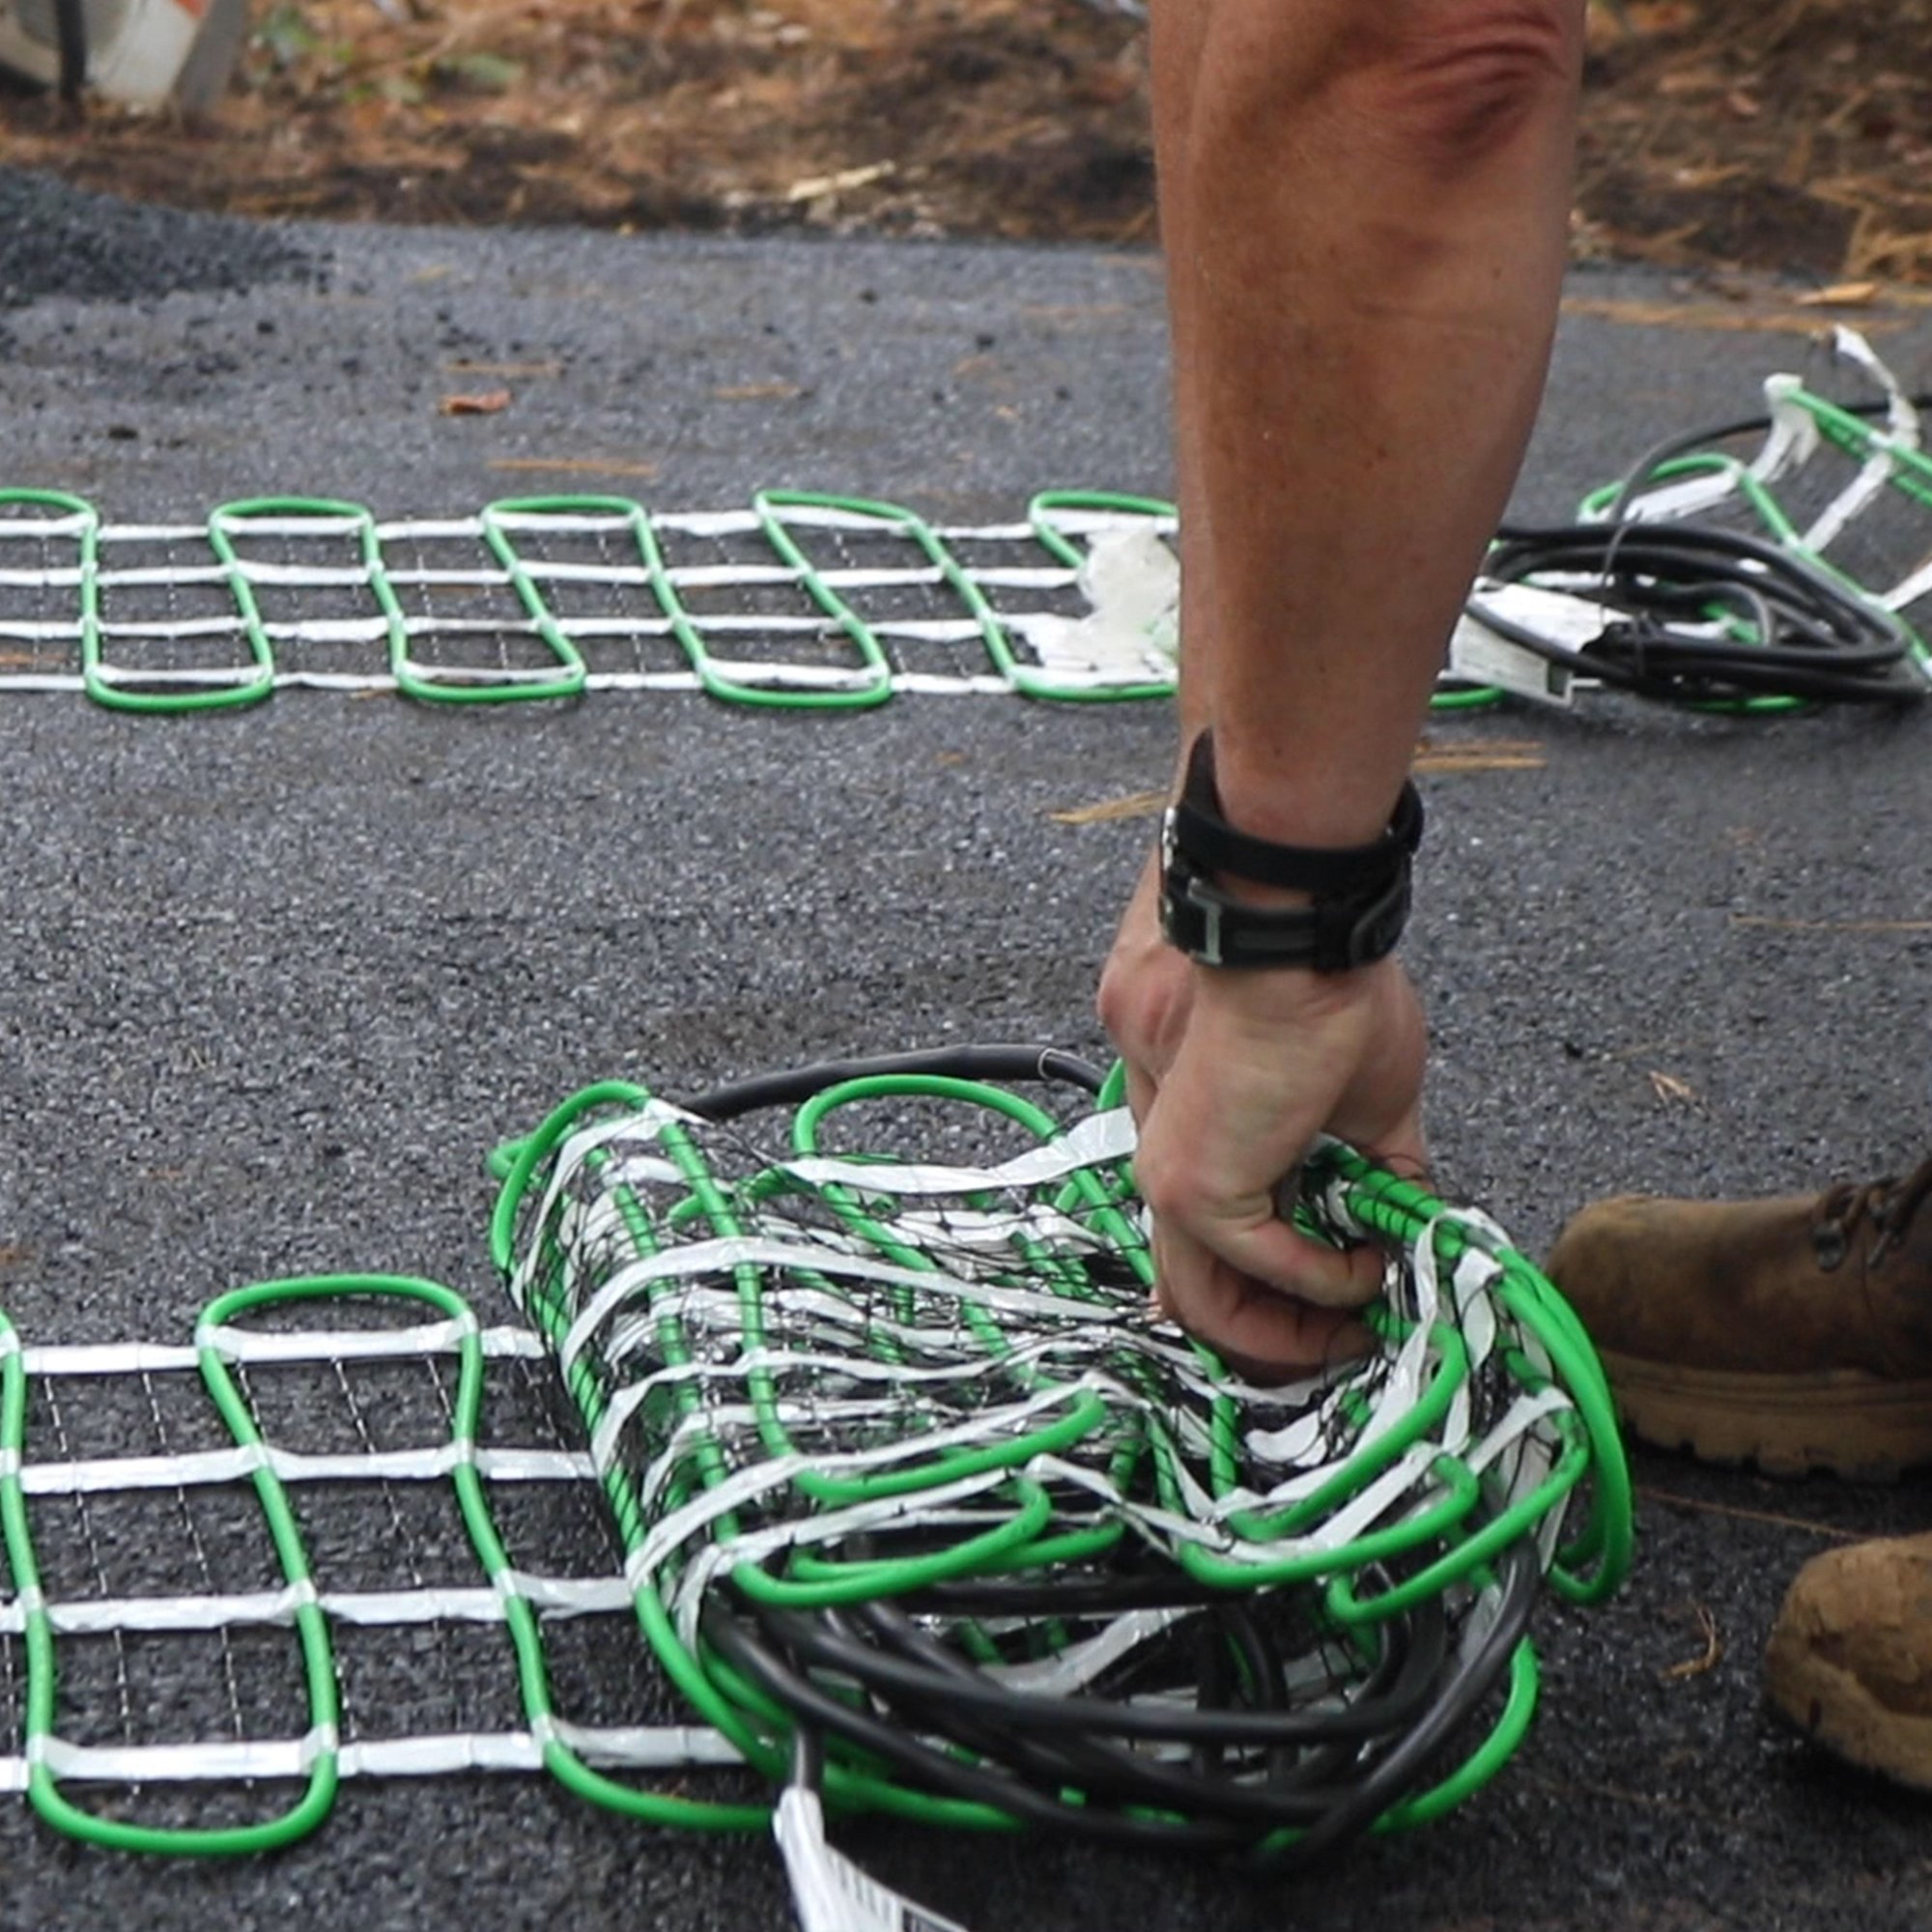
What Snow Melt Mats Did Ken Install Under Pavers?
Ken purchased:

Installed under a brick-paver driveway, specifically in tire track zones
The installation took less than three hours, and Ken described it as “the easiest part of the entire process.”
How Did Ken Fix a Visibility Issue with His Snow Melt System?
Ken’s system controller was installed in a shed at the end of the driveway—so he couldn’t tell from inside the house whether the mats were running. His electrician resolved it with a simple solution:
“He installed an LED light outside the shed that turns on every time the system is energized. That way, I always know when it’s working.”
Why Did This Homeowner Choose WarmlyYours?
Ken’s decision was based on the advice of a trusted professional:
“I chose WarmlyYours based on the strong recommendation of my electrician, who had nothing but positive things to say.”
That trust—backed by experience—made WarmlyYours an easy choice.
How Fast Did the Snow Melt Mats Perform in Cold Weather?
The first time Ken used the system, he manually activated it about an hour before a forecasted snowfall.
“Not a flake stuck to the tracks. The snow started falling with the temp in the high 20s, and it melted instantly.”
What Does It Cost to Run a Snow Melt System Per Hour?
Ken calculated that running the mats costs about $3.50/hour for his 640 sq. ft. coverage. That equals:
Duration |
Estimated Cost |
|---|---|
4 hours |
~$14 |
6 hours |
~$21 |
24 hours |
<$75 |
At roughly half a penny per square foot per hour, Ken found the system efficient and worth the investment.
Thinking About Your Own Project?
WarmlyYours snow melting mats and cable systems are ideal for:
Brick pavers, concrete, or asphalt
Driveways, walkways, stairs, and ramps
Reducing snow shoveling time and improving winter safety
🔗 Get a Free Snow Melting SmartPlan →
🔗 See More Projects in the Showcase →
Want to Be Featured
If you’ve installed a WarmlyYours system and want to share your story, we’d love to hear it.
📩 Submit your story here for a chance to win a $100 check and get featured in an upcoming blog.
Have questions? Contact us at 800-875-5285—we’re here to help!
Have Questions About Your Project?
Our team of Radiant Experts is ready to help!
Comments
Stay Updated
Get the latest radiant heating news and tips delivered to your inbox.

If anyone has any questions for me, they can contact me at Kenneth_Haas @ yahoo.com