

Testing a floor-heating system using a digital ohmmeter is a vital part of the installation process. But why? What is the purpose of an ohmmeter and how do you get an accurate reading? That’s what we’re here to uncover.
What is the Purpose of an Ohmmeter?
WarmlyYours Radiant Heating asks installers to test the floor-heating system with a digital ohmmeter before, during and after installation. The purpose is to make sure that no breaks or shorts have occurred that could affect the system’s performance. The last thing anyone wants is to finish installing a floor-heating system only to have it fail to power on. By testing the system throughout the installation process, the installer has the opportunity to repair any breaks or shorts if/when they happen, preventing any further delay of the project.
These ohm readings are also what complete your product warranty. You’ll need them if your system ever requires troubleshooting.
How to Take an Ohm Reading
So how do you accurately test your system using a digital ohmmeter? You can do so in five simple steps.
1. Set the Ohmmeter
As with any battery-operated device, the first thing you need to do is make sure the batteries are in and working. Then, set the ohmmeter to a scale of 0-200. The ohmmeter comes with two probes: a black probe and a red probe. Plug the black probe into the COM socket and the red probe into the VΩ socket.
2. Prep for the Readings
Before taking any readings, there are a few precautions you should take.
- Make sure the heating element is rolled out flat.
- Make sure the heating system’s wires are not connected to a thermostat.
- Be sure there is no power in the circuit.
- Do not let your fingers touch the wires.
- When you attach the probes to the wires you are testing, make sure they are firmly attached.
3. Take a Core to Core Ohms Reading
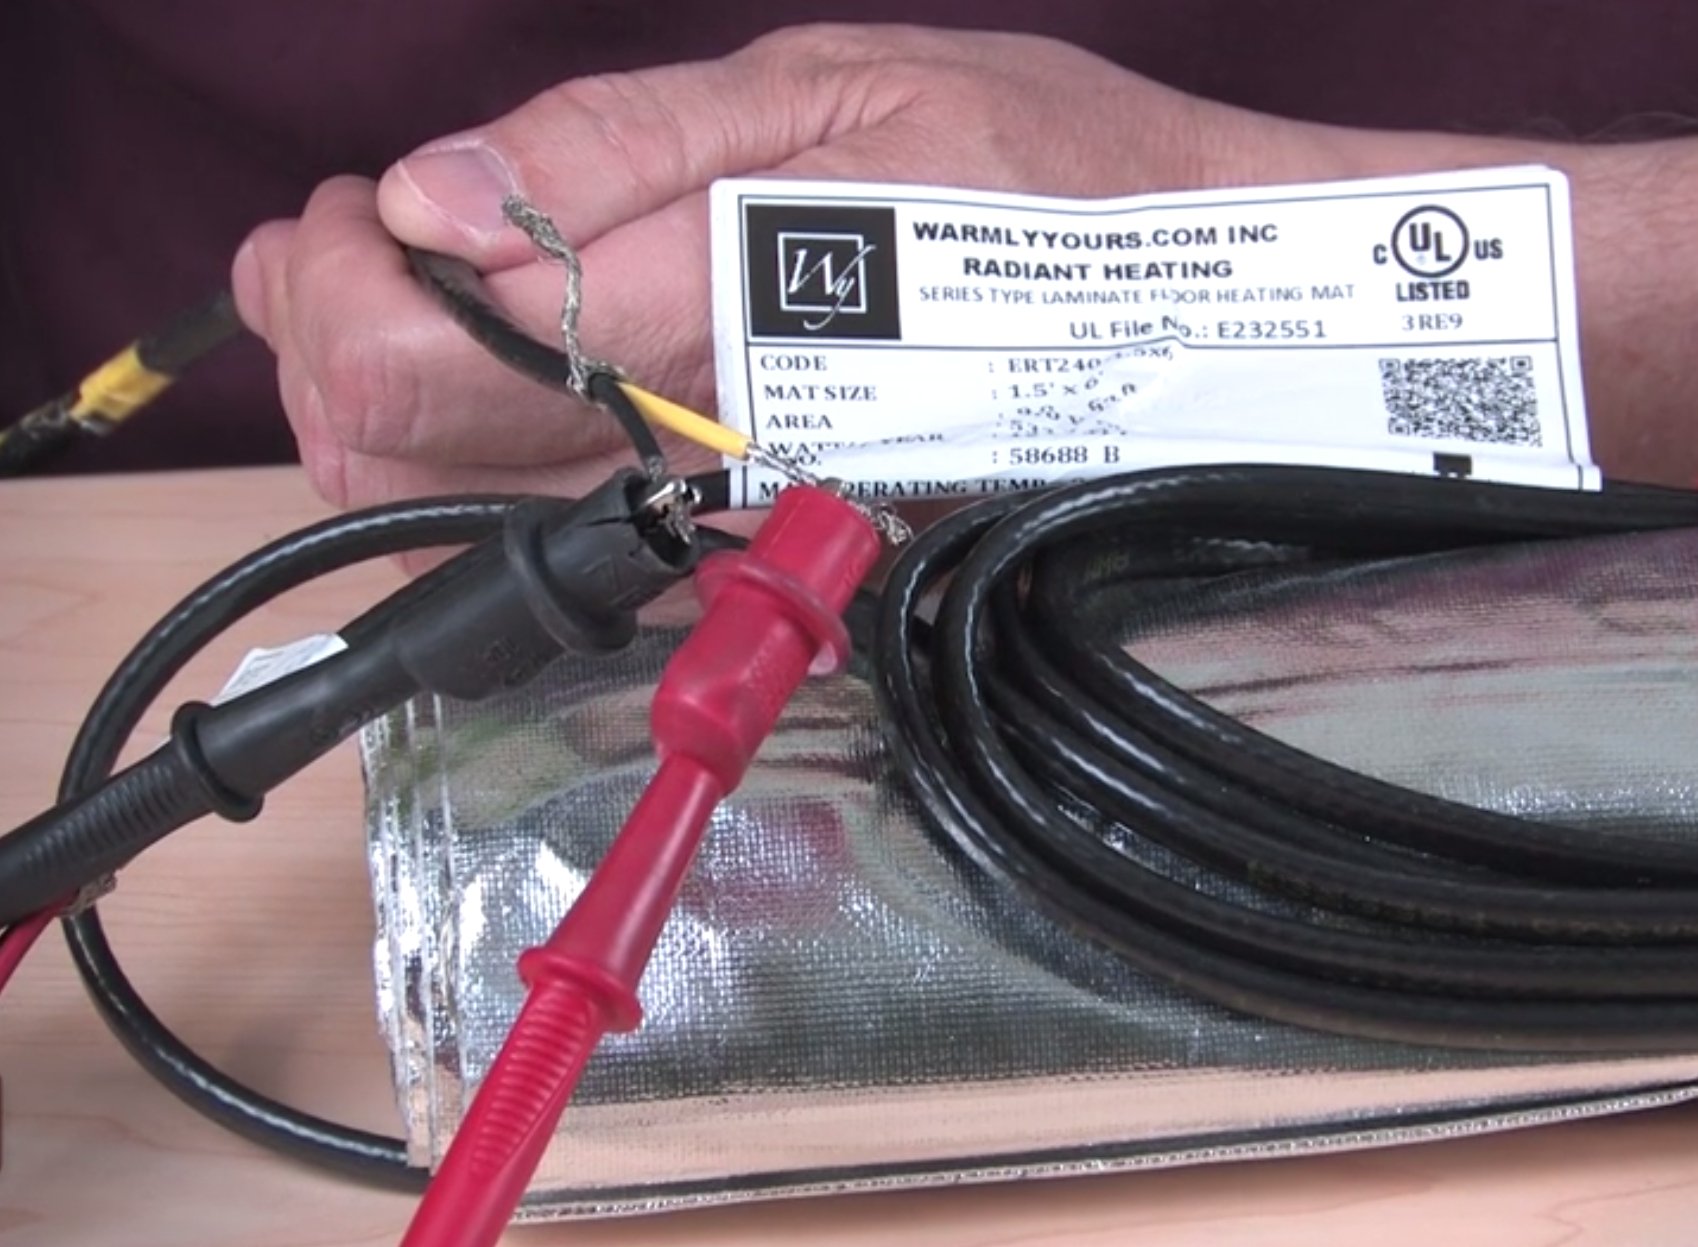
The first reading you’ll want to take is a core-to-core reading. This means you’ll connect the ohmmeter probes to the black and yellow or red wires. (Note: 120-volt systems have black and yellow core wires, and 240-volt systems have black and red core wires.) Connect the black ohmmeter probe to the black core wire, and connect the red ohmmeter probe to the yellow or red core wire. The reading you get should be within a 15 percent variance of the Ohm resistance shown on your floor-heating system’s UL label.
4. Take a Ground to Yellow/Red Core Ohms Reading
Next, connect the black ohmmeter probe to the silver ground wire and the red probe to the yellow or red core wire. This reading should show no ohms. Your digital ohmmeter may show this be reading OF, INF, 0 or 1 on the screen.
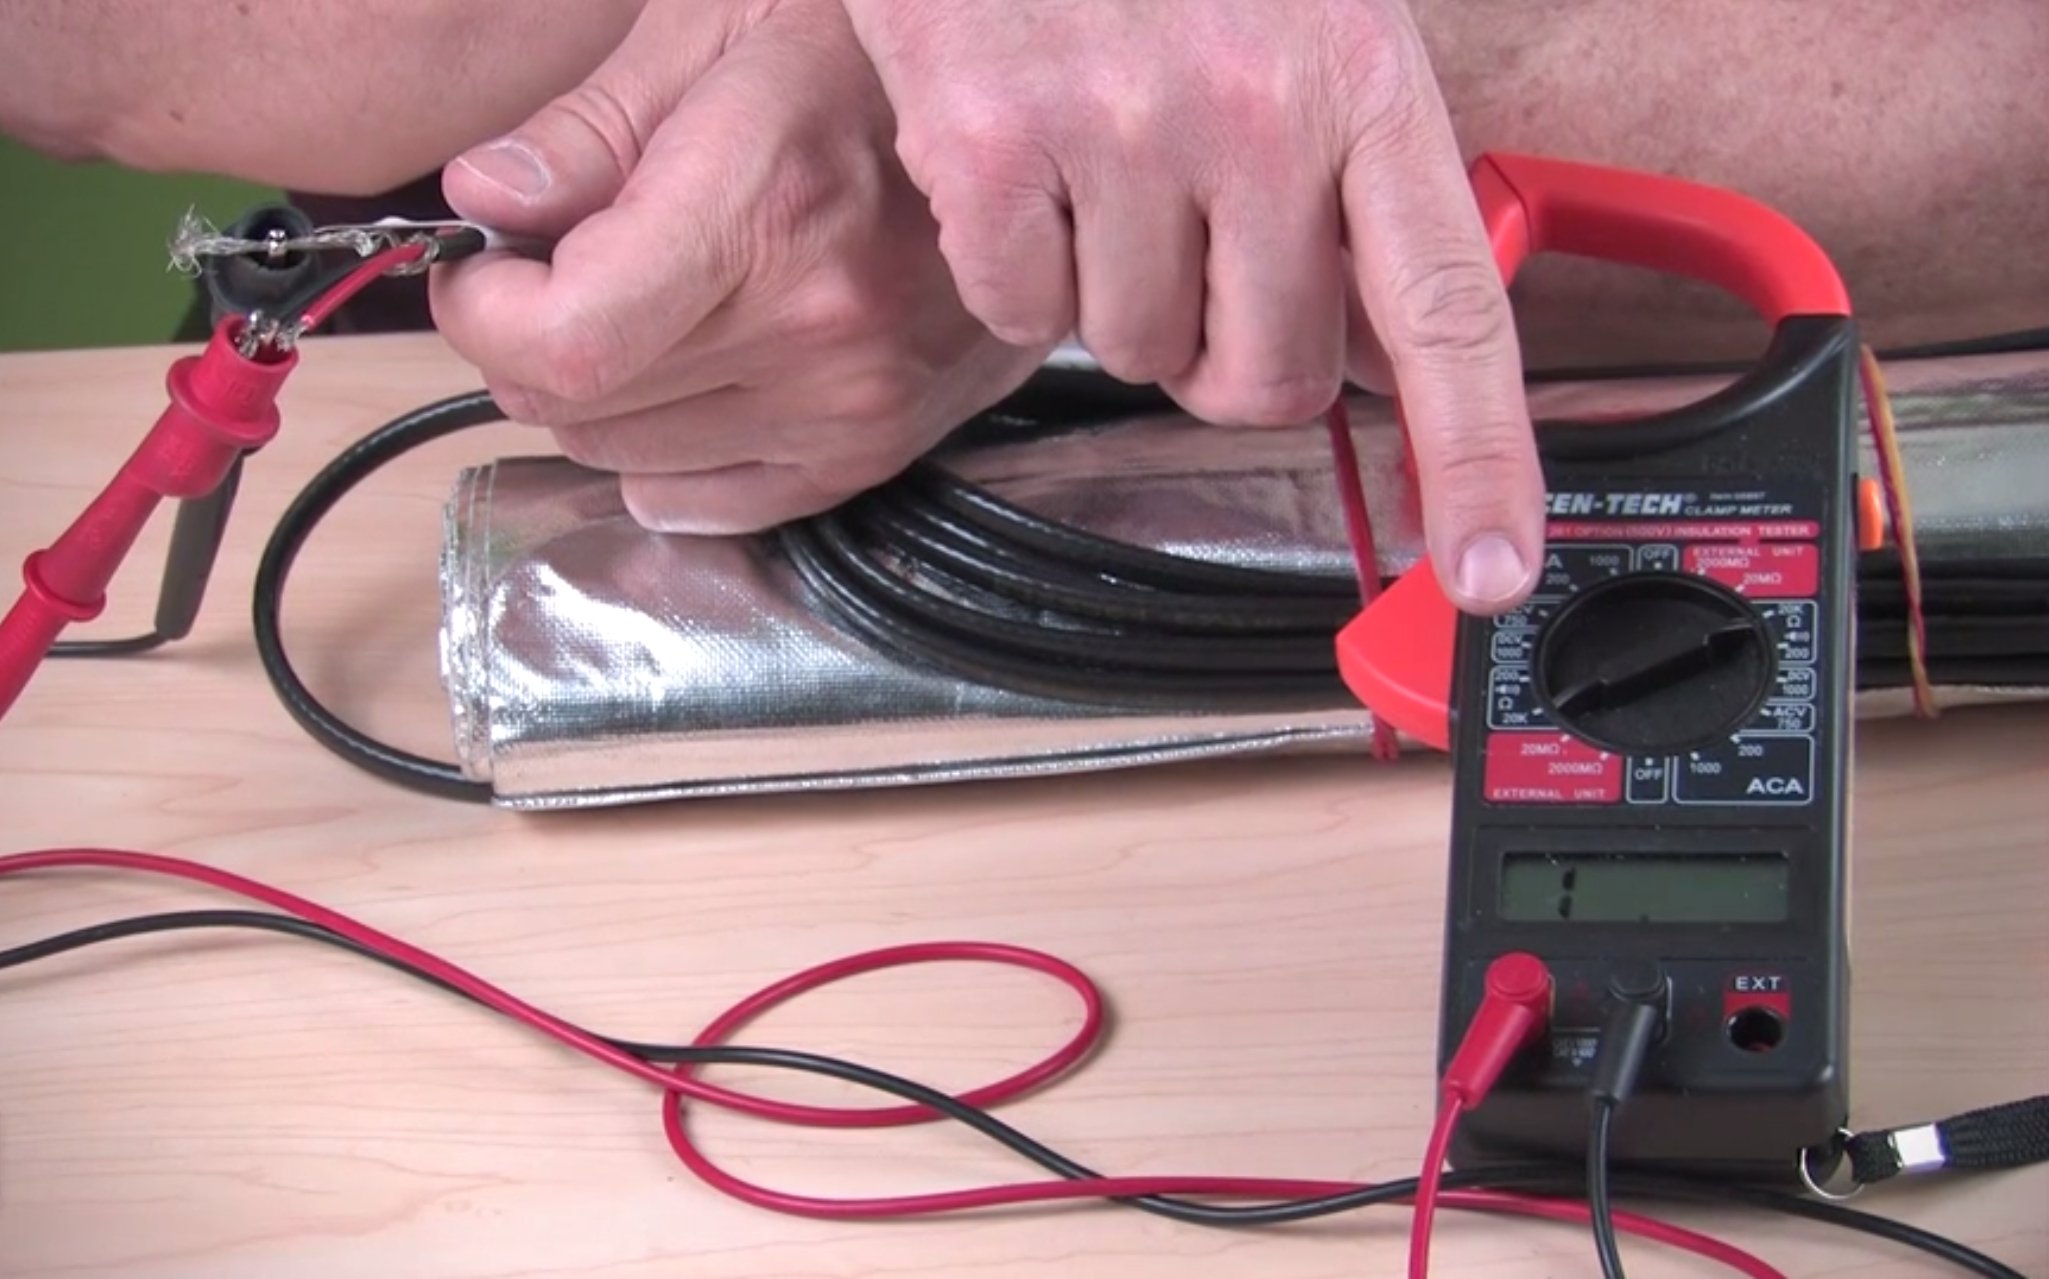
5. Take a Ground to Black Core Ohms Reading
The same goes for your last ground-to-core reading. Connect the black ohmmeter probe to the silver ground wire and the red probe to the black core wire. Again, your digital ohmmeter should read OF, INF, 0 or 1 to show that there is no ohms resistance.
If at any point your readings are not what they should be, you should contact WarmlyYours at 800-875-5285.
Have Questions About Your Project?
Our team of Radiant Experts is ready to help!

Related Articles

Stay Updated
Get the latest radiant heating news and tips delivered to your inbox.