

Snow Melting for Pavers & Stone
Paver and stone surfaces add curb appeal but become slippery in snow. WarmlyYours snow melting systems install beneath pavers, natural stone, and brick—efficient melting without affecting aesthetics.
Get an Instant Quote
Answer a few quick questions and we'll match you with the best snow melting system.
Jump to
Why Install Snow Melting Under Pavers?
Preserve Your Investment
Avoid salt damage and freeze-thaw cracking that can ruin expensive paver and stone surfaces.
No More Shoveling
Put away the rock-salt and shovels and enjoy winter without the backbreaking labor.
Safe Surfaces
Pavers can become extremely slippery when icy—keep your family and guests safe year-round.
Invisible System
Heating cables are completely hidden beneath the surface, maintaining your landscape aesthetics.
Ideal for New Installs
Best installed during new paver or stone projects when the surface is being laid.
Affordable to Operate
Systems only run during snow events, keeping operating costs low while eliminating snow removal services.
10-Year Warranty
Our snow melting cables are backed by a 10-year manufacturer warranty for peace of mind.
Increase Property Value
A heated paver driveway or patio is a premium feature that adds lasting value to your home.
Snow Melting Customer Reviews
We take pride in providing both exceptional service and great products. But don't just take our word for it, check out what some of our customers have had to say.


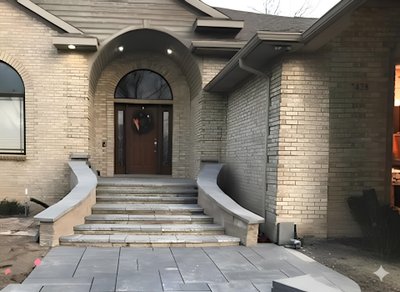
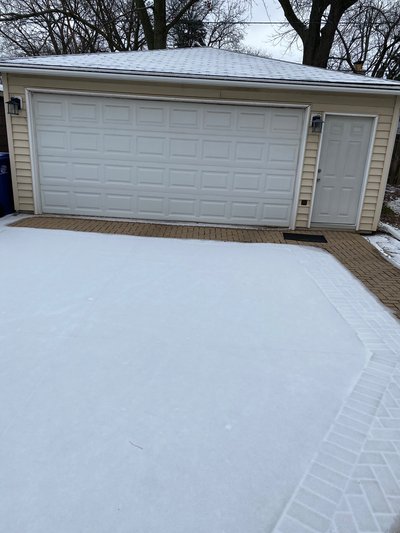
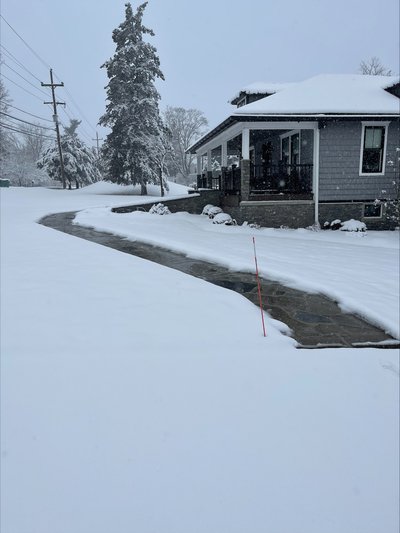
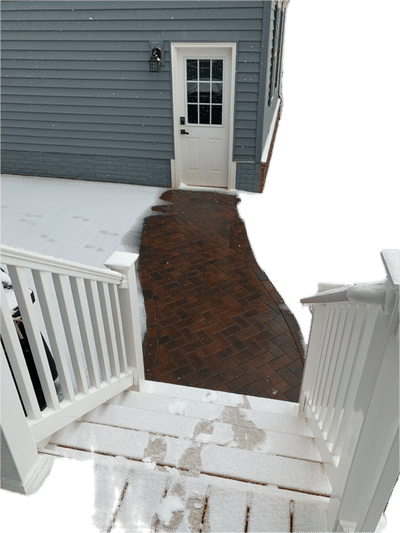
Featured Paver & Stone Projects
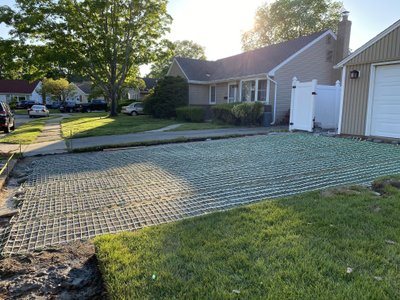
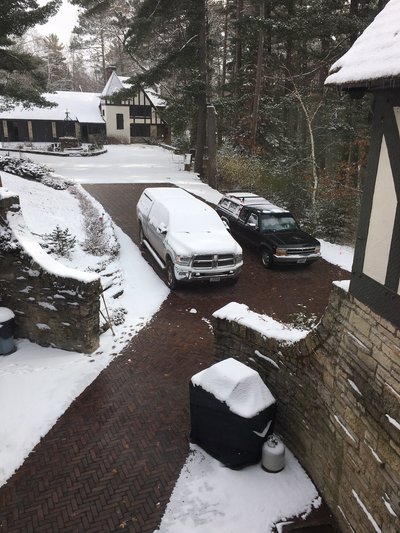
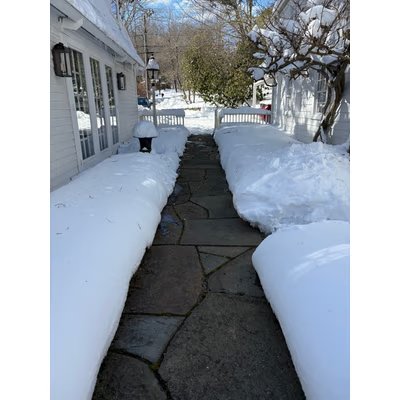

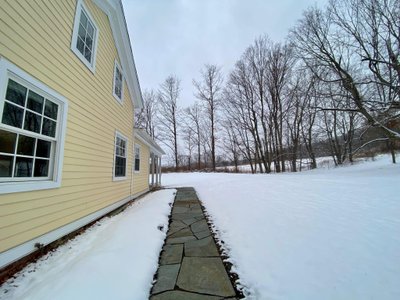
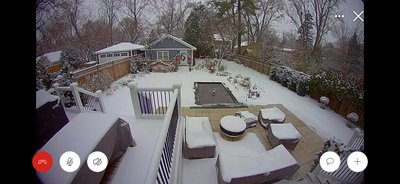
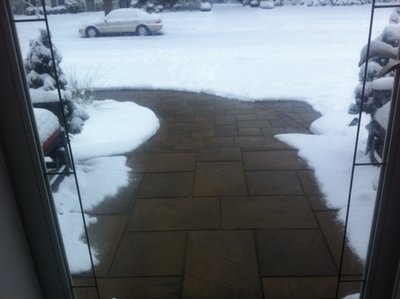
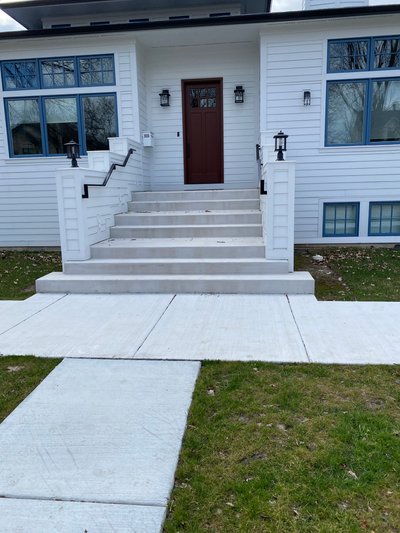
How Snow Melting Works in Pavers & Stone
Have you ever seen snow fall on an already warm car? It melts instantly. This is the essential idea behind snow melting systems—a heating element is embedded beneath your paver driveway, patio, or walkway and it melts the snow that falls on it.
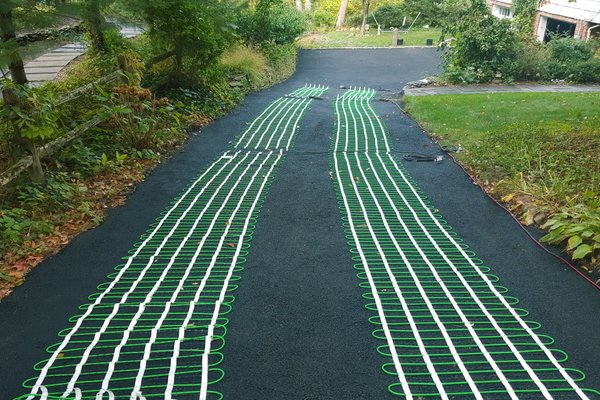
For paver and stone installations, WarmlyYours snow melting cables are laid in a sand or mortar bed beneath the pavers. The cables heat the bed material, which in turn heats the pavers above, melting any snow or ice on contact.
This approach is particularly effective for paver surfaces because it protects both the heating system and your investment in beautiful natural stone, brick, or concrete pavers.
Learn More About Snow MeltingFree SmartPlan
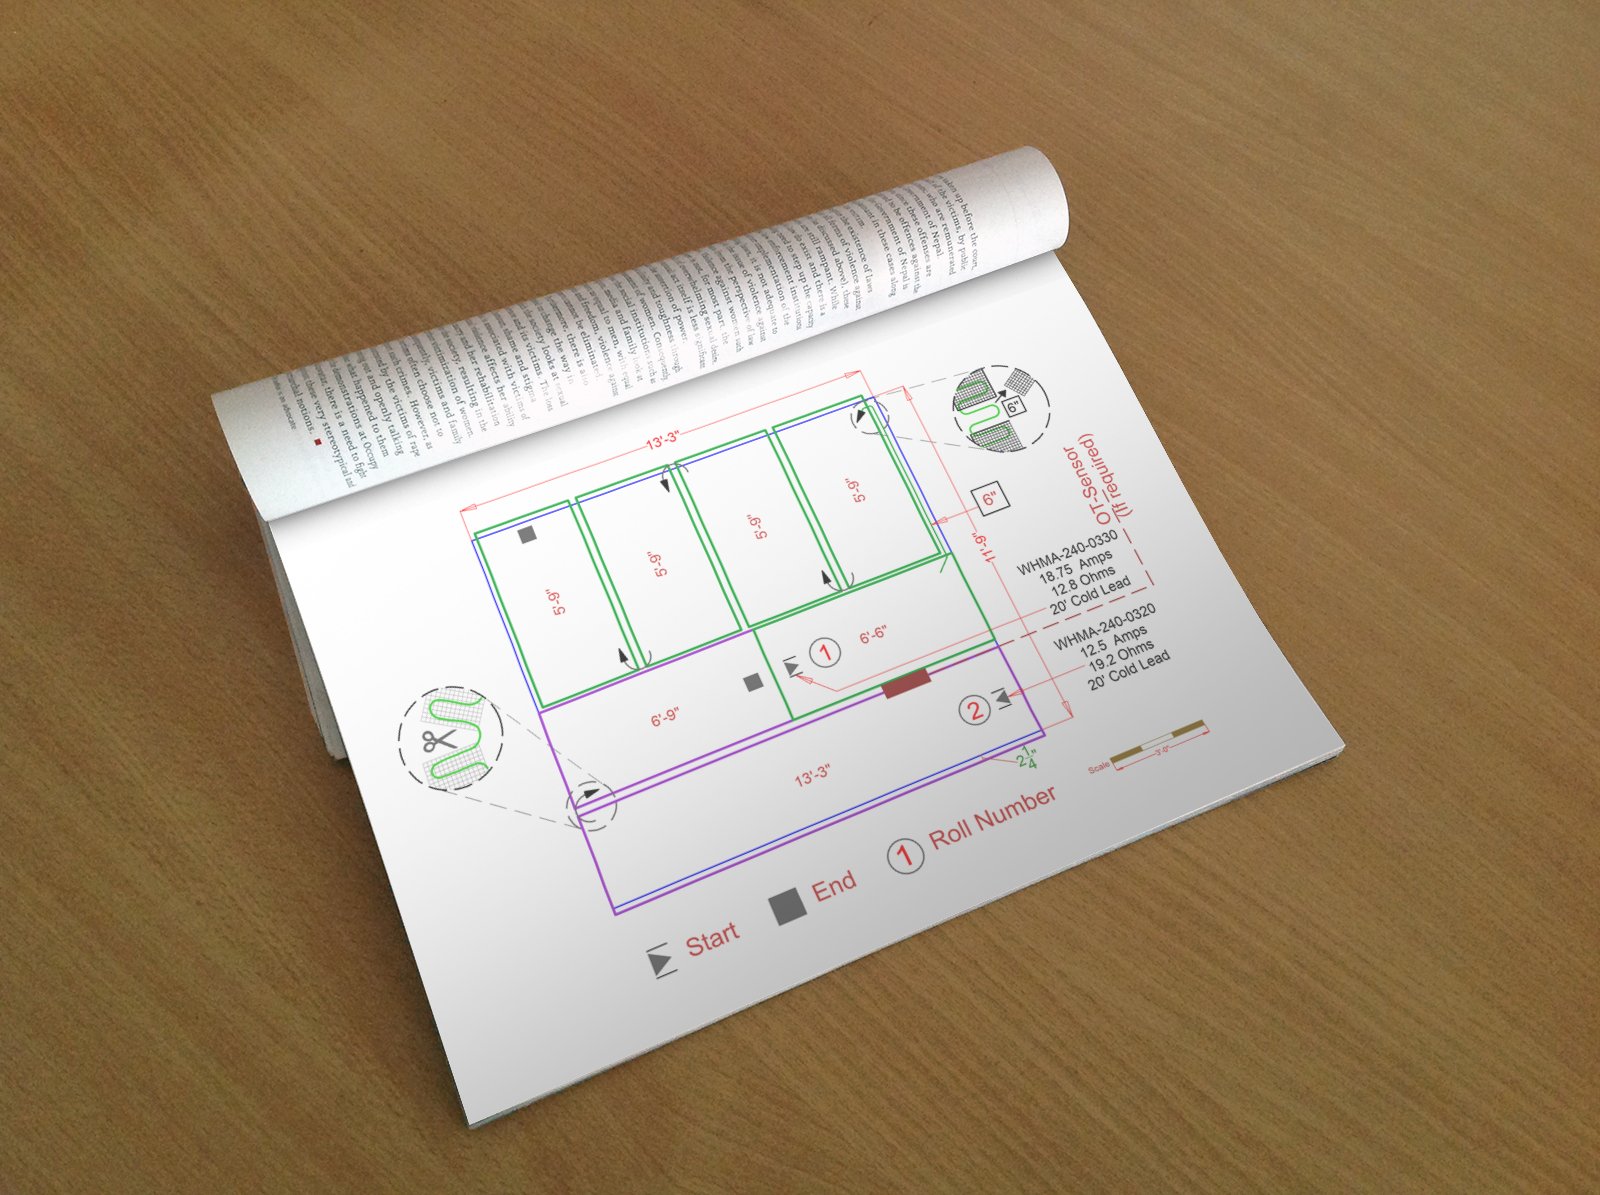
Get a custom installation plan for your paver driveway in just 1 business day.

"I'll design a custom snow melting layout for your project, complete with cable spacing, electrical requirements, and a full quote."
When to Install Snow Melting Under Pavers
Because the snow melting system is embedded beneath the surface, the best time to install is when pavers or stone are being laid for the first time, or during a complete re-do of the surface.
These projects are typically undertaken from late spring to late fall when ground temperatures are above freezing.
WarmlyYours snow melting cables work with all types of paver and stone surfaces, including:
- Concrete pavers (interlocking, permeable, standard)
- Natural stone (flagstone, bluestone, slate)
- Brick pavers
- Cobblestone
- Travertine and marble pavers
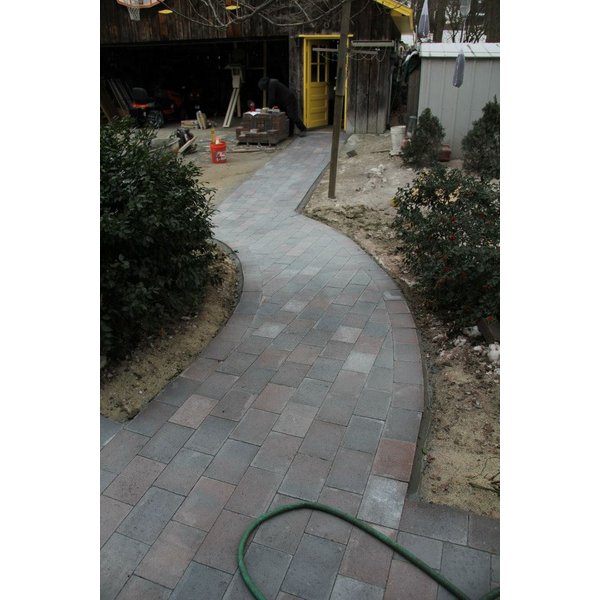
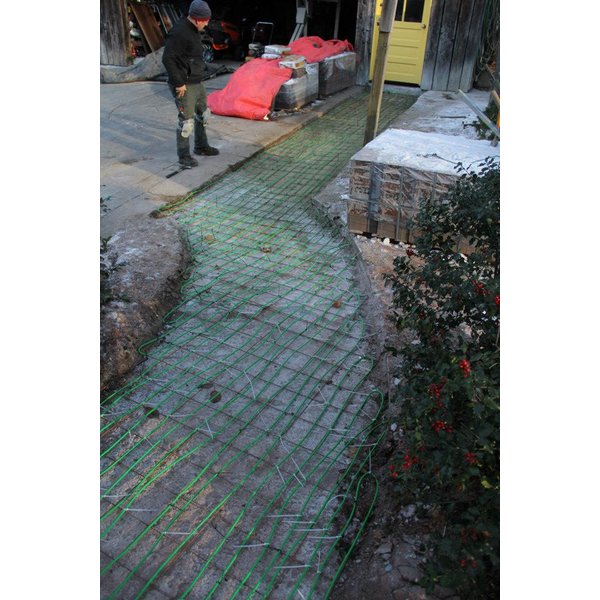
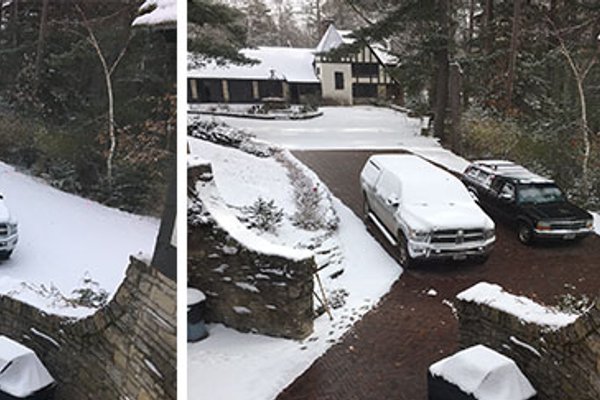
Move Slider to View Before and After
Installing Snow Melting Under Pavers & Stone
Installing snow melting cables beneath pavers requires careful attention to depth and spacing. The heating cables must be embedded in a sand or mortar bed that separates them from direct contact with the pavers.
The key requirements for paver installations:
- At least 1″ (25mm) of mortar or 1.5″ (38mm) of sand/limestone screenings covering the cables
- Brick and stone pavers no thicker than 2.5″ (63.5mm)
- 3″ spacing between cable runs for optimal heat distribution
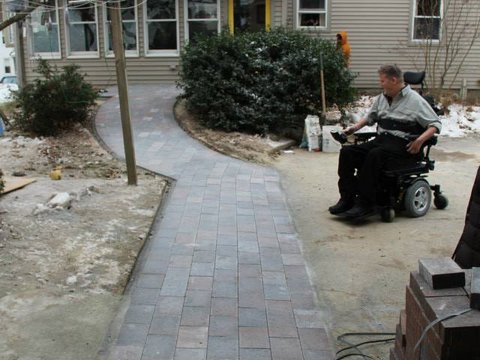
Step 1. Prepare the Base Layer
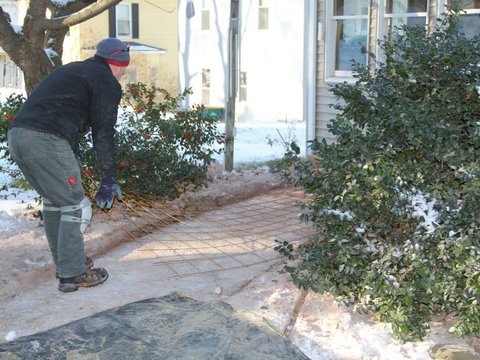
Unlike concrete installations, paver projects require a compacted gravel or sand base before installing the heating cables. This base should be level and properly graded for drainage.
For paver installations, you'll need a rigid framework (wire mesh or rebar) secured to the base layer.
Tip: Avoid using metal mesh with sharp edges that could damage the cable insulation.
Step 2. Layout the Snow Melting Cables
Maintaining proper 3″ spacing between cable runs is critical for optimal performance. Too close and the system can overheat; too far apart and you won't get complete coverage.
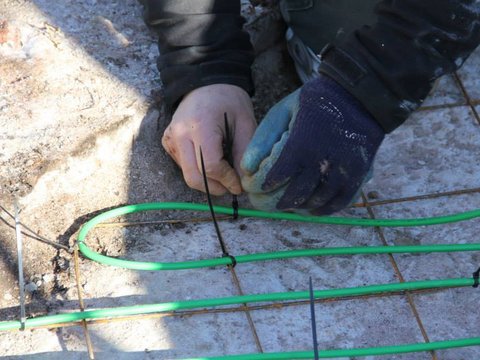
Attach the heating cables to the wire mesh framework using zip-ties. Reference your WarmlyYours SmartPlan for accurate placement.
We recommend snow melting cables over mats for flexibility with irregular paver patterns.
Step 3. Cover with Sand or Mortar Bed
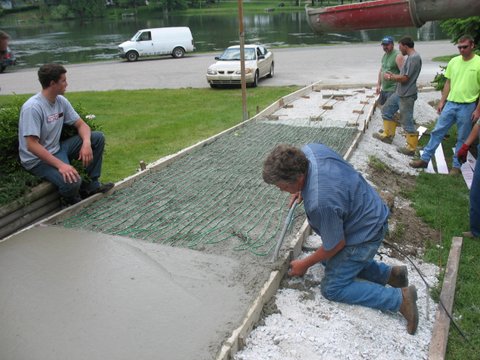
The heating cables must be completely covered before the pavers are placed to prevent any direct contact.
Mortar beds: 1″ to 1.5″ (25-38mm) over the heating elements.
Sand/screenings: 1.5″ (38mm) uncompacted depth, leveled to grade.
Step 4. Install the Pavers
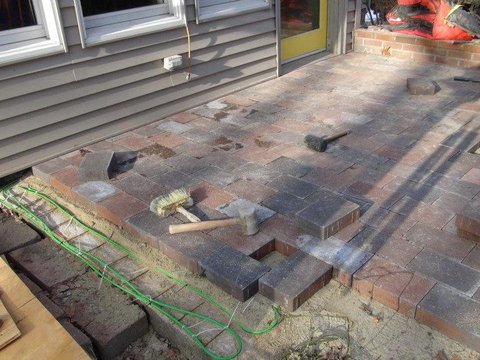
With the cables properly covered, pavers can now be carefully installed. Important: Avoid dropping pavers into place—the impact could damage the heating elements beneath.
Pavers must NOT be thicker than 2.5″ (63.5mm) to ensure adequate heat transfer.
For interlocking pavers, sweep polymeric sand into the joints as you normally would.
Step 5. Ensure the Splice is Embedded
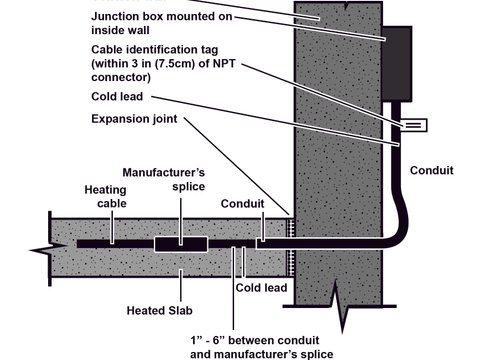
The power is carried to each cable by a "cold lead," connected via a manufacturer's splice.
One of the most common installation mistakes is leaving this splice outside of the sand or mortar bed. The splice is half heating element—if left exposed, it can overheat and fail.
Always ensure the splice is embedded in sand, mortar, or stone dust.
The Finished Surface
Once your pavers are installed and the system is connected, you're ready for winter. Just add snow!
Monitor your system during the first few snowfalls to ensure everything is operating correctly. With proper installation, your heated paver surface will provide decades of reliable, maintenance-free snow melting.
Recommended Product for Paver & Stone Installations
Snow melting cables are the preferred choice for paver installations due to their flexibility in routing around irregular shapes and edges.

Maximum Flexibility at a Minimal Cost
WarmlyYours Snow Melt Cables offer a high heat output solution to keep your driveway, walkway, or patio snow-free. Embeddable in concrete, asphalt, or under pavers, these cables provide a flexible and cost-effective alternative to mats. Choose from a variety of voltages and lengths to suit your outdoor heating needs, ensuring safe, dry surfaces all winter long. Benefit from our 10-year warranty and 24/7 customer support for peace of mind.
Features
- High Heat Output: This embeddable electric heating cable provides 12-watts of heat per linear foot (nearly 50-watts per sq. ft.)
- Embeddable in Concrete, Asphalt, or in Mortar Under Pavers: Installing a cable-based snow melting system within a new driveway, walkway, or patio means you can enjoy snow/ice free outdoor surfaces all year
- Cost-Effective and Flexible: Snow melting cables are an less expensive (but more time consuming) alternative to snow melting mats and they provide maximum flexibility to cover round driveways, cornered patios, or outdoor stairs
- Wide Variety of Voltages: We offer snow melting cables in 120, 208, 240, and 277 voltages and in a range of different lengths
- Installation Support: WarmlyYours offers free SmartPlan™ installation plans, 24/7 phone support, and a 10-year limited warranty

Maximum Heat Density for Heavy Snowfall (3″ spacing)
Ideal for heavy snowfall regions (60+ inches annually) or high-traffic commercial areas. The 3-inch cable spacing delivers maximum heat density (~50 watts/sq.ft) for the fastest snow melting performance. Best for: Northern climates, steep driveways, loading docks, emergency exits, and areas requiring rapid clearing.
Features
- Maximum Heat Output: Approximately 50-watts per sq. ft with 3″ cable spacing for fastest snow melting
- Best for Heavy Snowfall: Recommended for regions with 60+ inches of annual snowfall or when rapid melting is critical
- Even Heating: Pre-attached heating elements in a serpentine pattern with consistent 3″ spacing ensures uniform coverage
- Fast and Easy Installation: Cut-and-turn design makes installation faster than cables while providing maximum heat density
- Installation Support: Free SmartPlan™ installation plans, 24/7 phone support, and a 10-year limited warranty
Optimal Performance & Energy Balance (4″ spacing)
The versatile choice for moderate snowfall regions (30-60 inches annually). The 4-inch cable spacing provides an optimal balance of melting performance (~39 watts/sq.ft) and energy efficiency. Best for: Most residential driveways, walkways, and patios in typical winter climates.
Features
- Balanced Heat Output: Approximately 39-watts per sq. ft with 4″ cable spacing for optimal performance and efficiency
- Best for Moderate Snowfall: Recommended for regions with 30-60 inches of annual snowfall—our most popular choice
- Even Heating: Pre-attached heating elements in a serpentine pattern with consistent 4″ spacing ensures uniform coverage
- Fast and Easy Installation: Cut-and-turn design makes installation faster than cables while balancing cost and performance
- Installation Support: Free SmartPlan™ installation plans, 24/7 phone support, and a 10-year limited warranty
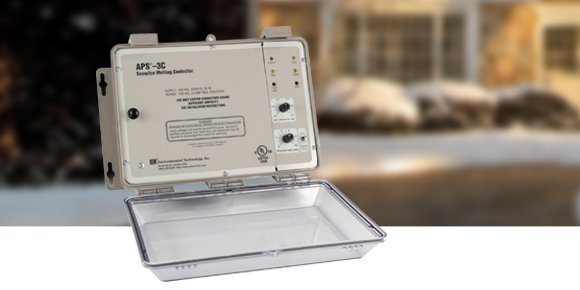
Controls for Paver Snow Melting
WarmlyYours offers a wide variety of controls for snow melting systems—from manual options to fully automatic controls that activate when snow is detected.
Important for paver installations: Slab sensors (embedded temperature/moisture sensors) are NOT recommended for use with pavers. Instead, we recommend aerial sensors that detect precipitation and temperature from above ground.
For more information about snow melt controls and sensors, check out this comparison chart.
Shop ControlsPaver & Stone Surfaces You Can Heat
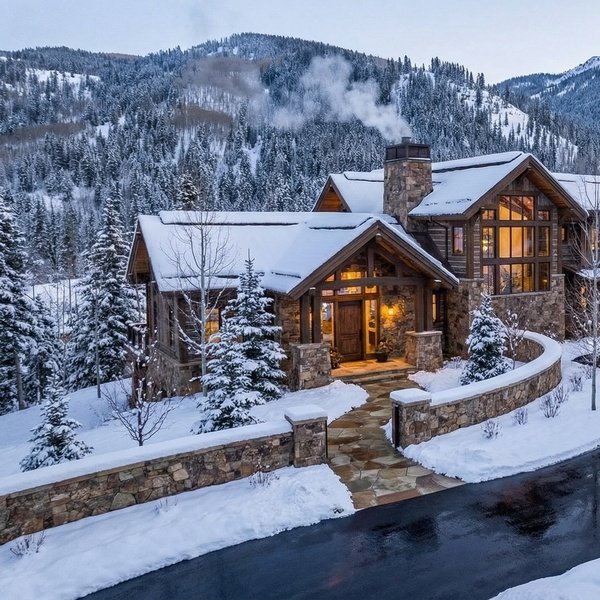
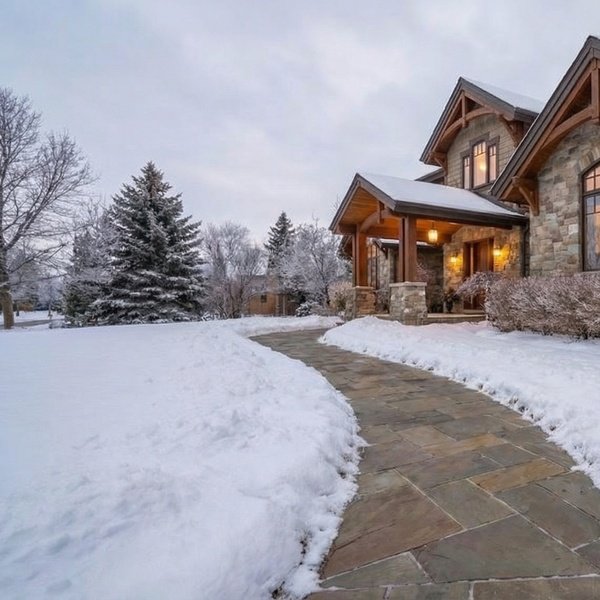
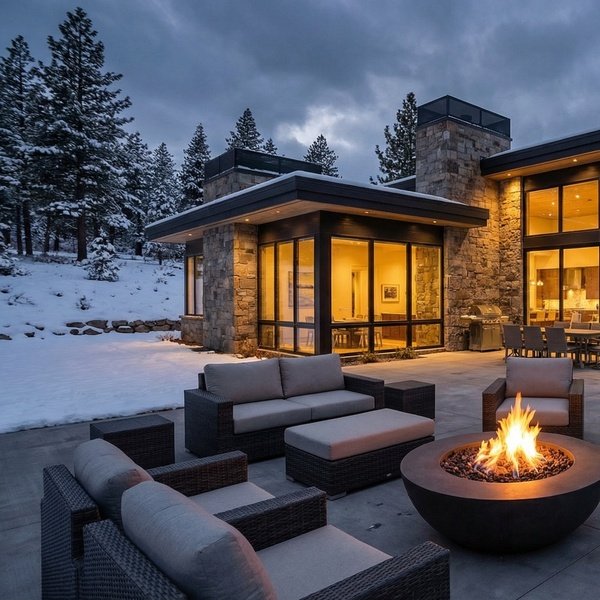
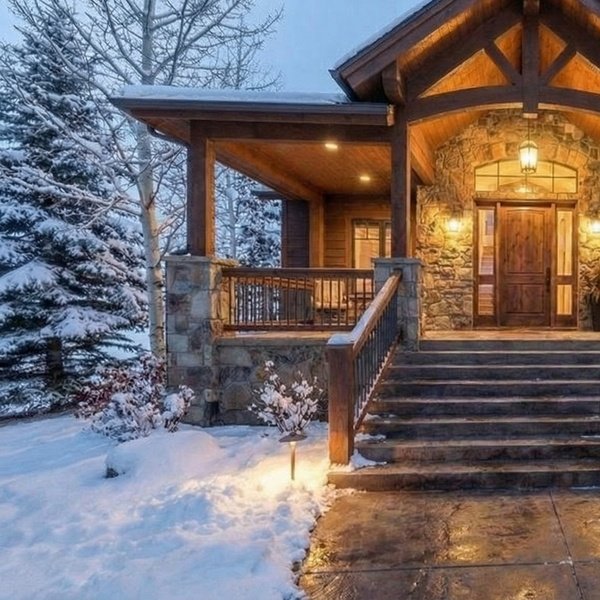
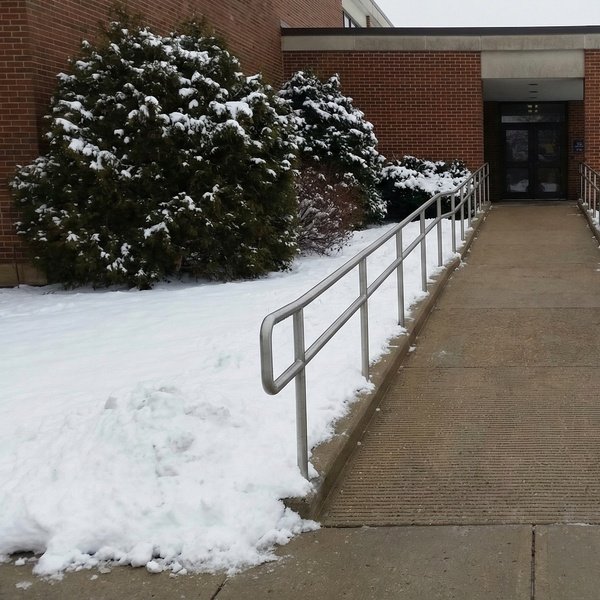
Snow melting systems work under any paver or stone surface. Explore the most common applications:
Pavers & Stone vs. Other Surfaces for Snow Melting
All three major surface types work with snow melting systems, but each has different installation requirements:
| Concrete | Asphalt | Pavers & Stone | |
|---|---|---|---|
| Installation Method | Cables embed directly in the pour | Cables laid on base course, asphalt poured over | Cables in sand or mortar bed under pavers |
| Thermal Efficiency | Excellent—concrete retains heat | Good—asphalt absorbs heat quickly | Good—depends on paver thickness |
| Best For | Driveways, walkways, patios, stairs | Driveways, parking areas, walkways | Patios, walkways, driveways |
| Sensor Options | Slab sensors + aerial sensors | Aerial sensors only | Aerial sensors only |
| Surface Finishes | Stamped, stained, polished, brushed, exposed aggregate | Standard asphalt | Brick, stone, cobblestone, interlocking |
| Learn More | Concrete | Asphalt | You're here |
Snow Melting Videos
Documents

PDF

PDF
Heated Pavers & Stone Snow Melting Posts






Consult with a Snow Melting Expert
Have questions about heating your paver driveway, patio, or walkway? Our experts will respond within 1 business day.
Typically respond within 1 business day
Paver & Stone Snow Melting FAQs
Showing 10 of 18 questions
Yes, WarmlyYours snow melting systems are specifically engineered to be safe and effective under a wide range of surfaces—including concrete pavers, natural stone, brick, and more.
- The heating cables and mats are designed for installation in sand or mortar beds, which evenly distribute heat and protect the elements.
- Proper installation ensures no damage to the paving material and prevents overheating or shifting.
- Always follow manufacturer guidelines and use a custom SmartPlan to ensure compatibility with your chosen surface.
If you have a specialty surface or unique application, consult with a WarmlyYours expert for tailored recommendations.
Yes, you can design a snow melting system that covers multiple areas such as driveways, walkways, ramps, and outdoor stairs. The WarmlyYours team can create a SmartPlan that integrates all your selected zones into a single, cohesive system with shared controls and sensors.
- Each area—Driveway, Walkway & Path, Outdoor Stairs, or Ramp—can be heated individually or together, depending on your needs and electrical capacity.
- The SmartPlan will specify optimal layout, electrical requirements, and control strategy for efficient, safe operation across all zones.
Combining multiple areas maximizes safety and convenience—especially for homes with complex outdoor spaces.
Never cut the heating cable itself—this will permanently damage the system and void the warranty. Snow melt mats can be trimmed at the mesh (not the cable) to help with layout adjustments, allowing you to turn or reposition the mat. For custom shapes or tight areas, use Snow Melt Cables, which are designed for flexible installation and can be spaced as needed, but the actual cable length must never be altered.
Yes, it’s possible to retrofit a snow melting system under existing pavers or stone, but it typically requires temporarily removing the surface material. The process involves lifting the pavers or stone, installing Snow Melt Mats or Snow Melt Cables in a sand or mortar bed, and then reinstalling the surface.
- Retrofitting is most straightforward with pavers, which can often be relaid without damage.
- For natural stone or mortared surfaces, additional care and labor may be needed.
- Always consult a professional installer and request a custom SmartPlan for best results.
A: Yes, WarmlyYours snow melting systems are designed specifically for installation under pavers and natural stone. Heating cables or mats—such as our Snow Melt Mats or Snow Melt Cables—are embedded in a sand or mortar bed beneath the surface, ensuring even heat distribution and reliable snow/ice melting performance.
Yes, proper bedding is critical for performance and durability. For paver installations, WarmlyYours recommends embedding the heating system in a layer of sand or mortar. This approach:
- Ensures even heat transfer to the paver surface
- Protects the heating elements from shifting or damage
- Prevents air gaps that could reduce system efficiency
Concrete is generally used for poured surfaces, not under pavers. Always follow the installation manual for the correct bedding material and thickness for your project.
A: For best results, heating cables or mats should be installed approximately 2 inches below the finished surface of the pavers or stone. This depth provides efficient heat transfer for rapid snow and ice melting, while also protecting the system from surface damage. Avoid installing the heating elements too deep, as this can reduce performance, or too close to the surface, which can risk damage during installation.
The right choice depends on your layout, timeline, and how custom the space is:
- Choose Snow Melt Mats when you want faster installation and consistent, evenly spaced heat in standard shapes (straight walkways, rectangular landings, simple patios). Mats are ideal when you’re prioritizing speed, simplicity, and uniform coverage.
Link: Snow Melt Mats - Choose Snow Melt Cables when your paver area has curves, tight turns, odd shapes, or lots of obstacles (posts, drains, steps, landscaping cutouts). Cables give you maximum design flexibility so you can match the heating layout to the exact paver pattern and footprint.
Link: Snow Melt Cables
Pro tip (especially for pavers): Before deciding, confirm your surface type and whether it’s a new install or a retrofit, then request a free SmartPlan so you get a custom layout, product recommendation, and electrical specs based on your exact dimensions.
Link: Free Snow Melting Installation Plan (SmartPlan)
A: To avoid accidental damage, always avoid using sharp tools or heavy equipment directly on the heating elements. After laying the Snow Melt Mats or Snow Melt Cables, carefully cover them with the recommended layer of sand or mortar before placing pavers. If mechanical compaction is required, use only light plate compactors and ensure adequate protective bedding above the cables or mats. Always test the system before and after installing the pavers to confirm it’s working properly.
Request a custom plan by submitting your project details through the WarmlyYours SmartPlan tool. You’ll provide your measurements (or upload a sketch and photos), and WarmlyYours will create a free custom installation layout plus an itemized quote with product recommendations and electrical specs.
Link: Free Snow Melting Installation Plan (SmartPlan)
If you want to browse examples first, you can explore the Plan Finder by application (driveways, walkways, ramps, stairs):
Link: Snow Melting Design Plans (Plan Finder)
Automatic sensors—such as pavement-mounted or aerial snow sensors—detect both temperature and moisture on or near your paver or stone surface. When snow or ice is present and the temperature drops near freezing, the sensor activates your snow melting system, so it only runs when needed.
- This hands-free operation maximizes energy efficiency and safety.
- Sensors are paired with a dedicated control unit for easy programming and monitoring.
- For best results, always follow manufacturer recommendations for sensor placement and system setup.
Operating cost depends on the heated area, the system’s watts per square foot, your electricity rate and how many hours the system is energized. At 50 W/sq ft, a 300 sq ft driveway or walkway draws 15 kW (300 × 50 ÷ 1,000). At an illustrative $0.20/kWh, that is $3.00 per energized hour, or $18.00 for six energized hours. This is an example, not a typical bill: preheating, snowfall and the controller’s drying cycle all add runtime. Estimate your project with the snow melting cost calculator or browse completed installations in the Project Showcase Library.
To receive the most accurate and effective SmartPlan, be ready to share:
- A sketch or drawing of your project area (driveway, walkway, ramp, or stairs), including dimensions and any obstacles (like landscaping, drains, or steps).
- Photos of the site (optional, but helpful for complex layouts).
- Preferred snow melting areas (full coverage or just tire tracks/paths).
- Surface type (pavers, concrete, asphalt, or stone).
- Power availability/location for system controls.
- Any special requirements or challenges (steep slopes, shaded spots, accessibility needs).
Providing these details helps the WarmlyYours team design a snow melting system that’s perfectly tailored to your property and climate.
A WarmlyYours Snow Melting SmartPlan is a custom installation layout and itemized quote designed specifically for your project. By submitting your sketch or project details, you’ll receive a personalized plan showing the optimal placement of heating elements, system controls, and coverage area—plus a detailed cost estimate. This service helps ensure your system is designed for maximum efficiency, safety, and code compliance, whether it’s for a driveway, walkway, stairs, ramp, or patio.
- Request your free SmartPlan here: Request a SmartPlan
Start with a compacted, well-drained gravel base. Lay Snow Melt Mats or Cables on the base, then embed them in a 1.5” to 2” bed of sand or mortar — never in direct contact with paver edges. Use pavers no thicker than 2.5”, and test the system before laying pavers and again before final compaction.
Snow melting systems under pavers or stone are designed to be low-maintenance. Here’s what you should do:
- Annual inspection: Visually check the system’s controls, sensors, and power connections before winter.
- Test operation: Run a test cycle to confirm the system activates and the heated surfaces warm up evenly.
- Keep sensors clear: Make sure snow sensors and control units are free of debris, leaves, or obstructions.
- Surface care: Avoid using sharp objects, metal shovels, or chemical de-icers that could damage pavers, stone, or system components.
- Professional service: If you notice uneven melting or system alerts, contact a qualified technician for troubleshooting.
Routine checks help ensure reliable, long-lasting performance with minimal effort.
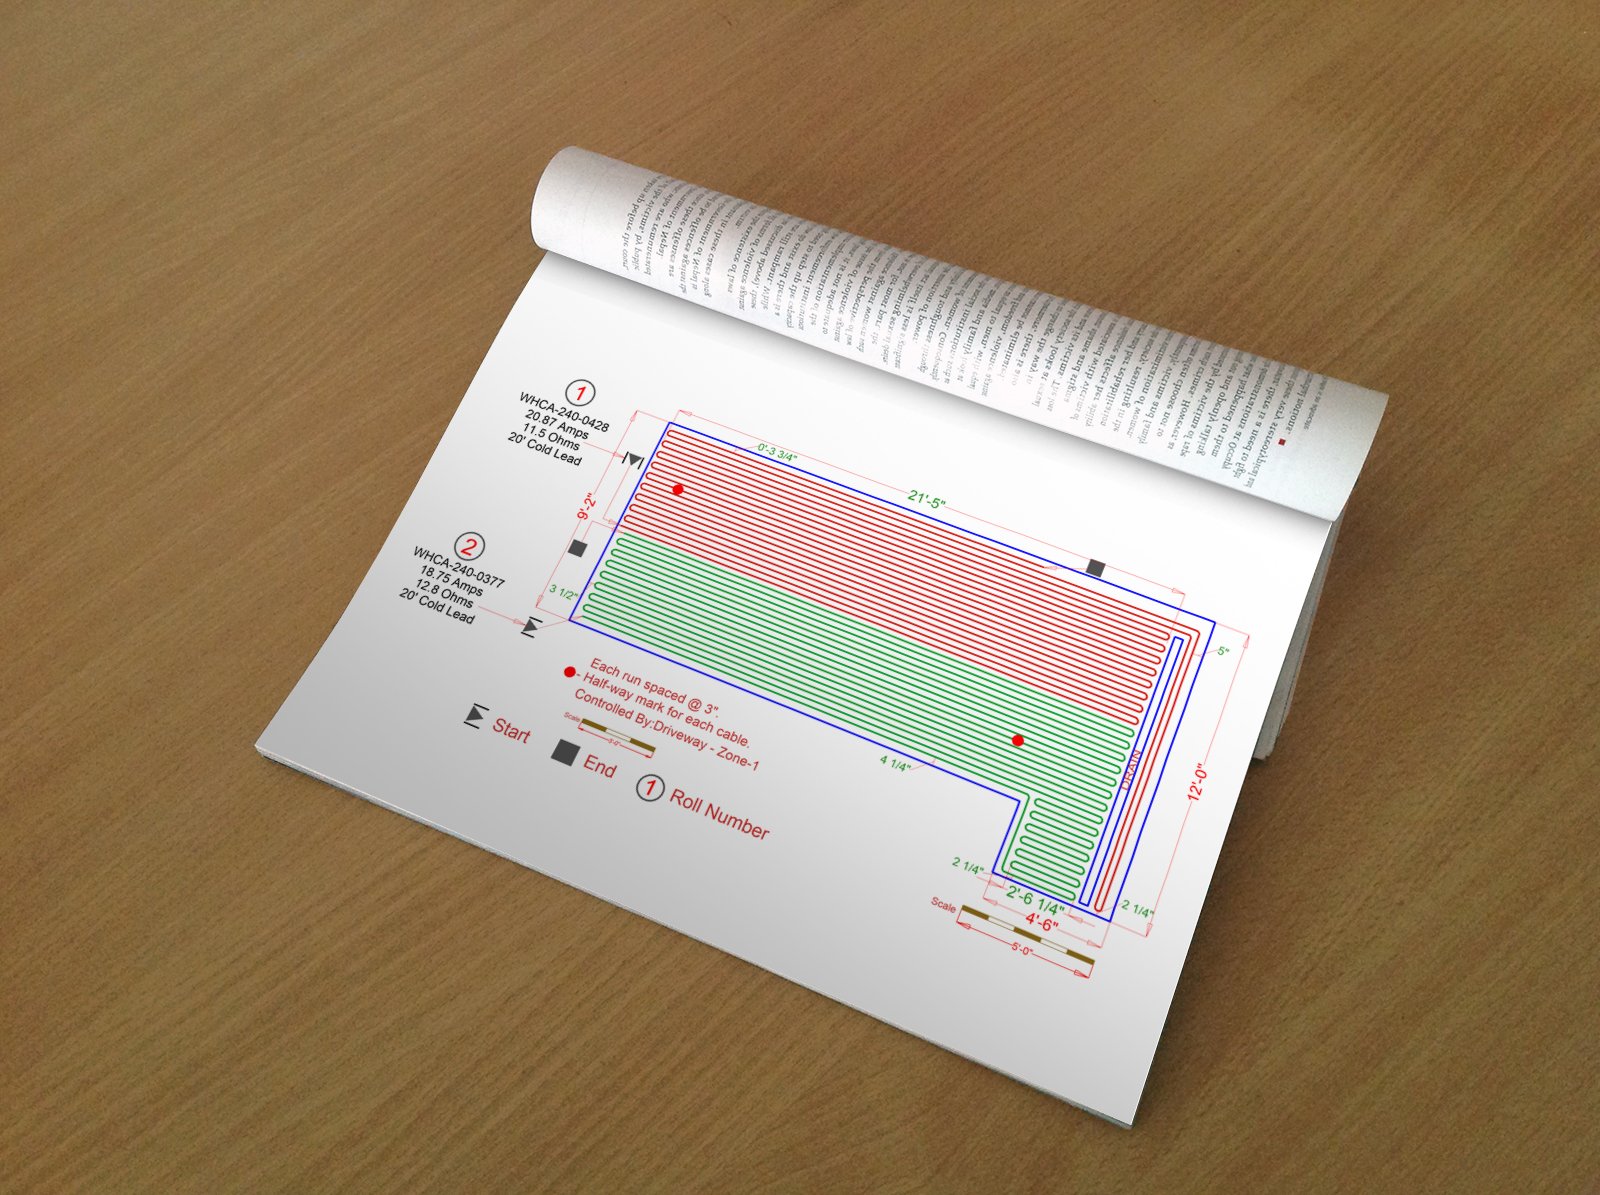
Every WarmlyYours SmartPlan provides:
- A detailed installation layout for your specific application: Driveways, Walkways & Paths, Outdoor Stairs, or Ramps.
- Coverage diagrams showing heating zones and measurements.
- Recommended control and sensor locations for automated system operation.
- An itemized quote listing all components and costs.
- Electrical requirements: Your SmartPlan will specify the required voltage (120V or 240V), total amperage, and circuit breaker size for your snow melting system, plus guidance on where to locate the power supply and controls.
- Professional installation recommendations and support contacts.
This ensures your system is safe, code-compliant, and tailored for your exact needs.
A: For most paver or stone applications, WarmlyYours Snow Melt Mats are recommended because they provide consistent, evenly spaced heating and are easier to install in rectangular or regularly shaped areas. The mats are embedded in a sand or mortar bed beneath the pavers, ensuring reliable performance and minimal installation time. For projects with lots of curves or unusual shapes, Snow Melt Cables offer more flexibility and can be custom-laid to fit any design.
- Recommended for most paver installs: Snow Melt Mats
- Best for complex layouts or curves: Snow Melt Cables
Pro Tip: Always follow manufacturer guidelines for depth, spacing, and surface installation to ensure warranty coverage and system longevity.