In This Article
Installing tile yourself can save money and add a personal touch, but when radiant floor heating is involved, mistakes can be costly and damaging. From improper subfloor preparation to neglecting heating cable protection, these common pitfalls can compromise your floor’s durability and warmth.
Discover the top 5 DIY tile installation errors and expert tips to avoid them—ensuring a flawless, warm floor that lasts for years.
Quick Facts: DIY Tile & Radiant Floor Heating
- Average savings: DIY tile installation can cut labor costs by 30–50%, but mistakes can erase those savings.
- Subfloor prep: Even small dips or high spots can cause tile lippage and stress radiant heating cables.
- Testing: Heating mats or cables should be tested with an ohmmeter before, during, and after installation.
- Thinset coverage: Cables and mats must be fully embedded in mortar or self‑leveling compound for safety and performance.
- Planning: A clear layout plan reduces tile waste and helps position sensors and thermostats correctly.
Mistake #1: Not Having the Right Tools Ready
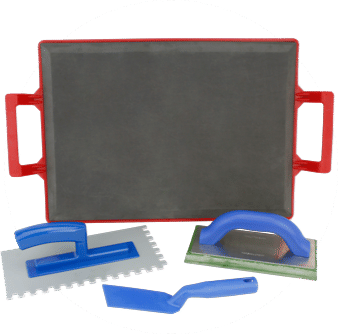
Successful tile installation starts with having all the right tools on hand. From measuring tapes to tile cutters and leveling systems, missing even one essential tool can lead to delays, errors, and frustration. For radiant floor heating installations, additional tools like an ohmmeter and cable testers are critical to protect your heating system while working.

Mistake #2: Underestimating Material Needs — Always Buy Extra
Running out of tile or thinset mid-project is frustrating and can delay your installation. Always purchase more material than your measurements suggest — about 10% extra tile and additional thinset mortar. This buffer accounts for cuts, breakage, and unexpected waste.
When working with radiant floor heating, remember that the thinset layer needs to fully encapsulate heating cables or mats, which may slightly increase your mortar requirements. Having extra thinset on hand ensures you won’t compromise on coverage or safety.
Mistake #3: Skipping Proper Subfloor Preparation and Leveling
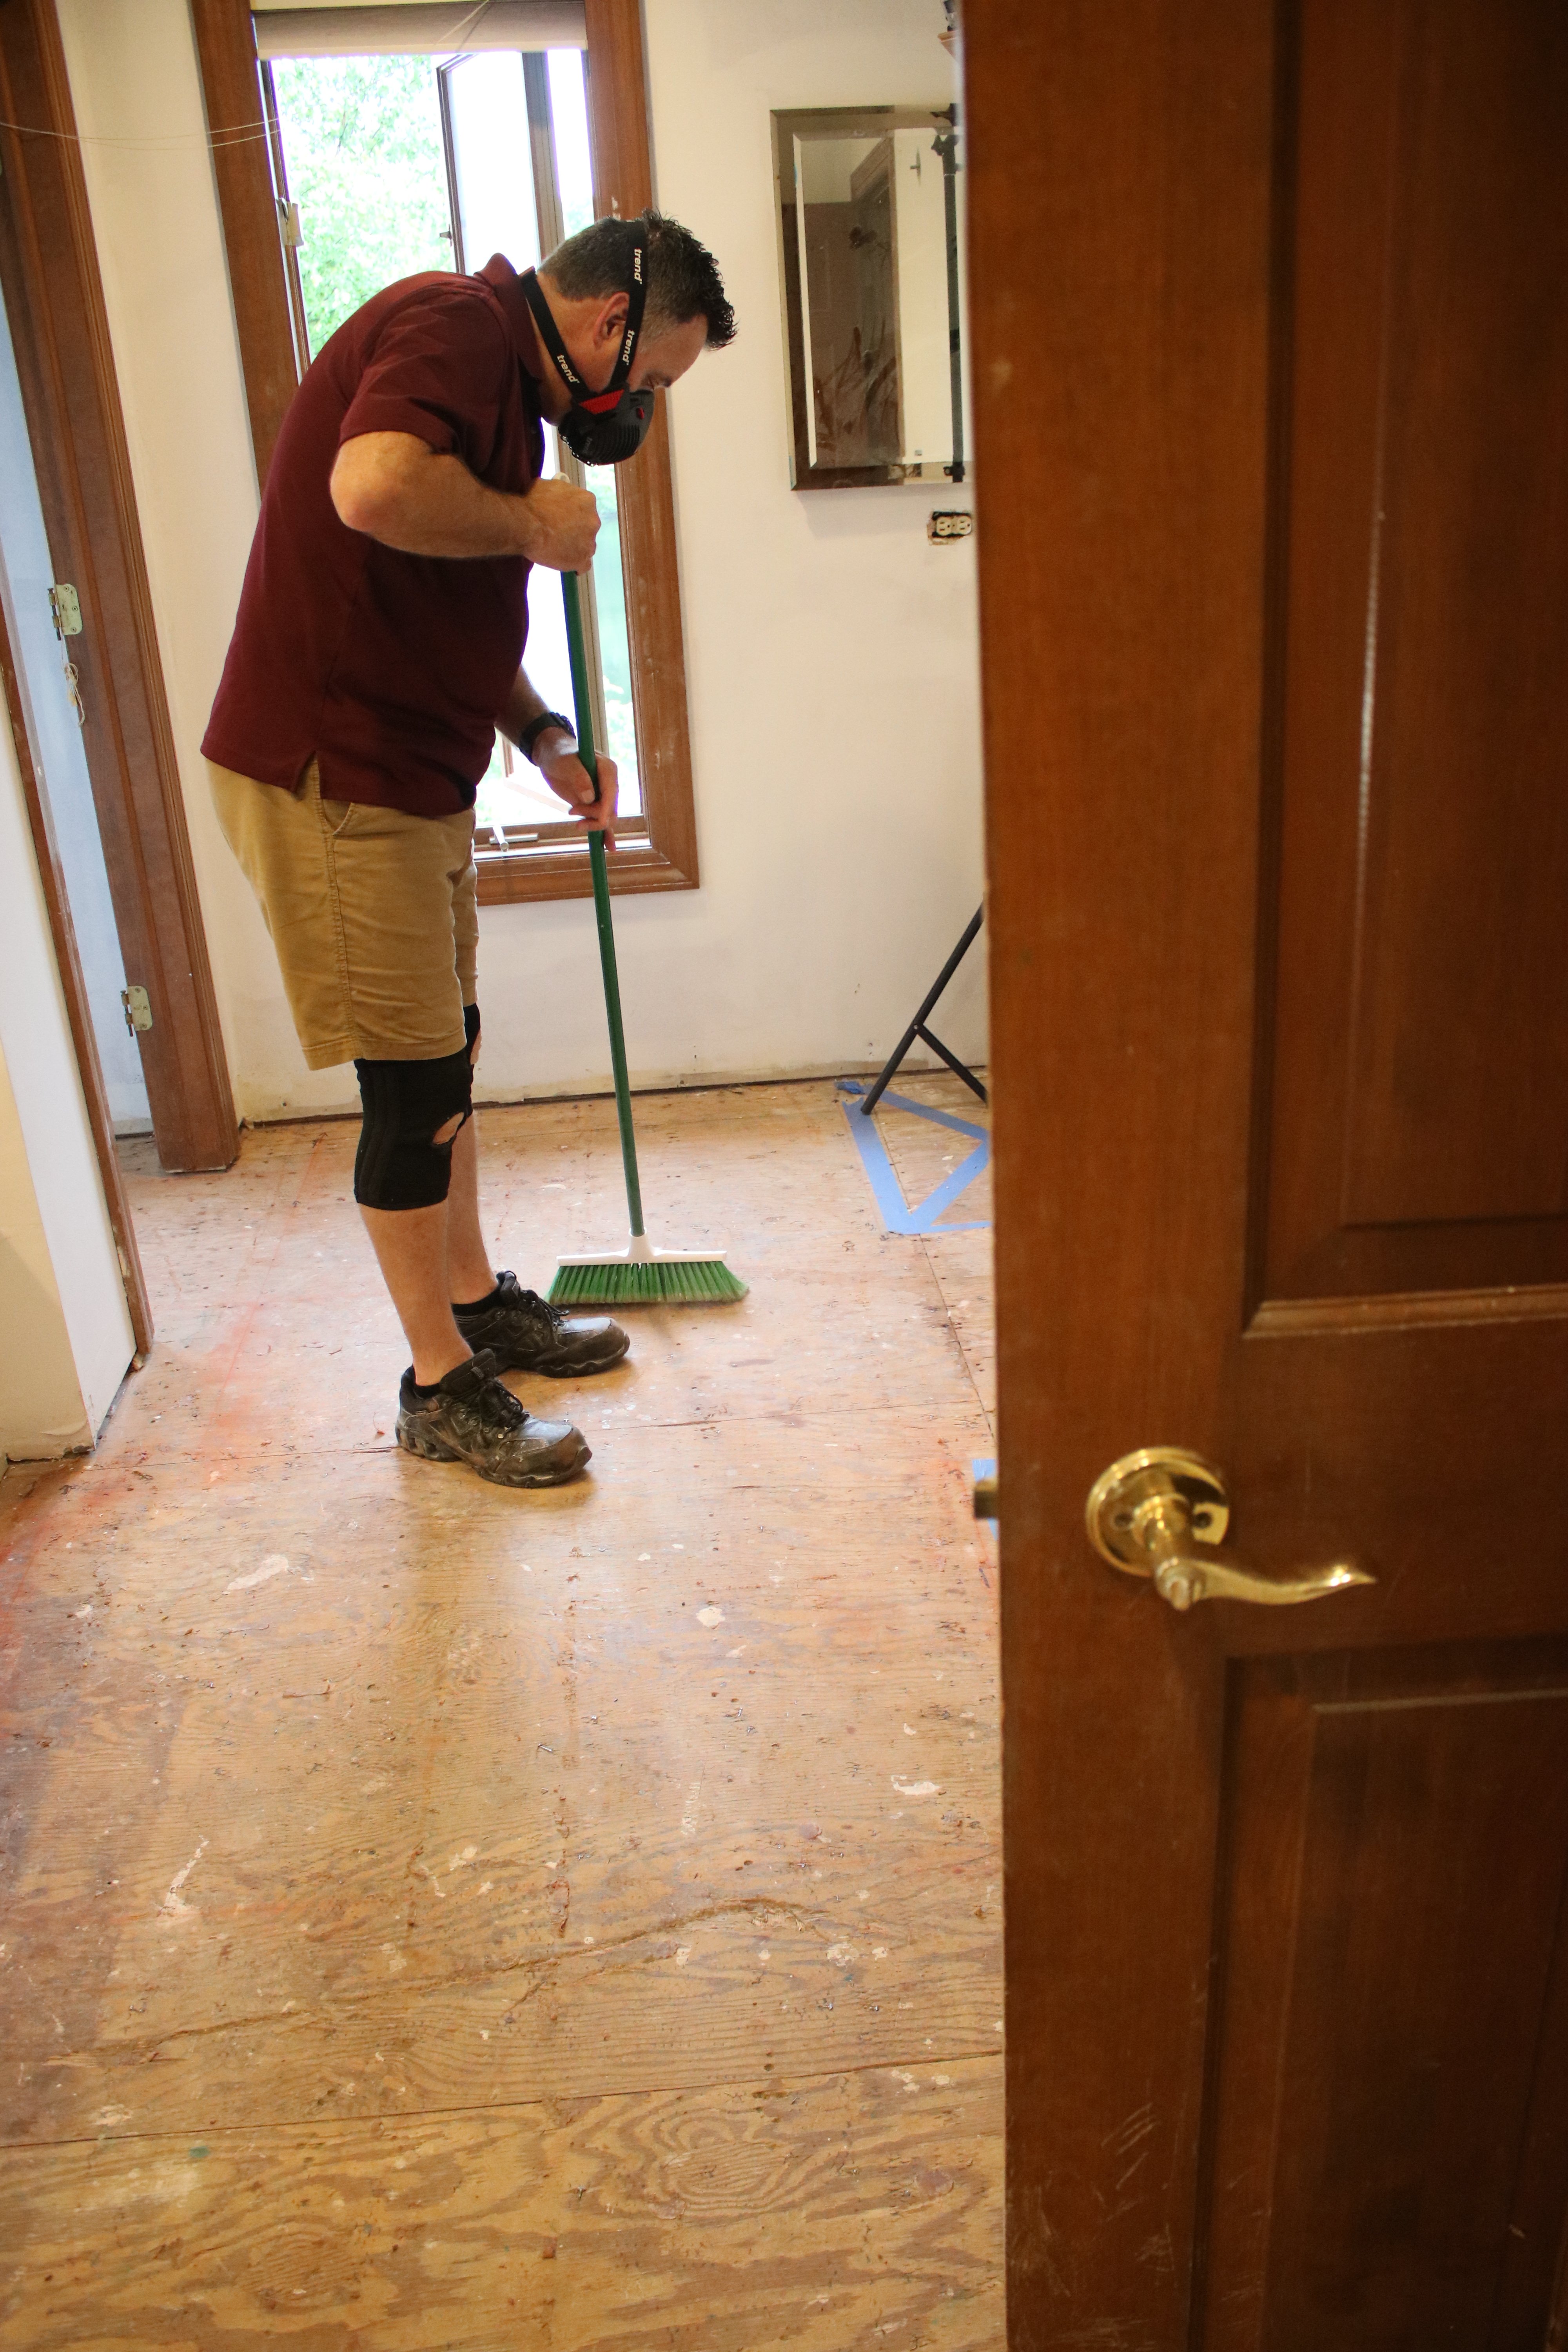
A clean, flat, and stable subfloor is the foundation of any successful tile installation. Failing to remove debris, fix loose boards, or level uneven surfaces can lead to cracked tiles, lippage, and damage to radiant heating cables underneath.

Use a broom or vacuum to clear the area, secure any loose plywood, and grind or fill low spots in concrete. Self-leveling compounds are especially helpful to create a smooth surface and protect your radiant floor heating system.
Mistake #4: Ignoring Room Measurements and Layout Planning
Many DIYers overlook measuring their room’s dimensions and squareness, which can lead to uneven tile layouts and wasted materials. Knowing your room’s shape helps you plan tile placement to avoid awkward cuts and unsightly patterns.
When installing radiant floor heating, coordinate your layout to accommodate heating mats or cables and ensure sensors are properly positioned for optimal temperature control.
Not sure where to start? Send us your room layout and we’ll provide a custom installation and electrical plan with our SmartPlan® design service so you can install with confidence.
Mistake #5: Not Mixing Tile Boxes Before Installation
Tile from different boxes can have slight variations in shade or pattern, even within the same product line. If you install one box at a time, you may end up with visible “blocks” of different tones across the floor.
Before you start, open multiple boxes and mix the tiles together. This blends any shade differences and creates a more natural, uniform look — especially important over radiant floor heating, where consistent warmth draws attention to the entire surface.
Bonus Tip: Protect Your Radiant Floor Heating System During Installation
Radiant floor heating cables or mats are delicate and can be damaged by sharp tools or excessive pressure. Always test your heating elements with an ohmmeter before, during, and after installation to catch any issues early.
Remove excess thinset promptly from grout joints to prevent damaging cables, and never cut heating cables when fitting tiles. For expert help anytime during your project, WarmlyYours offers 24/7 technical support.
Frequently Asked Questions
What tools do I need for DIY tile installation with radiant floor heating?
Essential tools include measuring tape, tile cutter, levelers, ohmmeter for testing heating cables, thinset mixer, grout float, and safety gear. WarmlyYours offers complete tile installation kits tailored for radiant floor heating projects.
How do I protect radiant floor heating cables during tile installation?
Avoid cutting or nicking cables, test resistance regularly with an ohmmeter, and promptly clean excess thinset from grout joints. Use proper tools and follow WarmlyYours installation guides to prevent damage.
Can I install tile over an uneven subfloor?
No, an uneven subfloor can cause tile cracking and lippage. Use self-leveling compounds or patching to create a flat surface before installing tile and radiant heating systems.
How much extra tile and thinset should I buy?
Purchase at least 10% extra tile to account for cuts and breakage. Buy additional thinset to ensure full coverage, especially over heating elements where proper embedment is critical.
When should I call WarmlyYours technical support?
Contact WarmlyYours 24/7 if you have questions about layout, testing heating cables, thinset coverage, or troubleshooting any issues during or after installation.
Ready to Get Started on Your Tile and Radiant Floor Heating Project?
Explore our complete floor heating products, installation kits, and expert support — everything you need for a flawless, warm tile floor.
Shop Floor Heating Products & KitsJoin the WarmlyYours PRO Program
Have Questions About Your Project?
Our team of Radiant Experts is ready to help!
Stay Updated
Get the latest radiant heating news and tips delivered to your inbox.


