

In This Article
Here is the counterintuitive truth behind almost every heated tile floor that fails: the heating element rarely dies on its own. As our technical support manager Scott Rosenbaum puts it, “the heater rarely fails — it’s the assembly that fails.” The cable is designed to outlast the flooring on top of it. When something goes wrong, it is almost always the product sandwich around the wire — the subfloor, the bond, the underlayment, the pour — that gave out and took the cable with it.
This guide reframes substrate prep as a risk assessment rather than a checklist. Before you set a single tile, you should be able to look at a subfloor and place it on a simple traffic-light map: green (proceed), yellow (proceed with a specific fix), or red (stop). Below is that map, the four failure modes behind it, and the exact numbers that separate a safe floor from a callback.
Quick Facts
- The real failure point: The assembly around the cable fails far more often than the cable itself.
- Four root causes: movement/deflection, moisture, poor bonding, and the wrong underlayment or a rushed install.
- Flatness — standard tile: max ¼” variation over 10 feet.
- Flatness — large-format tile (any side > 15”): max ⅛” over 10 feet, plus modified thinset.
- Total build-up: roughly ¾”–1⅛” from subfloor to finished tile.
- Duct tape: the #1 cause of tile delamination over heating wires — never use it.
Why Heated Tile Floors Fail: The Four Root Causes
Every failure our support team traces back to the assembly falls into one of four buckets. Judge every subfloor against all four before you decide it is ready.
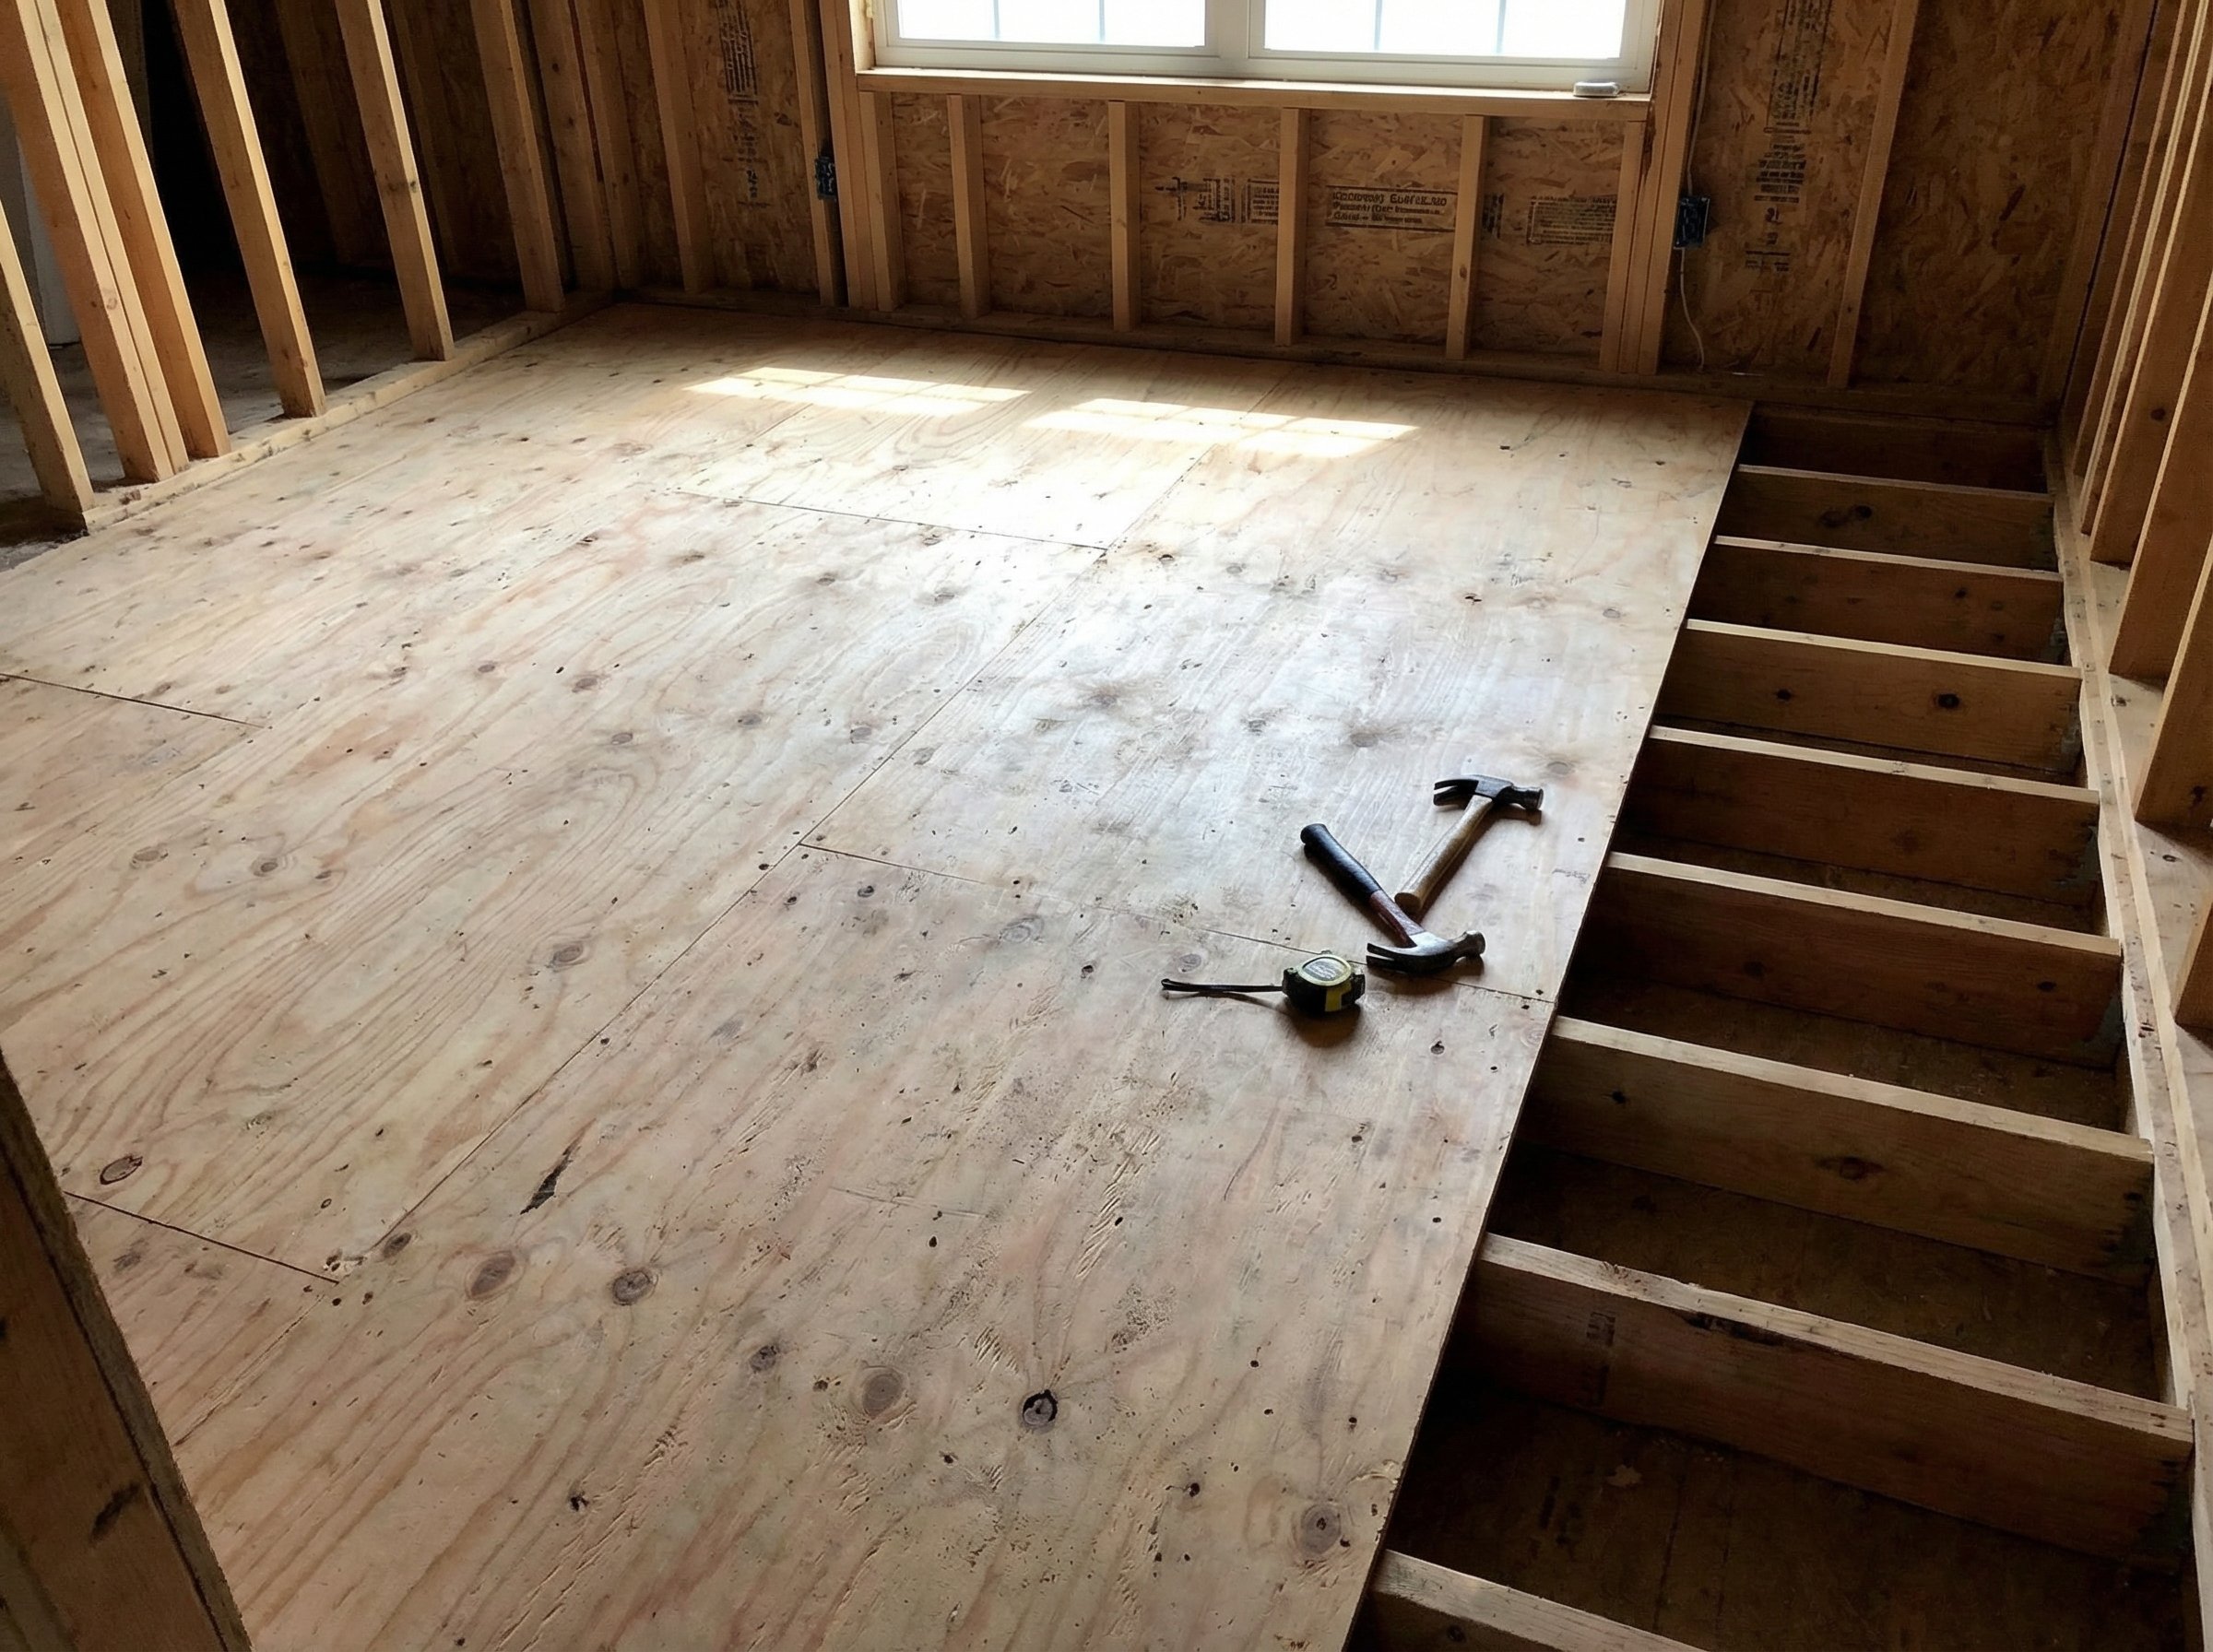
- Movement and deflection. A subfloor that flexes cracks tile and shears the bond. Wood-framed floors are the usual culprit; this is a structural problem, not something a membrane alone can rescue.
- Moisture. Uncured concrete, damp slabs, and thirsty wood substrates all attack the bond. Plywood and OSB can wick water straight out of thinset or self-leveling underlayment (SLU), starving the mortar and breaking the bond.
- Poor bonding and contamination. Thinset sticks to the floor, not to the dust, oil, curing film, or glaze sitting on top of it. As the webinar put it, “you’re attaching thinset to dust, not the floor.”
- Wrong underlayment or a rushed install. Skipping cure times, choosing the wrong primer, or forcing the schedule turns a good product into a failed one.
The Substrate Risk Map
This is the heart of the WarmlyYours PRO Resource. Read your subfloor across the row and act on the color.
The flatness numbers that decide the job
Standard tile tolerates up to ¼” of variation over 10 feet. The moment any tile side exceeds 15” it is large-format (LFT), and the tolerance tightens to ⅛” over 10 feet — plus modified thinset, not standard. Natural stone needs a stronger, stiffer base than ceramic or porcelain of the same size.
The Bond-Breaker Rule
The single most common way installers cause their own failures is by trapping something between the mortar and the assembly that stops a real bond from forming. The worst offender is duct tape.
Duct tape leaves a wide, non-porous footprint that mortar cannot penetrate, creating hollow voids under the tile — the #1 cause of delamination over heating wires. Secure the cable with dabs of hot glue every 6–12 inches instead. On wide spans where cable can float to the surface during an SLU pour, use short strips of ½”–¾” masking tape every couple of feet, laid perpendicular across the wire — just enough to hold it down, never a continuous run.
The same principle governs the surface itself: it must be clean, sound, and dry. Wipe the substrate with a damp sponge to lift the fine dust you cannot see — otherwise you are bonding to dust. And remember glazed existing tile is itself a bond-breaker until you scarify or prime it.
Rigid vs. Uncoupling: Choosing the Underlayment
The two dominant paths are a rigid layer (cement backer board) or an uncoupling membrane (such as Prodeso). The choice follows the floor’s needs, not habit.
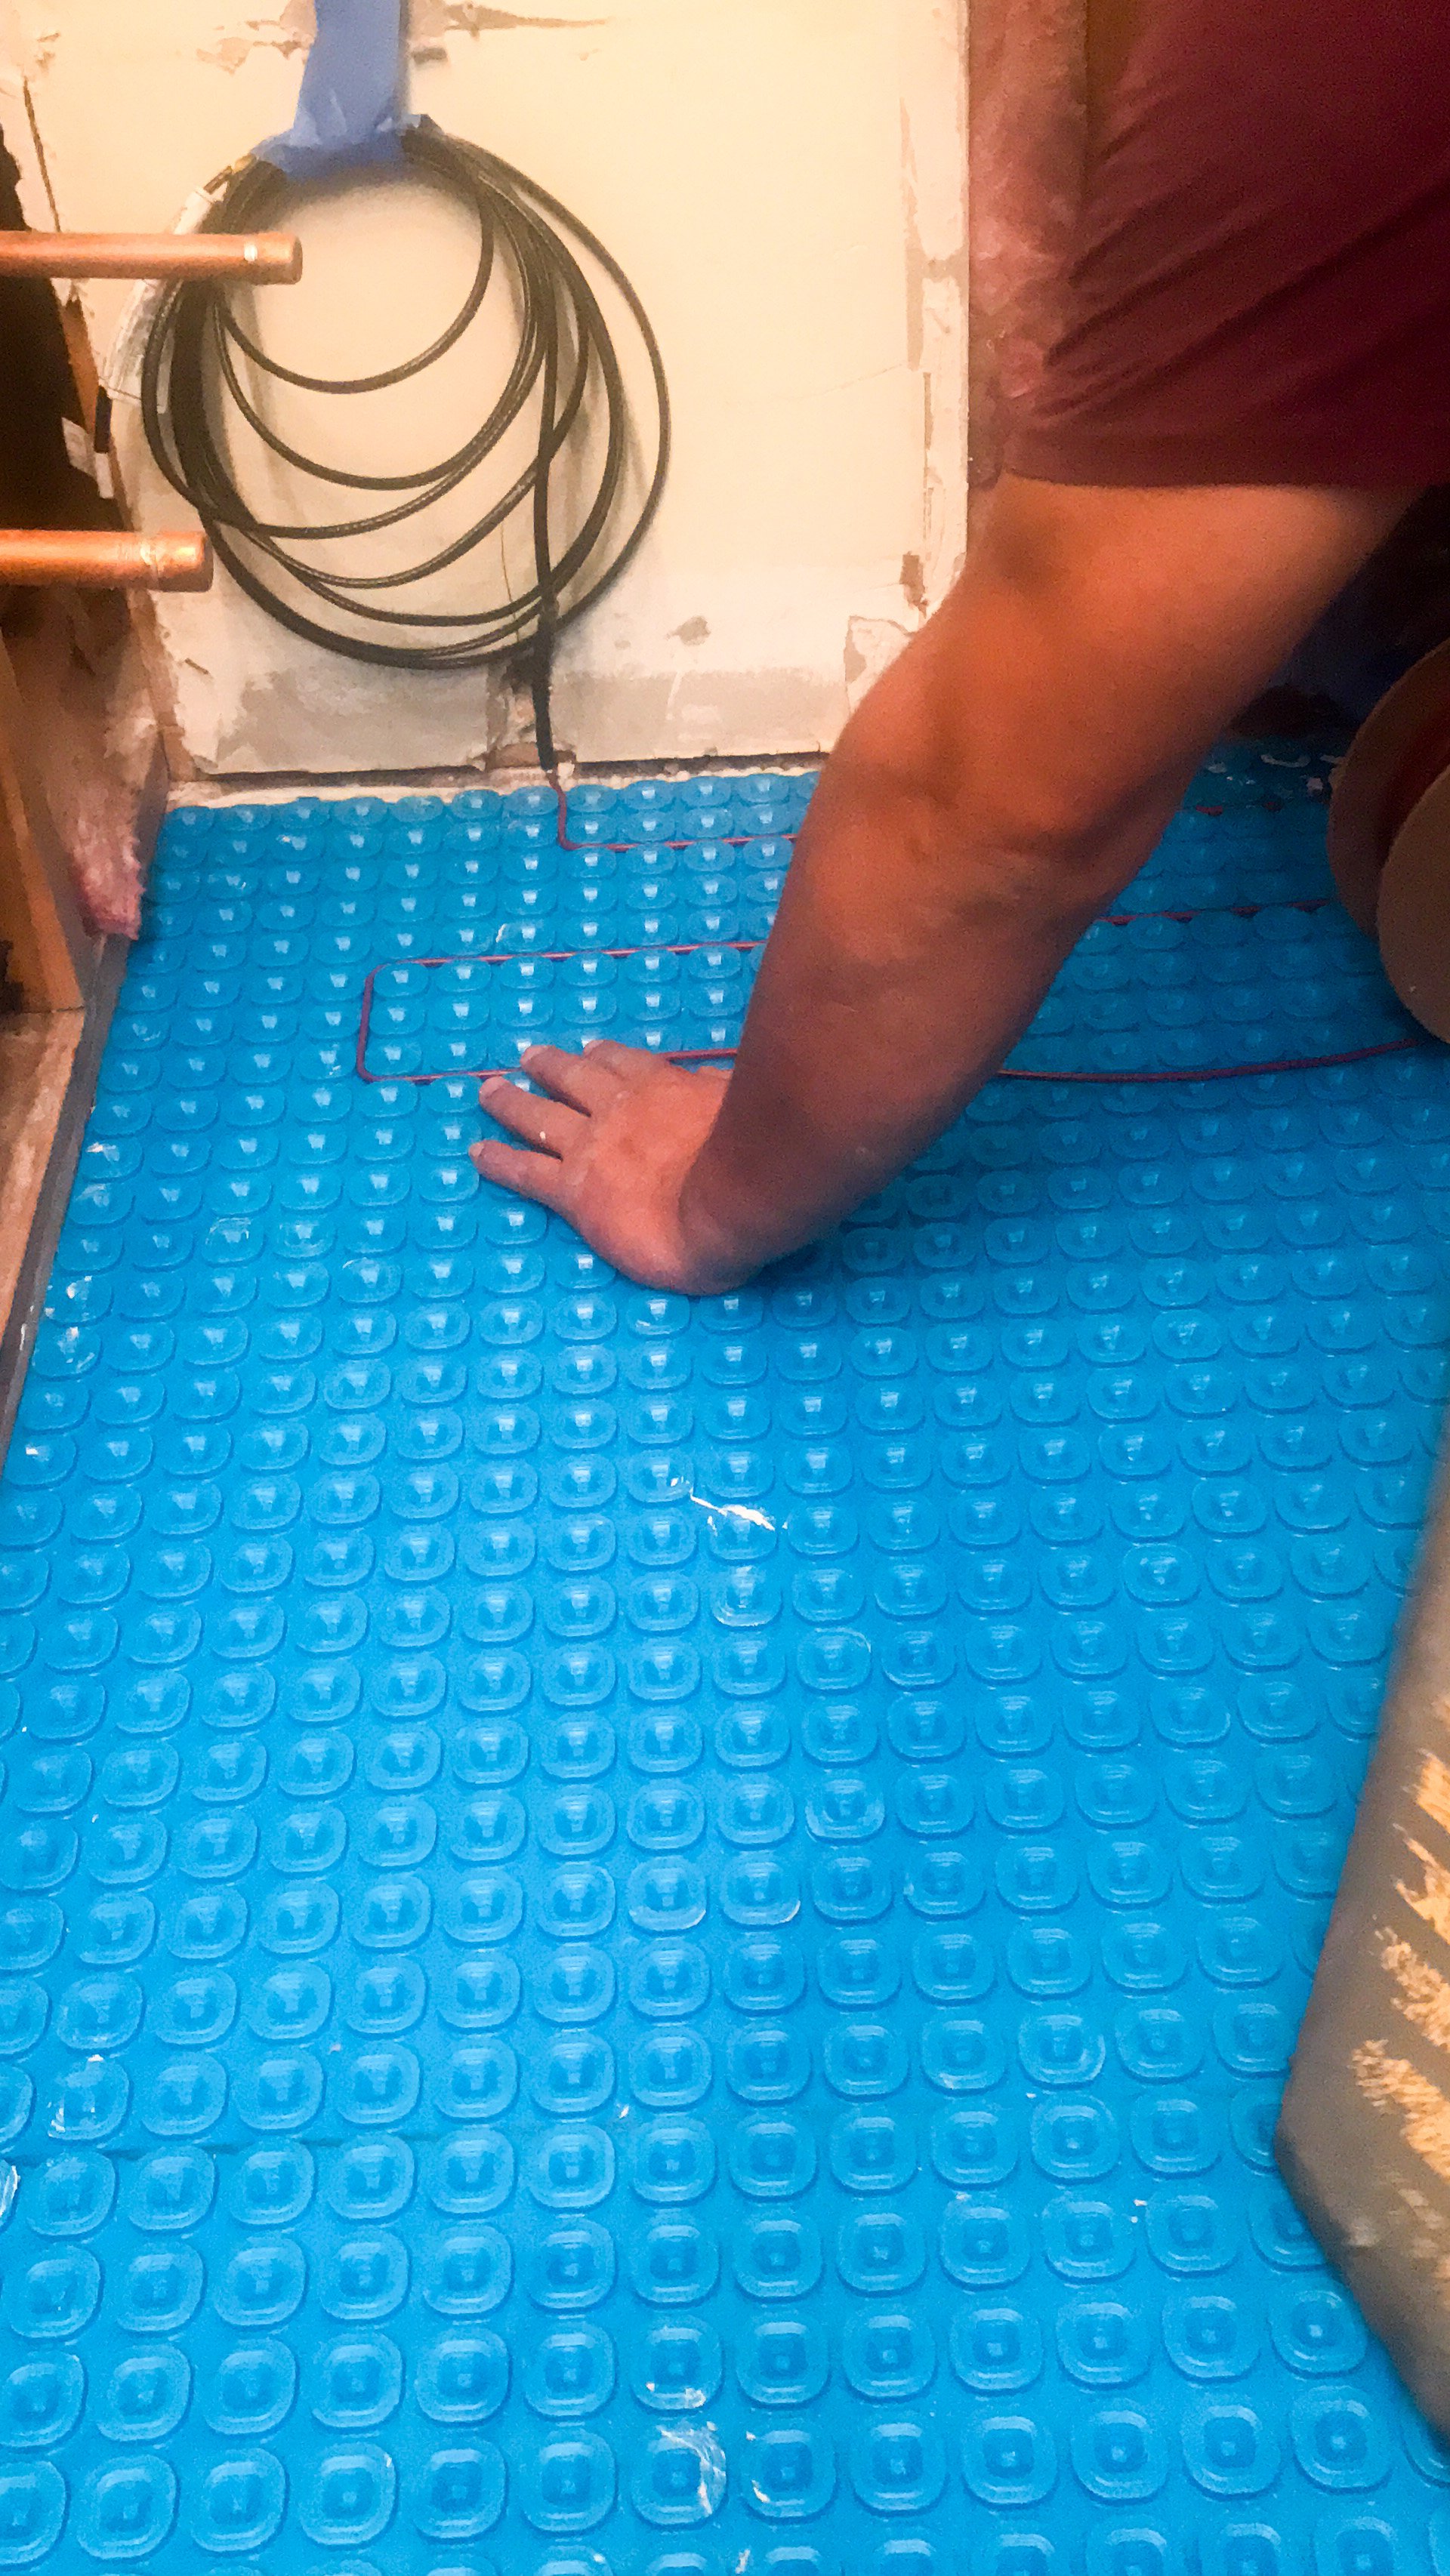
- Cement backer board wins when rigidity and cost are the priority over an existing wood subfloor. Critical rule: backer board goes under the heating element, screwed to the subfloor — never fastened over the cable, or the screws go straight through the wire.
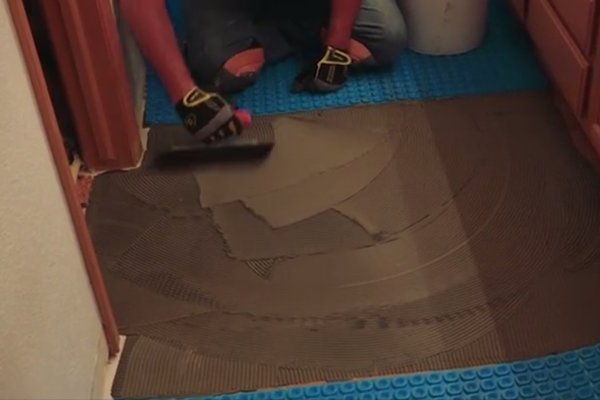
- Uncoupling membrane (Prodeso) isolates minor subfloor movement and crack propagation — ideal for a small hallway bath. It is a zero-cure, controlled-climate assembly: attach the membrane, set the cable in its channels, cover, and tile all in one day. Its ~7/32” (5.5mm) profile recesses the cable, adding no extra height, and it will not float during a pour.
For a deeper comparison of the pour options, see our guide to tile, marble & stone floor heating, and for the crack-isolation case specifically, how to prevent your tile floor from cracking.
Concrete and the ThermalSheet Advantage
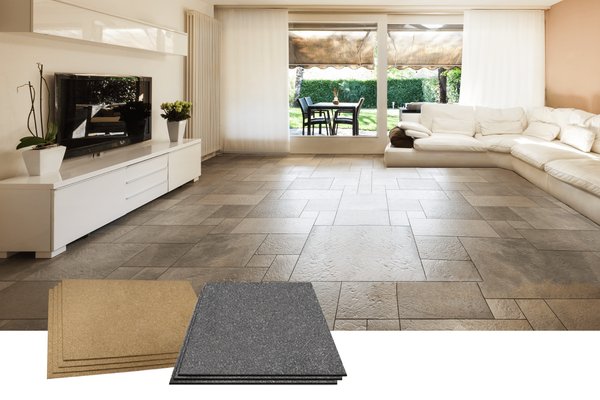
Bare concrete is a heat sink — it pulls warmth downward and away from the room. A synthetic-cork thermal break like ThermalSheet reflects heat upward and can improve heating efficiency by up to 50%. It is worth stressing: this is needed even if the slab already has insulation beneath it, because sub-slab insulation is not the same as a thermal break directly above the slab. Our systems heat a thin ~1”–1.5” layer, not an old-school 3” mud bed. More on this in our guide to floor heating underlayment.
Self-Leveling Without the Float
Self-leveling underlayment is where good intentions fail fast. Decontaminate, grind if needed, and prime with the correct primer for your substrate — then honor the primer’s tack window (roughly 4–6 hours, brand-dependent). Do not fake SLU by mixing thinset thin; it will fail. Plan the crew: two to three people, multiple mixing tubs, and no spiked shoes or gauge rakes that can nick the wire. Plug floor holes and air vents first, or the pour drains into the ceiling below.
Height Math and Transition Zones
Plan the stack-up before you commit. Total build-up runs roughly ¾” to 1⅛” from subfloor to finished tile: a backer-board path adds ¼”–½”; a Prodeso path adds its 7/32” profile; the thinset embedment bed is ⅜”; and the tile itself is ⅜”–½”. The working rule is a ⅜” thinset bed with no more than 1”–1.5” from the top of the tile down to the cable.
Check door clearance and swing, and plan transition strips early. Critically, keep the cable out of transition zones — trim installers routinely cut into those thresholds and will slice a wire you routed through them.
See the Three Gates in Action
This short Tech Tips walkthrough maps the same framework onto three go/no-go gates — structural integrity, flatness, and bond readiness — and is the video companion to the downloadable Risk Map.
Get the PRO Resource: Substrate Compatibility & Risk Map
Keep the full green/yellow/red map, flatness specs, and stack-up math in your pocket on the job site. Download the Heated Tile Substrate Compatibility & Risk Map (PDF).
The Last Word: Test, Document, Design
Two habits separate a warranty-safe heated tile floor install from a gamble. First, ohm/megohm test the cable at every stage — before install, after layout, and before covering — and record the final reading in the manual. It is the single most critical step and it proves the wire was intact when you covered it. Second, when a floor is complex, let our Floor Plan Service (26+ years, 600,000+ designs) return a layout, electrical plan, and operating-cost estimate before you buy. For the field-side testing and documentation routine, follow our 5-step pre-install checklist for pros.
Heated Tile Substrate FAQs
Yes, if the plywood is structurally sound, stiff, and within deflection limits — use exterior-grade, moisture-resistant plywood. For natural stone, two layers of plywood are mandatory. If the floor has any movement, add an uncoupling membrane first. A membrane cannot fix a framing problem, so correct structural bounce before you install.
Large-format tile — any tile with a side longer than 15” — requires a subfloor flat to within ⅛” over 10 feet, and must be set with modified thinset rather than standard. Standard tile is more forgiving, tolerating up to ¼” over 10 feet. Flatter is always better over heating cables to prevent lippage and stress.
No, an uneven subfloor can cause tile lippage and stress the radiant heating cables, leading to cracks or system failure. Always level the subfloor using a self-leveling compound or patching material first. This creates a stable, flat surface that protects the heating elements and ensures a professional finish.
Typically, an uncoupling membrane like Prodeso will be best for this application because it can be paired with accessories to effectively waterproof the subfloor.
However, if you have a cement subfloor, then ThermalSheet synthetic cork is a good choice because of its high 1.5 R-value and moisture resistance.
Have Questions About Your Project?
Our team of Radiant Experts is ready to help!
Related Articles
Bathroom Tile Heating Installation: The 5-Step Pre-Install Checklist for Pros (Part 1 of 2)
How to Prevent Tile Cracks When Installing Radiant Floor Heating
A Trade Pro’s Guide to Thinset vs. Self-Leveling
Do You Need Underlayment for Radiant Heat Over Concrete Slabs?”
Stay Updated
Get the latest radiant heating news and tips delivered to your inbox.