

Installing in-floor heating requires following five golden rules: never cut the heating wire, always get a custom installation plan, avoid heating under permanent fixtures, test the system with an ohmmeter at every stage, and use 24/7 technical support. Following these ensures a safe, efficient, and warranty-protected radiant heating system.
Installation Master Checklist
- Rule 1: Never cut the heating wire; only cut the mesh or foil.
- Rule 2: Always follow a free Custom Installation Plan from WarmlyYours.
- Rule 3: Keep heating elements away from permanent fixtures and air vents.
- Rule 4: Use a digital ohmmeter and Circuit Check at four key stages.
- Rule 5: Contact 24/7 technical support for any installation questions.
When many homeowners begin their search for an in-floor heating system, they may be surprised to learn that they can purchase the product and install it themselves. No contractor is necessary (although they might choose to hire one based on their level of expertise). But, the fact is, anyone can install a floor heating system with some detailed directions from the manufacturer.
Whether a DIYer or experienced contractor is installing the system, there are a few rules to live by to make sure the project is completed safely and correctly.
Rule #1: Never cut the heating wire.
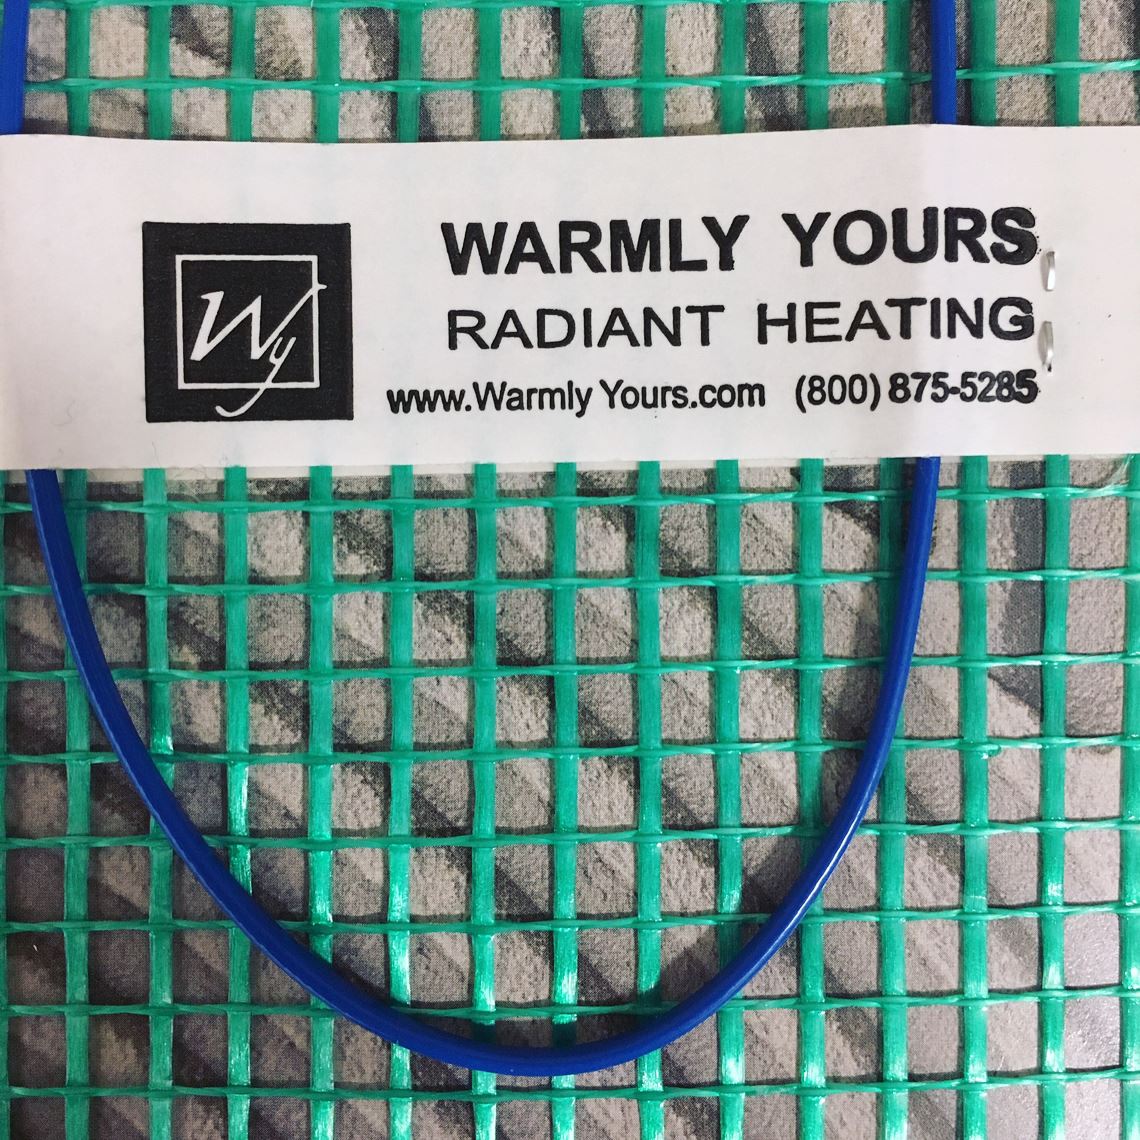
WarmlyYours Flex Rolls and Easy Mats feature a heating cable that’s embedded in another material, such as plastic mesh or ultra-thin foil. This material holds the cable in a serpentine pattern, keeping the spacing of the cable consistent and reducing the labor of laying out the heating cable. When the Flex Rolls are being installed, they must be cut and turned to heat the entire room. This is when it’s particularly important to be careful not to cut the heating wire. The mesh or foil of the rolls is meant to be cut, but the heating element should never be cut or nicked. Throughout the installation process, it’s vital to ensure that the heating cable stays intact — both for the safety of the installer and the success of the project. If you do accidentally damage the wire, you will need specific installation and repair parts to fix it properly.
Rule #2: Get a custom installation plan.
WarmlyYours Radiant Heating offers free installation plans for every project. All the homeowner has to do is provide a floor plan of the room, detail where permanent fixtures and air vents are located, and note where they’d like the thermostat to be located and WarmlyYours will provide a detailed installation plan free of charge. The installation plan shows what products are needed and the best way to configure them to get the maximum heat coverage for the room. A custom installation plan can be requested from a WarmlyYours sales representative online (https://www.warmlyyours.com/contact/quote-request-simple) or by phone at 800-875-5285. Along with your installation manual, this is the most important document you’ll need to step you through your floor-heating installation. For a broader overview, check out our guide on how to install electric radiant floor heating in 9 easy steps.

Rule #3: Never heat under permanent fixtures or over air vents.
Radiant floor heating systems were not designed to go under permanent fixtures or over air vents. It’s important to avoid these areas to ensure that your floor-heating system doesn’t overheat. Permanent fixtures include things like cabinetry, toilets, showers, tubs, etc. Floating vanities, however, offer enough space between the floor and the vanity to make it safe. In general, there should be enough “room to breathe” between your floor-heating system and any fixtures above. If there’s any concern that your project doesn’t follow this rule, you can double check with a WarmlyYours expert at 800-875-5285.
Rule #4: Test the system with a digital ohmmeter and Circuit Check.
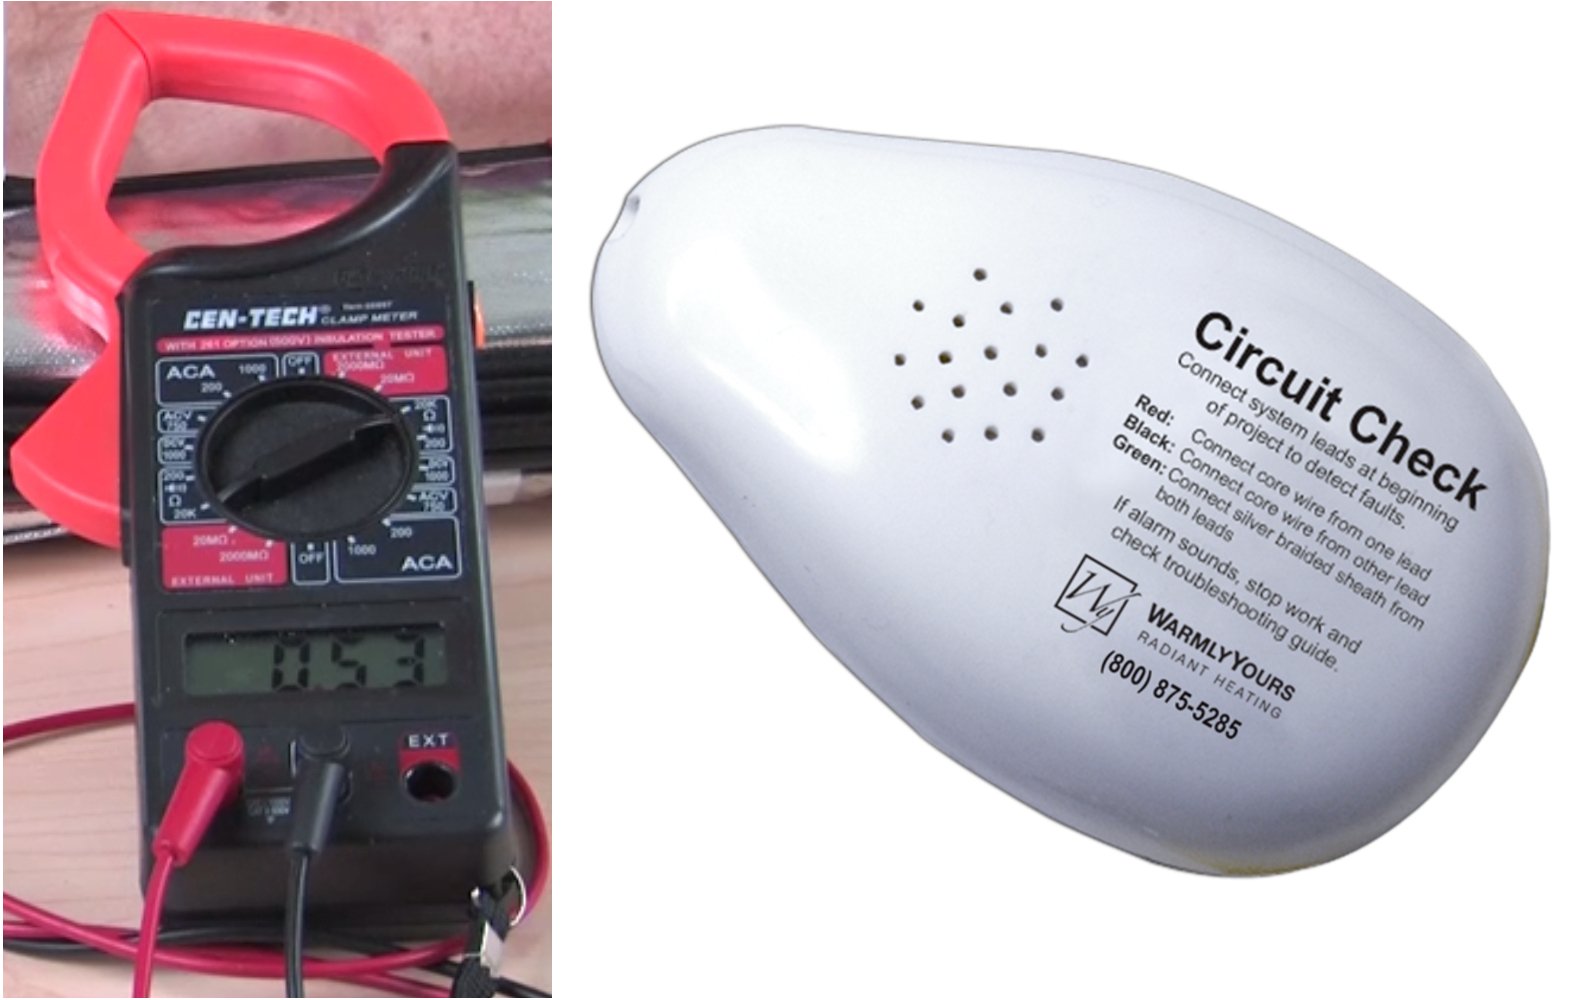
Before, during and after installation, you should test the floor-heating system with a digital ohmmeter. This tool ensures that the system is in good working order and stays within the allowable ohms resistance range specified on the product. Similarly, attaching a Circuit Check to the system throughout the installation will alert you if any damage is done to the heating element. For instance, if the wire gets nicked, cut or even bent too tightly, a siren will go off on the Circuit Check, alerting you to stop your work and make sure no damage has been done. These are just two of the seven essential tools you need for a successful installation.
Rule #5: Call technical support.
WarmlyYours Radiant Heating provides free technical support 24/7. If you ever have a question before, during or after installation, don’t hesitate to call WarmlyYours at 800-875-5285. Our team members have spent years troubleshooting floor-heating system issues, so they’ve likely already faced any questions or problems that could come your way. It’s their mission to help guide our customers, so be sure to take advantage of this unique benefit if you need to. If you run into trouble, you can also review our guide on troubleshooting the most common floor-heating issues.
By following these five golden rules, you’ll be armed with the most important knowledge when you’re ready to start your floor-heating project.
Frequently Asked Questions
DIY installation is possible, but professional installation is recommended. Here's what you need to know.
DIY Installation: Pros and Cons
Pros:
- Save on labor costs ($500–$2,500)
- Control over installation timeline
- Learn how the system works
- Satisfaction of completing the project yourself
Cons:
- Requires careful planning and precision
- Mistakes can damage the system or void warranty
- Electrical connections must be done by a licensed electrician (non-negotiable)
- Testing requires specialized equipment (multimeter/ohmmeter)
- Flooring installation over heating elements requires skill
- One error can be expensive to fix
What You Can DIY:
Heating Element Installation (If you're experienced):
- Measure and plan layout carefully
- Position heating mat or cable according to SmartPlan™
- Secure cables with tape or clips
- Maintain proper spacing (follow manufacturer guidelines)
- Avoid placing under fixtures
What Requires a Professional:
Electrical Connections (Licensed Electrician Required):
- Connecting thermostat to main power supply
- GFCI protection setup
- Breaker installation
- Code compliance verification
- This is non-negotiable—improper electrical work is dangerous and voids warranty
Testing (Before Flooring Installation):
- Resistance testing with multimeter
- Verification that readings match specifications
- Identifying problems before they're covered by flooring
Flooring Installation:
- Applying thinset mortar or self-leveling compound correctly
- Proper tile or flooring installation over heating elements
- Ensuring no damage to cables during installation
Recommended Approach: Hybrid Installation
Best practice for DIY-minded homeowners:
- Hire a professional to handle electrical connections
- You install the heating element (if comfortable)
- Hire a professional flooring installer to cover the system
- Licensed electrician does final connections and testing
This balances cost savings with professional expertise for critical components.
Before You Start:
Get a detailed SmartPlan™:
- Installation diagram showing exact cable/mat placement
- Electrical plan for your electrician
- Testing specifications
- Step-by-step instructions
Get a free SmartPlan™ (delivered in one business day).
Critical Success Factors:
- Follow your SmartPlan™ exactly
- Measure twice, install once
- Test the system before covering with flooring
- Use only a WarmlyYours-approved thermostat with GFCI
- Have a licensed electrician handle all electrical work
- Don't skip steps or take shortcuts
Professional Installation Benefits:
- Warranty protection (many warranties require professional installation)
- Expert problem-solving if issues arise
- Guaranteed code compliance
- Peace of mind
- Faster completion
Bottom Line: DIY heating element installation is possible for experienced homeowners, but electrical connections and flooring installation should be handled by professionals. The safest and most reliable approach is hiring professionals for the entire project. Either way, never skip the electrical work—hire a licensed electrician.
Please keep in mind that you must check your electric floor heating system with a digital ohmmeter in conjunction with a Circuit Check™. Take an initial reading as soon as you take the product out of the box to verify that it is within -5% / +10% of the values stated on the product’s label. This will give you a basis of comparison for future readings. Take a second reading once you have positioned the system to match your custom installation plan. It is also advisable to take an additional reading in the middle of the tile installation, just to make sure that the Circuit Check™ is doing its job. Then, take a final reading when you are finished with the floor installation and are ready to hook up the thermostat.
The Circuit Check™ is a tool developed by WarmlyYours to give you peace of mind and ensure trouble-free installations. Simply hook up the cold leads to the tool while you position the system to match your custom installation plan.
The Circuit Check™ will continuously monitor the continuity of the circuit during the installation of your system and during the installation of your flooring. The Circuit Check™ beeps immediately when a short in the system is detected, alerting you to a potentially damaged cable in the area you are working, before you lay the tile over the electric floor heating system. The WarmlyYours technical support team is available 24/7 to provide assistance if the alarm sounds, or if you would have any questions during your installation.
Have Questions About Your Project?
Our team of Radiant Experts is ready to help!

Related Articles

The Seven Tools You Need to Install an In-Floor Heating System
How to Install Electric Radiant Floor Heating in 9 Easy Steps

Troubleshooting the Most Common Floor-Heating Issues

3 Tips for Installing a Floor Sensor
Stay Updated
Get the latest radiant heating news and tips delivered to your inbox.