
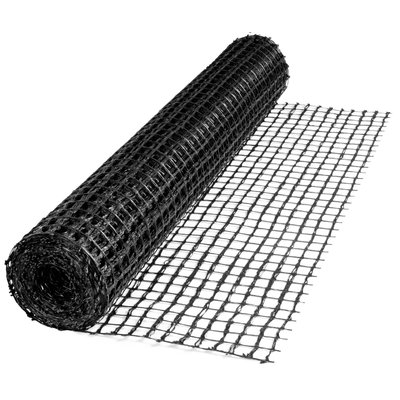
Snow Melt Embeddable Attachment Grid for Pavers and Existing Concrete Surfaces (3′ x 50′)
Part Number: SMG-U350
This support page provides publications, manuals, specifications, videos, support articles, and common support questions
This support page provides publications, manuals, specifications, videos, support articles, and common support questions
Jump to
Support Questions
Showing 10 of 13 questions
The most common spacing for snow melting systems is 3“ from wire to wire. However, we can design snow melting systems based on your local climate and weather expectations that might have different cable spacings to ensure the most efficient system possible. We also offer snow melting mats with 3" and 4" spacing.
A 2 pole single-phase 240V circuit works by continuously monitoring the current flowing through both hot wires of the circuit. If it detects even a slight imbalance between the current on each hot wire (indicating a ground fault), it will quickly trip, cutting off power to the circuit. Essentially, it compares each leg of the 240V circuit and trips if they are not precisely equal.
This feature prevents the snow melting system from running, by default, in temperatures below 17°F (–8.33°C), or as set by the user. At temperatures this low, it becomes difficult for the system to effectively melt the snow. It is, however, possible to turn off this feature should the system be required to keep running during these low temperatures.
The best home features for cold climates include a simple gable roof to shed snow, covered entrances for protection, airtight triple-pane windows to prevent heat loss, and radiant heating systems. These features work together to maintain interior warmth, reduce energy bills by up to 25%, and ensure structural safety during harsh winters.
Documents
Installation
- Retrofit Snow Melting System Application Guide (English)
- Snow Melting Application Cross Sections (English)
Sell Sheets
Project Planners
Specifications
Performance
| Compatible Surfaces | Can be embedded on top of existing concrete surfaces or under pavers, bluestone, or tile |
| Creep Limited Strength | 795 lbs/ft (ASTM D 5262) |
| Long Term Design Strength | 688 lbs/ft (NCMA 97) |
| Ultimate Strain at Failure | 14.4% (ASTM D 4595) |
| Ultimate Strength | 1,200 lbs/ft (ASTM D 6637) |
Product Dimensions
| Coverage | 150 |
| Grid Size | 1″ x 1″ |
| Length | 50′ |
| Weight | 4 lbs |
| Width | 3′ |
Construction
| Material | Polyester yarns coated with PVC |
Identifiers
| SKU | SMG-U350 |
| UPC (GTIN-12) | 881308071592 |
