
How to Install Snow Melting Under an Asphalt Driveway
last updated july 11, 2026

In This Article
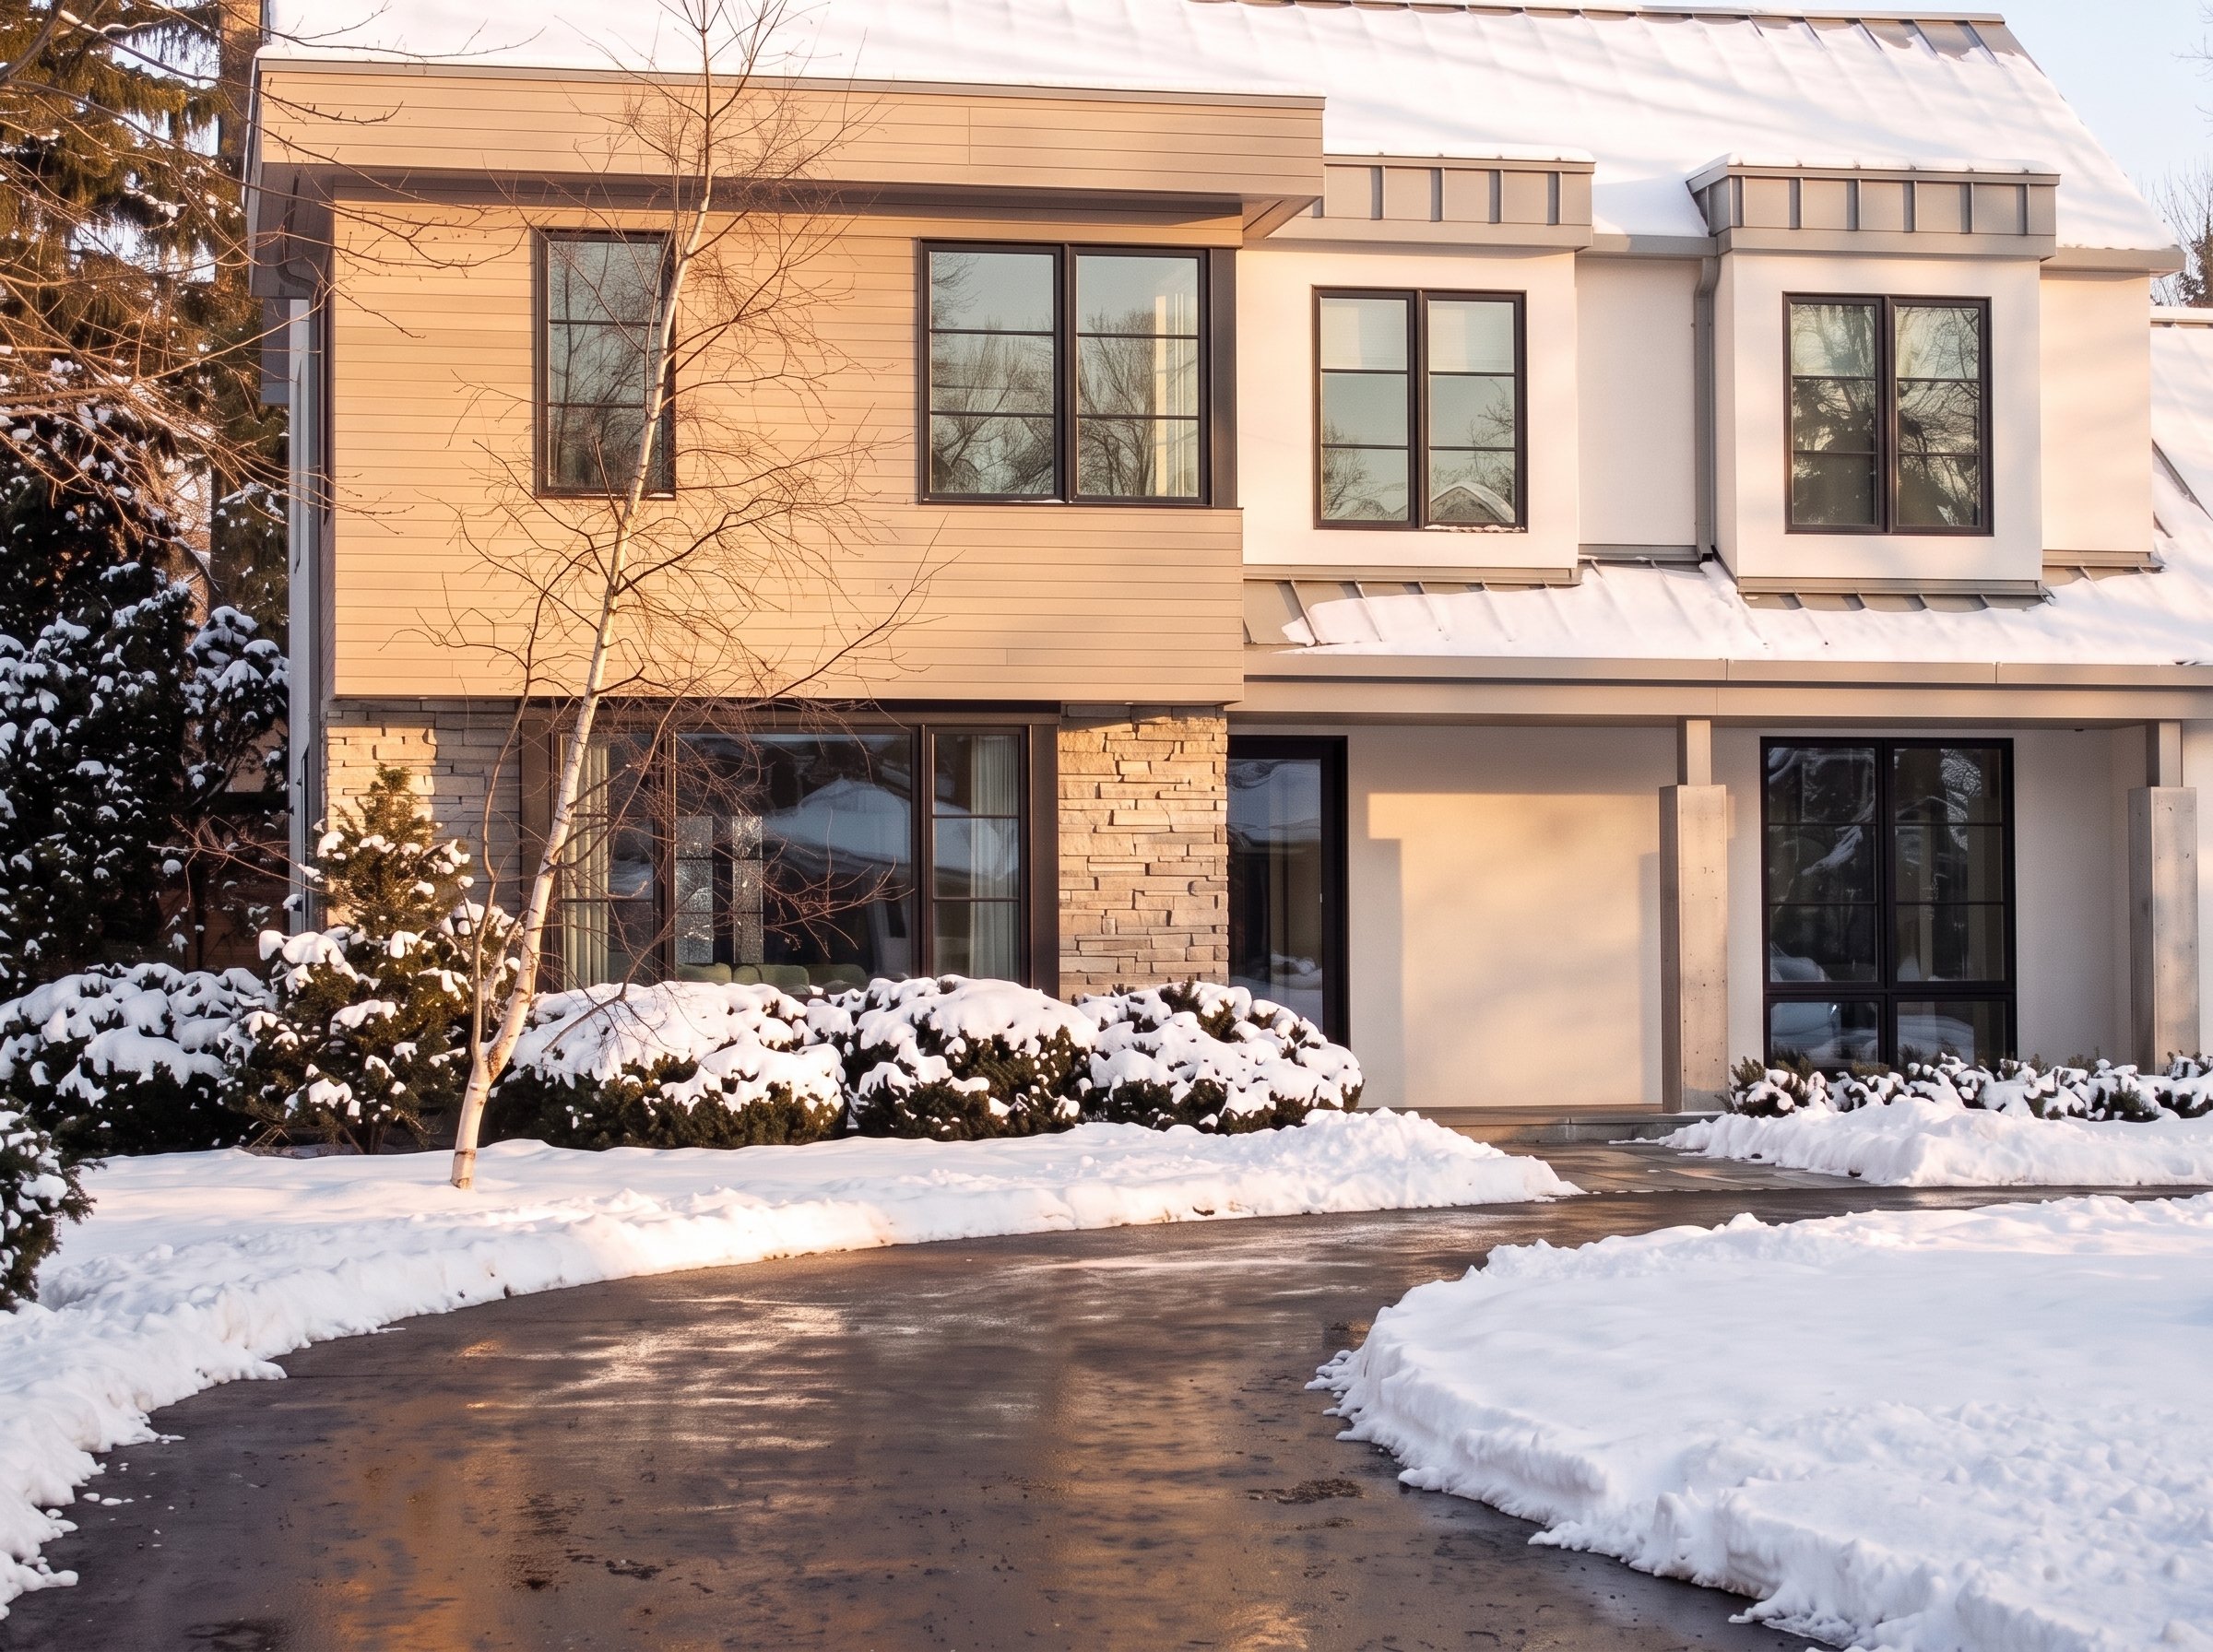
Asphalt is one of the most popular driveway surfaces in North America — and one of the most rewarding to pair with an electric snow melting system. Because asphalt is laid hot and absorbs solar heat readily, it works beautifully with embedded heating cable. But a heated asphalt driveway system lives or dies by the planning that happens before the first shovel of gravel is compacted. This guide walks through the full process, from sizing and coverage strategy to the two-layer pour, controls, and commissioning.
Quick Facts
- Heat source: Electric cable engineered to survive asphalt pour temperatures exceeding 300°F — no boilers, glycol, or leaks.
- Baseline output: 50 watts per square foot, then climate-tuned by ZIP code (roughly 23–50 W/sq ft).
- Coverage options: Full coverage, tire tracks, or a hybrid of both.
- Non-negotiable: A two-layer pour, minimum 2% slope, and 3-stage megohmmeter testing.
- Plan first: A free SmartPlan sizes the system and prevents over-ordering.
Why electric snow melting suits asphalt
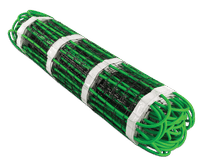
Hydronic (water-based) systems circulate heated glycol through PEX tubing. That works for concrete, but it is a poor match for asphalt: the surface is laid at temperatures that would soften or melt PEX, and hydronic systems add boilers, pumps, valves, and the ever-present risk of a buried leak. Electric cable sidesteps all of it. WarmlyYours snow melting cable is engineered to withstand asphalt pour temperatures well above 300°F, so it can be embedded directly in the mat.
Electric cable also delivers even heat end-to-end. Unlike a hydronic loop — where water cools as it travels and the far end of a long run underperforms — the temperature at the start of the cable equals the temperature at the end. That means predictable melting across the whole driveway and no need for the insulation layer a hydronic slab requires. For a broader look at how the systems compare across surfaces, see our guide to choosing a snow melting system by driveway material.
Start with a SmartPlan — always
The single most common mistake we see is ordering product before there is a plan. One caller bought a driveway’s worth of cable “to be safe,” then discovered half of it didn’t fit the layout. Don’t do that. Send your dimensions and a rough sketch first and let our engineers build a free SmartPlan.
A SmartPlan specifies exactly what the job needs: the number and size of breakers, total amperage, junction-box locations, where each mat starts, and how the cold leads route back to the panel. It turns a guessing game into a shopping list you only have to buy once.
Before you request a plan
Confirm you have open breaker spaces in your panel. A full-coverage asphalt driveway can draw a large amount of current — sometimes more than a 200-amp home service can spare — so panel capacity often decides which coverage strategy is realistic.
Climate and wattage: sizing the heat
Snow melting cable delivers a baseline of about 50 watts per square foot, but the right output for your driveway depends on where you live. WarmlyYours uses ASHRAE regional climate data — record low temperatures, wind, and typical snowfall — geo-targeted to your ZIP code to set the exact wattage and cable spacing.
In practice that lands somewhere between roughly 23 and 50 watts per square foot. A high-elevation Montana driveway needs dense, high-output coverage; a wetter, slushier climate like coastal Washington needs less, and a lower watt density can often use 4-inch cable spacing instead of 3-inch. The SmartPlan does this math for you.
Coverage strategy: full, tire tracks, or hybrid
How much of the driveway you actually heat is the biggest lever on both cost and electrical load. There are three approaches:
- Full coverage — heats the entire surface. Ideal for shorter driveways, new construction, and homes with a dedicated electrical panel.
- Tire tracks — two heated strips (2-ft and 3-ft wide mats are common) aligned to the vehicle’s wheelbase. This dramatically cuts power draw and amperage on long driveways.
- Hybrid — tire tracks down the long run, with full coverage at the parking area, apron, or a steep incline where you need sure footing.
The power math is straightforward: watts per square foot × square feet ÷ 240 volts = amps. Run that number against your available panel capacity early — it is often what pushes a long driveway from full coverage to a hybrid layout.
The installation, layer by layer
A heated asphalt driveway is built in a specific sequence, and skipping steps is where warranties get voided. Here is the cross-section from the ground up:
- Compacted base: 4–12 inches of compacted crushed rock, graded for drainage.
- Base (binder) coat: roughly 2 inches of asphalt paved first, creating a firm bed for the cable.
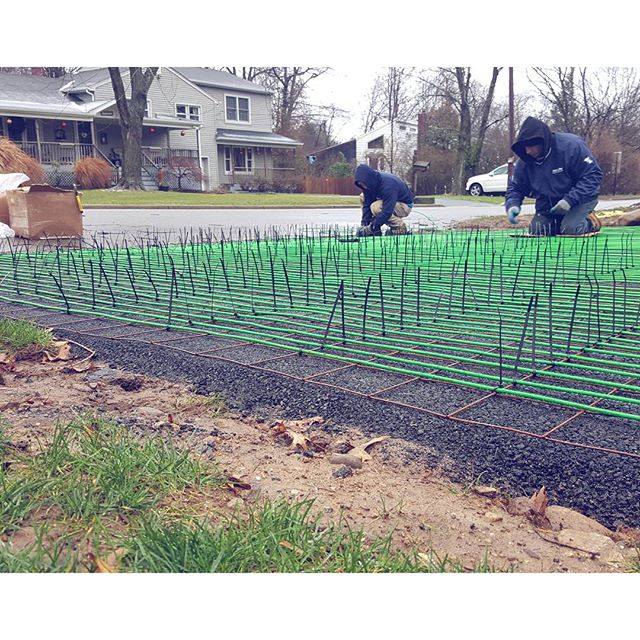
- Lay the mats: dry-fit the cable mats on the base coat with cold leads aligned to the junction boxes.
- Top coat: hand-spread and hand-tamp 1.5–2 inches of asphalt over the cable, then bring the roller across for the finish lift.
The two-layer pour is mandatory
Never drop cable on the gravel and cover it with a single 3-inch pour, and never bury it in gravel alone. Code requires a hard, resilient asphalt cover both below and above the cable. Spread the asphalt with a skid steer and hand-rake it into place (tape the rake tips) — and never let a roller stop, start, or reverse over a heated zone, especially on a grade, because the lateral shove can stretch or snap the elements.
Two details save a lot of grief later. First, the factory splice that joins the cold lead to the heating cable must sit in the asphalt at least 4 inches beyond the end of the conduit — never inside the conduit. Second, transitions to a concrete sidewalk or apron use separate rolls; never run a single cable through concrete and into asphalt. Your electrician sets the conduit and junction boxes ahead of time.
Verify the surface temperature over the cable with an infrared thermometer during the pour — asphalt directly over the cable should not exceed 300°F. And test the cable’s insulation resistance with a 500-volt megohmmeter at three stages: out of the box, during the pour, and after completion. This 3-stage test is required to keep the 10-year warranty valid. If a rake nicks a wire, dam off a 2–3-foot area, finish the rest of the driveway, and repair the damaged section the next day.
Watch: planning to completion with Scott
In this 5-minute Tech Tips walkthrough, WarmlyYours engineer Scott takes you through the whole project the way our team actually plans it — starting with site planning and ASHRAE climate engineering, then coverage strategies and amperage limits, the layer-by-layer installation, and finally testing, ground-fault protection, and maintenance. It’s the fastest way to see how every step in this guide fits together.
Controls, sensors, and electrical protection
For an asphalt driveway, an automatic sensor-based control is the right default. The Premium Control includes an over-temperature (high-limit) sensor that protects the asphalt from being cooked into “goop” — a feature that is code-required in states such as New York, Vermont, and Colorado. Because it responds to snow automatically, it beats a Wi-Fi or manual control for the scenario that matters most: snow that starts overnight while you’re asleep.
A snow event triggers only when two conditions are true at once — it is actively snowing and the temperature is below 38°F. Just as important is the after-run setting, which keeps the system running to melt remaining slush and evaporate standing water so it can’t refreeze into black ice. Set it to 4–8 hours; the number-one slush complaint traces back to an after-run that was set too short.
Amp-limited job? Use zone breaker control
When a driveway’s total load exceeds the available service — one hybrid project we planned in Mahwah, NJ drew 231 amps on a home with 200-amp service — a zone breaker control rotates power between zones (8-minute spans work well) so no breaker trips while the whole driveway still clears.
Sensor placement makes or breaks reliability. Mount the aerial snow sensor out in the open, tilted about 15 degrees, away from any “snow shadow” — not tucked beside the house, under eaves or trees, or in bushes that will grow over it. Waterproof the connections, leave extra conduit length, and keep it accessible: the one piece of annual maintenance is cleaning debris (and pigeon droppings) off the sensor grid. Note that relay panels are NEMA 1 rated, so they mount indoors only.
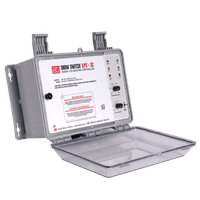
On the electrical side, snow melting requires ground-fault equipment protection (GFEP) — commonly 30 mA — not the 5 mA GFCI you’d find in a bathroom, which would nuisance-trip constantly on a large outdoor load. WarmlyYours does not supply the GFEP breaker; your electrician sources it, and the inspector confirms the requirement. Installers can brush up on the details in our snow melting controls training and mats & cables training.
Two real asphalt projects
Kildeer, IL (Chicago suburbs). A long driveway with a steep section, heated with tire tracks only to keep the electrical load manageable. The crew laid 12 inches of compacted gravel, paved the binder coat, cut the mesh (never the cable) to turn the mats, and started every mat at a single conduit for a clean routing back to the panel.
Mahwah, NJ. A 1,230-square-foot hybrid layout — tire tracks along the run with full coverage at the parking area — controlled with a zone breaker panel. Total connected load came to 231 amps, which is exactly why zone control was needed on a typical 200-amp home service.
Maintenance and commissioning
Once the driveway is paved, a little discipline protects it:
- Don’t test-run in summer. Trust the megohmmeter (ohm) readings — running the system on a hot day serves no purpose.
- Keep it off during curing. Leave the system off while fresh asphalt and any seal coat fully cure, to prevent surface blistering.
- Skip the harsh de-icers. A heated driveway doesn’t need aggressive salt or chemicals.
- Clean the sensor annually. That’s the only routine maintenance the system needs.
Use the PRO planning worksheet
Our engineers work from an Asphalt Snow Melt Planning Worksheet — an 11-section field checklist covering scope, site inputs, zoning, power, controls, drainage, layout, sequencing, temperature checks, electrical protection, and commissioning. It’s the same reference the WarmlyYours team uses, and it pairs perfectly with a SmartPlan. Ask your account manager for a copy, or reach PRO technical support 24/7 at (800) 875-5285.
Ready to plan your heated asphalt driveway?
Every successful heated asphalt driveway system install starts with a plan. Send us your driveway dimensions and a rough sketch, and our engineers will build you a free, no-obligation SmartPlan — sizing the system, mapping the mats, and giving you a shopping list you only have to buy once.
Prefer to talk it through? Reach our PRO technical support team 24/7 at (800) 875-5285.
Asphalt Driveway Snow Melting FAQ
Yes. WarmlyYours electric snow melting cable is engineered to withstand asphalt pour temperatures exceeding 300°F, so it can be embedded directly in the pavement. The cable is laid on a base (binder) coat, then covered with a 1.5–2 inch asphalt top coat — a required two-layer pour.
Snow melting cable provides a baseline of about 50 watts per square foot. The exact output is tuned to your location using ASHRAE climate data geo-targeted by ZIP code, typically landing between 23 and 50 watts per square foot. A free WarmlyYours SmartPlan calculates the right wattage and cable spacing for your driveway.
No. You can choose full coverage, heated tire tracks (two strips aligned to your wheelbase), or a hybrid that combines tracks along the run with full coverage at the parking area or a steep incline. Tire tracks significantly reduce power draw and amperage, which is often the deciding factor on long driveways.
Snow melting systems require ground-fault equipment protection (GFEP), commonly rated at 30 mA — not the 5 mA GFCI used in bathrooms, which would nuisance-trip on a large outdoor load. Your electrician sources the GFEP breaker and your inspector confirms the requirement.
Have Questions About Your Project?
Our team of Radiant Experts is ready to help!
Related Articles
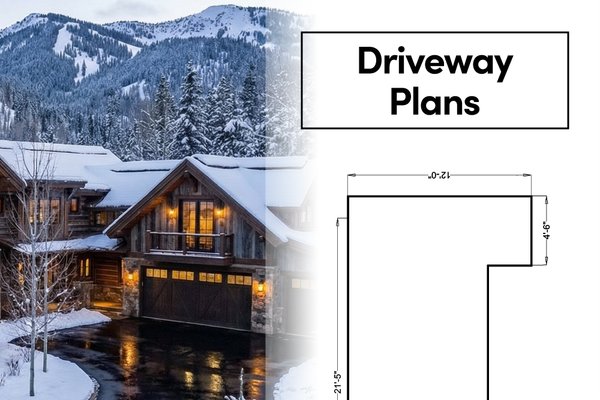
Choosing the Best Snow Melting System for Your Driveway Material

Heated Driveway Cost in 2026
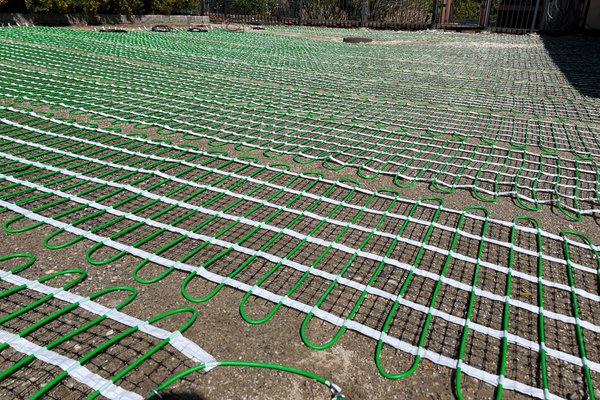
Heated Driveway Maintenance & Lifespan Guide
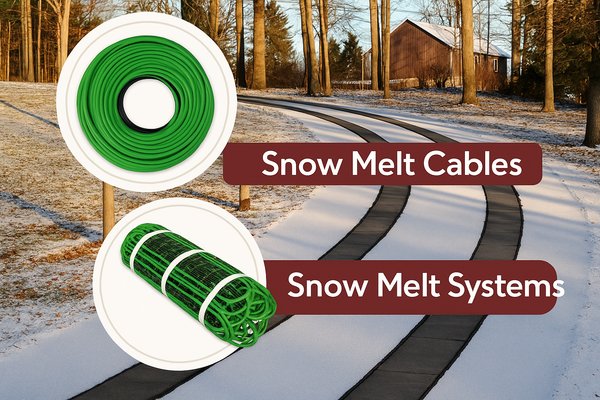
Snow Melting Mats vs. Cables: Which to Choose for your Heated Driveway
Stay Updated
Get the latest radiant heating news and tips delivered to your inbox.