

Heat Tape for Roofs & Gutters
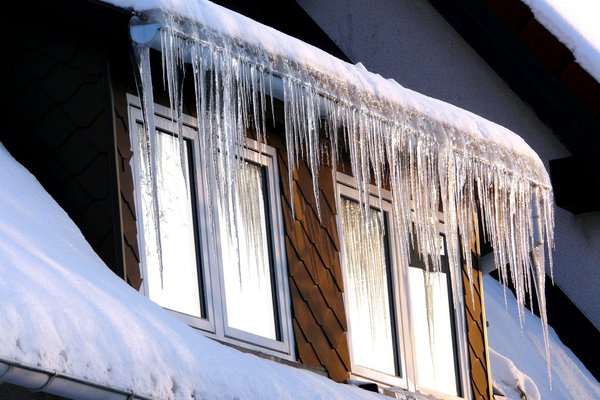
Roof and gutter heat cable for ice-dam drainage
ICE Shield heat tape helps maintain a drainage path through ice and snow along roof edges, gutters, and downspouts. Compare self-regulating roof heat cable and fixed-length plug-in kits for your roof material, layout, and power supply.
Why Install Roof and Gutter Heat Tape?
Roof heat cable helps meltwater drain through ice-prone areas. Pair it with sound roofing, attic insulation, ventilation, and gutter maintenance.
Prevent Costly Water Damage
Ice dams force water under shingles and into your walls. A deicing cable keeps drainage clear before damage can start.
Maintain Drainage Paths
Cable runs along eaves, valleys, and gutters—the exact spots where ice accumulates and backs up.
UL Listed & CSA Certified
Rigorously tested for outdoor winter use. Both self-regulating and constant wattage options meet strict safety standards.
Flexible Control Options
Choose from manual operation up to automatic controls with aerial sensors that activate the moment conditions are right.
Energy Efficient Options
Self-regulating cable automatically adjusts output based on temperature—using less power when conditions allow.
Industry-Leading Warranty
10-year warranty on self-regulating cable, 3-year warranty on constant wattage kits—backed by 25+ years of experience.
Roof & Gutter Heat Tape Customer Reviews
We take pride in providing both exceptional service and great products. But don't just take our word for it, check out what some of our customers have had to say.


Featured Roof & Gutter Heat Tape Projects
See how customers are using roof and gutter deicing systems to protect their properties.
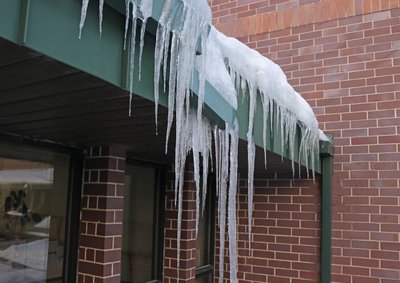
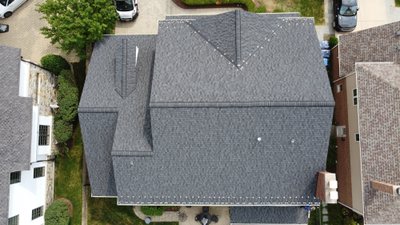
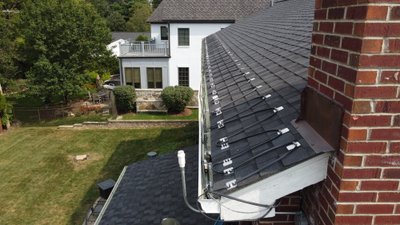
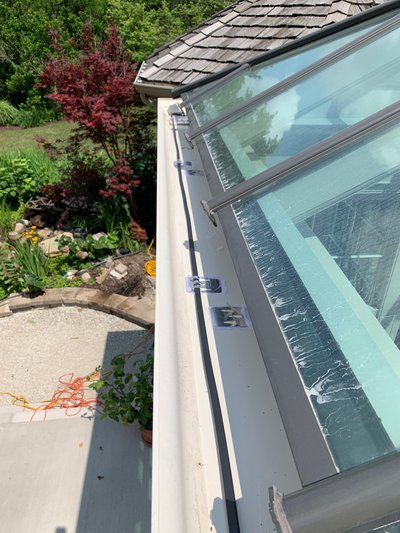
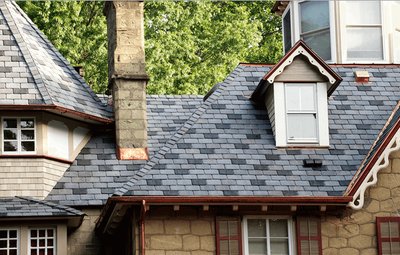
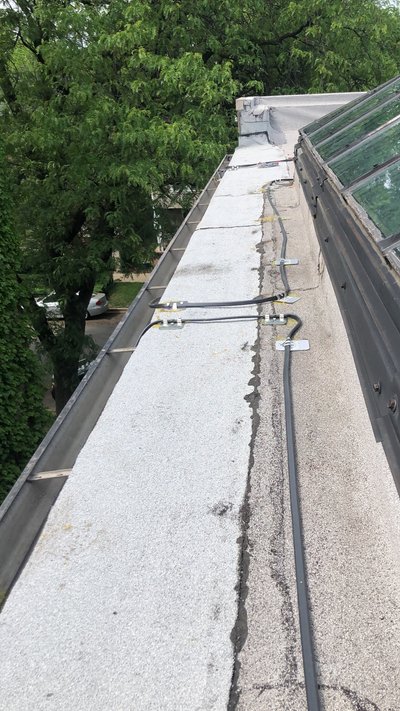
ICE Shield Heat Tape for Roofs & Gutters
Choose ICE Shield Self-Regulating Heat Tape for Roofs & Gutters for a cut-to-length installation, or an ICE Shield Plug-In Heat Tape Kit for Roofs & Gutters for a compatible asphalt-shingle roof. The self-regulating 5 W/ft roof and gutter heat cable carries a 10-year warranty; DIY plug-in kits use fixed-length 5 W/ft deicing cable. Roof compatibility varies by system. See the self-regulating vs. constant wattage cable guide and our metal roof deicing guide.
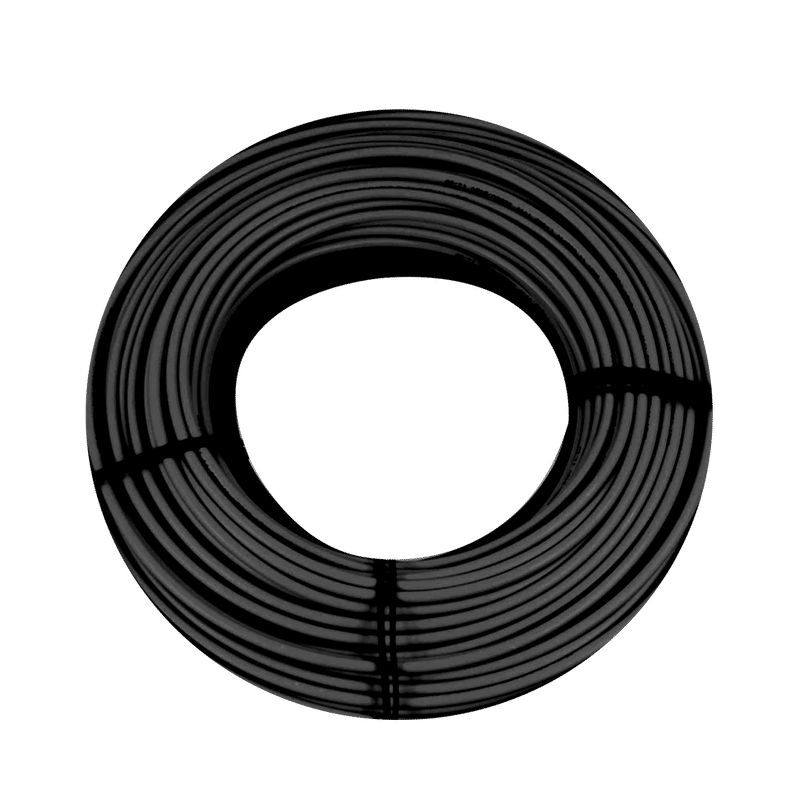
Self-regulating roof & gutter heat cable — cut-to-length, 5 W/ft, 10-year warranty
Self-regulating roof & gutter heat cable — cut-to-length, 5 W/ft, 10-year warranty
Features
- Hardwired
- Nominal heat output of 5 watts per linear ft at 50°F (10°C)
- 10-year Warranty
- Prevents destructive ice dams from damaging your roof or your gutters
- Safe: cUlus Listed
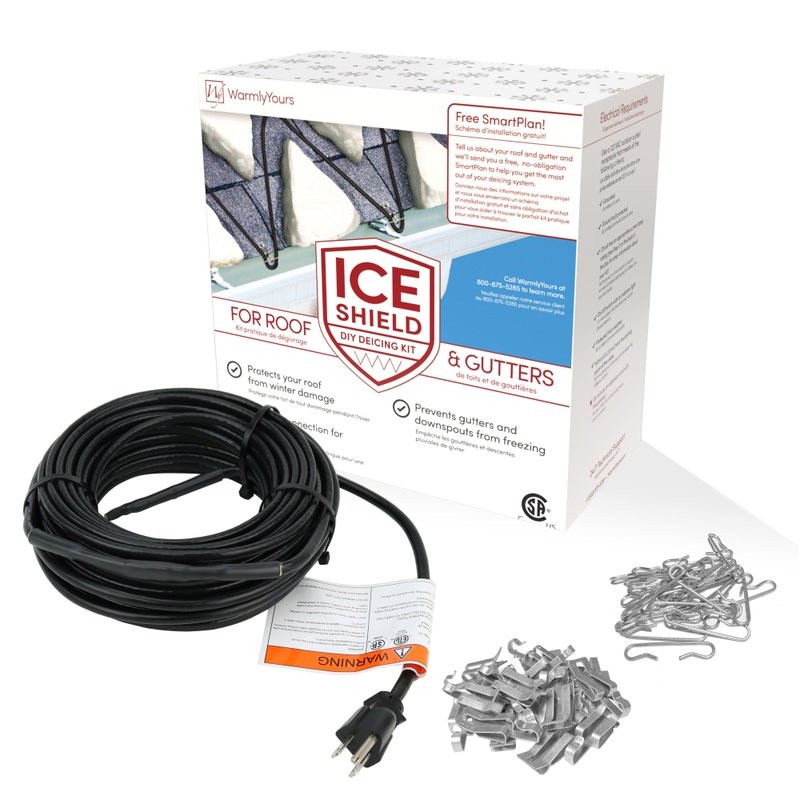
DIY plug-in kit — 5 W/ft roof & gutter deicing cable for compatible asphalt-shingle roofs
DIY plug-in kit — 5 W/ft roof & gutter deicing cable for compatible asphalt-shingle roofs
Features
- 5 watts per linear ft
- 2 Year Warranty
- Heating Cable, Shingle Clips, and Cable Spacers
- Prevents destructive ice dams from damaging your roof or your gutters
- Safe: cUL Listed, CSA Listed, and cETLus Listed
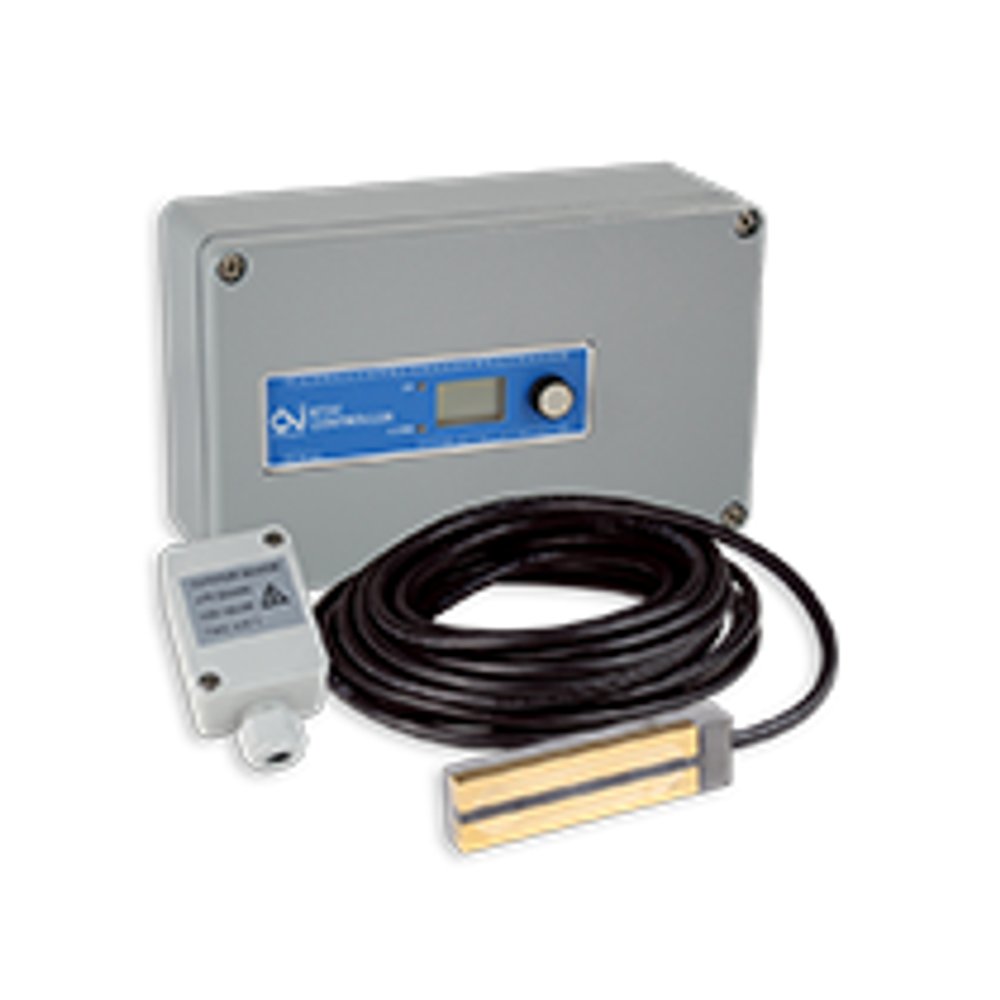
Request a Free SmartPlan!
Provide us with measurements of the roof and gutter area you want to heat and receive a free SmartPlan within one business day.
Request a Heat Tape QuoteRoof & Gutter Heat Tape Accessories
Connection kits, mounting clips, and adhesives so your installation goes smoothly the first time. Pair each accessory with our self-regulating ET-SR deicing cable.
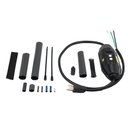
Plug-In Power Kit
SR-PLUG-KITGround-fault-protected plug-in kit (15A / 120V) for ET-SR cables up to 107 feet. cULus listed; includes end kit.
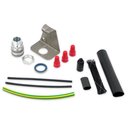
Hardwired Power Kit
SR-PWR-KITcULus-listed hardwired power connection kit for ET-SR series cables. One required per cable run. End kit included.
VHB Tape Pads (25-pack)
ET-VHB-PAD-P25Double-sided 3″ × 2″ tape pads that affix aluminum clips to roof and gutter surfaces. Install above 50°F.
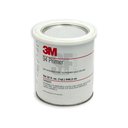
Surface Primer
ET-94-PRIMERPromotes VHB-pad adhesion on rubber, EPDM, and other low-energy surfaces. One-quart container.
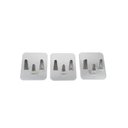
Aluminum Cable Clips (25-pack)
ET-CL-AL-P25Attach self-regulating deicing cable to metal, asphalt-shingle, and similar roof and gutter surfaces.
Videos
Documents

PDF

PDF

PDF

PDF

PDF

PDF

PDF

PDF
Roof & Gutter Heat Tape Posts



Frequently Asked Questions
Showing 10 of 15 questions
A correctly designed and operated system helps maintain meltwater drainage along roof edges, gutters, and downspouts. It does not clear an entire roof or correct attic heat loss, damaged roofing, or blocked gutters. Combine heat cable with roof maintenance and appropriate insulation and ventilation.
A fixed-output 100-foot, 5 W/ft kit draws 500 watts while energized. Eight hours uses 4 kWh; at an illustrative rate of $0.15/kWh, that costs $0.60 in the currency of your rate. Actual cost depends on length, run time, and your tariff. Self-regulating output varies with conditions, so a nominal rating is not a constant operating draw.
Service life depends on the product, installation, weather exposure, and maintenance. ICE Shield self-regulating cable carries a 10-year warranty and plug-in roof kits carry a 3-year warranty; these are not guaranteed service-life estimates. Inspect cable, attachments, and electrical protection before each heating season and stop using damaged equipment.
Use cable approved for the roofing material and install it with the specified attachments. Incorrect fastening, damaged cable, or prohibited overlap can damage roofing or create an electrical hazard. ICE Shield plug-in kits are for compatible asphalt-shingle applications; other roof materials require an approved system. Check both the cable manual and the roofing manufacturer’s requirements.
Follow the product’s operating instructions and use compatible controls to maintain drainage when snow or ice and freezing conditions can cause backups. Self-regulating cable still needs its specified controls. Plan operation before a drainage blockage develops; do not climb onto an icy roof to install cable over an existing ice dam.
Yes, roof heating cables are absolutely worth it. The average ice dam repair costs $1,000–$10,000+ (roof damage, water damage, mold remediation), while a heating cable system costs $800–$3,000 installed and lasts 15–25 years. That's a one-time investment that prevents repeated expensive repairs.ROI breakdown:
- Prevent costly damage: Ice dams cause $5,000+ average damage per incident
- Low operating costs: $40–$200 per winter season (only runs during freezing temps)
- Long lifespan: 15–25 years of protection
- Increased home value: Buyers value homes with ice dam prevention
- Insurance savings: Some insurers offer discounts for preventive measures
Beyond cost savings:
- Peace of mind (no emergency roof repairs mid-winter)
- Safety (prevents dangerous icicles and roof collapses)
- Convenience (automatic operation with smart controls)
Bottom line: One prevented ice dam pays for the entire system. Get a free quote to see your specific ROI.
Yes, you can install roof heating cables yourself if you have electrical knowledge and are comfortable working on a roof, but professional installation is recommended for safety and warranty compliance.DIY installation requirements:
- Electrical skills (120V or 240V wiring, GFCI protection)
- Roof safety equipment (harness, ladder, non-slip footwear)
- Tools (drill, cable clips, wire cutters, multimeter)
- Time commitment (4–8 hours for typical home)
DIY installation steps:
- Measure roof (calculate cable length needed)
- Plan cable layout (zigzag pattern along roof edge, through gutters/downspouts)
- Install mounting clips (secure cables every 12–18 inches)
- Run cables (follow manufacturer spacing guidelines)
- Connect to power (GFCI-protected circuit required)
- Test system (verify operation before winter)
When to hire a professional:
- Steep or high roofs (safety risk)
- Complex roof design (multiple valleys, dormers)
- Limited electrical experience (code compliance required)
- Warranty concerns (some warranties require professional installation)
Professional installation benefits:
- Safety (no risk of falls or electrical shock)
- Code compliance (licensed electrician ensures proper wiring)
- Warranty protection (professional installation often required)
- Optimal performance (experienced installers know best practices)
Watch our installation videos or find a certified installer near you.
No, properly installed roof heating cables do NOT damage shingles. WarmlyYours cables are UL/cUL certified and designed to operate safely on all roof types, including asphalt shingles, metal, and slate.Why cables are safe for shingles:
- Low operating temperature: Cables warm to 40–50°F (well below shingle damage threshold of 150°F+)
- Even heat distribution: Prevents hot spots that could harm roofing materials
- Secure mounting: Clips hold cables in place without penetrating shingles
- No pressure points: Cables rest gently on roof surface without crushing or compressing shingles
- UV-resistant coating: Protects cables from sun damage and prevents material degradation
Potential damage comes from improper installation:
- ❌ Nailing through shingles (creates leak points)
- ❌ Dragging cables across roof (can tear or scrape shingles)
- ❌ Incorrect spacing (cables too tight can create pressure points)
- ❌ Using wrong clips (sharp edges can cut into shingles)
How to protect your shingles:
- ✅ Use proper mounting clips (designed for roof heating applications)
- ✅ Follow manufacturer spacing guidelines (typically 12–18 inches between clips)
- ✅ Professional installation recommended (ensures no shingle damage)
- ✅ Annual inspections (check for loose cables or damaged clips)
26 years of proven safety: WarmlyYours has installed heating cables on thousands of roofs with zero reported shingle damage when properly installed. Our cables are specifically engineered for long-term roof contact without causing harm.Roof type compatibility:
- Asphalt shingles: ✅ Safe (most common application)
- Metal roofs: ✅ Safe (view metal roof guide)
- Slate shingles: ✅ Safe (view slate roof guide)
- Tile roofs: ✅ Safe (requires specialized clips)
Request a free SmartPlan to ensure proper installation for your specific roof type.
Yes, roof heating cables are highly effective at preventing ice dams and protecting your roof from winter damage. When properly installed, heating cables create clear pathways for melted snow and ice to drain, preventing water backup that causes costly leaks and structural damage.How they work:
- Heat generation: Cables warm roof edges, gutters, and downspouts to above-freezing temperatures
- Ice dam prevention: Melted water flows freely through gutters instead of refreezing and backing up under shingles
- Continuous protection: Cables operate automatically during freezing conditions (with smart controls)
Proven effectiveness:
- 26 years of WarmlyYours installations
- 4.96/5 stars from 23+ customer reviews
- UL/cUL certified for safety and reliability
- Works on all roof types (asphalt shingle, metal, slate)
Real-world results: Homeowners report zero ice dam damage after installation, eliminating costly roof repairs ($1,000–$10,000+ per incident). View customer showcases to see proven results.
Roof heating cables last 15–25 years with proper installation and maintenance, making them a long-term investment in your home's protection.Lifespan by cable type:
- Self-regulating cables: 15–25 years (superior durability, self-limiting technology prevents overheating)
- Constant wattage cables: 10–15 years (shorter lifespan due to continuous high heat output)
Factors affecting lifespan:
- Cable quality (WarmlyYours uses UL/cUL certified cables for maximum durability)
- Installation quality (proper spacing, secure mounting, correct electrical connections)
- Maintenance (annual inspections, debris removal)
- Roof type (metal roofs can extend cable life; asphalt shingles are standard)
- Climate (extreme freeze-thaw cycles can shorten lifespan)
How to maximize lifespan:
- Professional installation (ensures proper layout and electrical connections)
- Annual inspections (check for damage, loose clips, debris)
- Use smart controls (reduces unnecessary runtime and wear)
- Proper storage (disconnect and store cables in summer if removable)
Warranty coverage:
- WarmlyYours offers manufacturer warranties on all heating cables
- Register your warranty for full coverage
Cost per year: At $800–$3,000 installed and lasting 15–25 years, roof heating cables cost just $32–$200 per year—far less than one ice dam repair.
Roof heating cable costs range from $800–$3,000+ installed, depending on roof size, cable type, and installation complexity.Material costs:
- Self-regulating cable: $3–$5 per linear foot (premium, energy-efficient)
- Constant wattage cable: $1–$3 per linear foot (budget-friendly)
- Controls: $150–$800 (manual to premium WiFi)
- Accessories: $50–$200 (clips, junction boxes, mounting hardware)
Installation costs:
- Professional installation: $5–$15 per linear foot (recommended for safety)
- DIY installation: Material costs only (requires electrical knowledge)
Typical project costs:
- Small home (100 linear feet): $800–$1,500
- Medium home (200 linear feet): $1,500–$2,500
- Large home (300+ linear feet): $2,500–$4,000+
Cost factors:
- Roof size and complexity (valleys, dormers, multiple levels)
- Cable type (self-regulating costs more upfront but saves energy long-term)
- Control type (smart controls add $200–$600)
- Labor rates (vary by region)
Request a free SmartPlan for accurate pricing tailored to your roof.
Operating costs are surprisingly low: Roof heating cables typically cost $40–$200 per winter season, depending on cable type, length, and local electricity rates.Cost breakdown by cable type:Self-Regulating Cables:
- Cost: $0.10–$0.30 per linear foot per day (adjusts heat output based on temperature)
- Efficiency: Uses less energy as temps rise
- Typical winter cost: $80–$200 per season
Constant Wattage Cables:
- Cost: $0.15–$0.40 per linear foot per day (fixed heat output)
- Efficiency: Runs at full power regardless of temperature
- Typical winter cost: $100–$250 per season
What affects operating cost:
- Cable length (more footage = higher cost)
- Local electricity rates (varies by region)
- Control type (smart controls optimize runtime and reduce costs)
- Winter severity (colder climates = more runtime)
Cost comparison: One ice dam repair ($5,000+) costs 25–125x more than an entire winter season of cable operation. Smart controls can reduce operating costs by 30–50% by running cables only when needed.
Ice dams form when heat from your attic melts snow on your roof, which then refreezes at the cold roof edge, creating a barrier that traps water and causes leaks.The ice dam formation process:
- Heat escapes from attic (poor insulation or ventilation)
- Snow melts on warm upper roof (heat rises to roof surface)
- Water flows down to cold roof edge (eaves are colder because they overhang the house)
- Water refreezes at roof edge (forms ice dam barrier)
- Water backs up under shingles (trapped water causes leaks and damage)
Common causes:
- Poor attic insulation (heat escapes through ceiling)
- Inadequate ventilation (warm air trapped in attic)
- Complex roof design (valleys, dormers create problem areas)
- Heavy snowfall (more snow = more melting potential)
- Temperature fluctuations (freeze-thaw cycles worsen ice buildup)
Why heating cables solve the problem:
- Prevent refreezing (keep roof edge above freezing)
- Create drainage pathways (melt channels for water to flow)
- Protect vulnerable areas (target gutters, valleys, eaves)
Long-term solution: Combine heating cables with proper insulation and ventilation for maximum protection. Learn more about ice dam prevention.
Heat tape and heating cable are common names for these electric heating products. The main difference is how they produce heat.
- Self-regulating cable: Heat output changes with local cable temperature. It still needs the controls, circuit protection, attachments, and insulation specified for the exact product and application. Self-regulating does not mean risk-free: damaged cable or incorrect installation can create an electrical or fire hazard.
- Constant wattage cable: Produces its rated watts per foot while energized. A thermostat or other specified control determines when it runs. Preassembled plug-in products have fixed lengths; follow the manual and do not cut or overlap them unless the exact product instructions permit it.
Choose a product approved for your pipe or roof material, location, voltage, and installation method. Pipe and roof products are not interchangeable. Compare installed cost and electricity use for your actual cable length, output, weather, and operating hours; there is no universal energy-savings percentage or payback period. Warranty length is not a guaranteed service-life estimate.
Compare Heat Tape for Pipes, Roofs & Gutters and follow the product installation manual.
Turn on roof heating cables when temperatures drop to 32°F (0°C) or below and snow/ice is forecast. For optimal protection, use automatic controls that activate cables based on temperature and moisture conditions.Manual operation:
- Turn on: When temps reach 32°F and snow is expected
- Turn off: When temps rise above 40°F and all ice/snow has melted
- Monitor: Check daily during winter storms
Automatic operation (recommended):
- Thermostat control: Activates at preset temperature (typically 32–38°F)
- Moisture sensor: Detects snow/ice and activates automatically
- WiFi control: Remote monitoring and weather-based activation
Optimal operating temperatures:
- 10–34°F: Peak ice dam formation range (cables should run continuously)
- Below 10°F: Less ice dam risk (snow is drier), but cables should still run
- Above 34°F: Ice dams less likely, but cables can help clear remaining snow
Operating tips:
- Start early: Turn on cables before snow accumulates for best results
- Run during melting: Keep cables on until all snow/ice has melted and drained
- Extend runtime: Run cables for 2–4 hours after snow stops to ensure complete drainage
Energy-saving tip: Smart controls can reduce operating costs by 30–50% by running cables only when needed. Shop control options.
Choosing Heat Tape for Your Project
Compare applications in our heat tape guide, or explore heat tape for pipes and snow melting for outdoor surfaces.