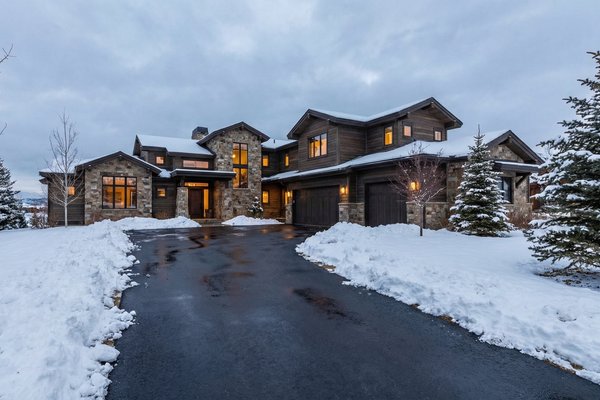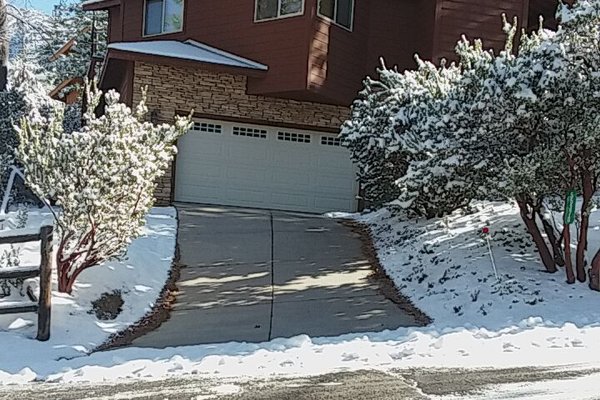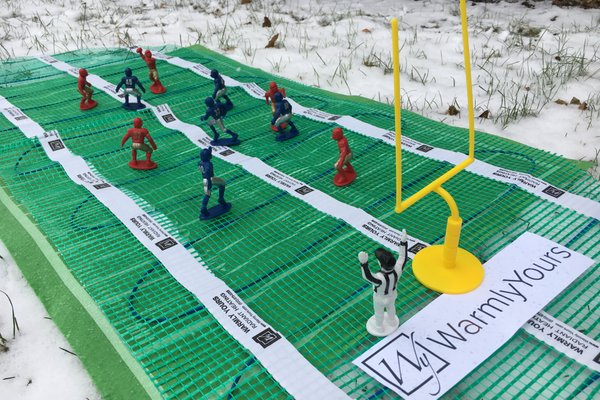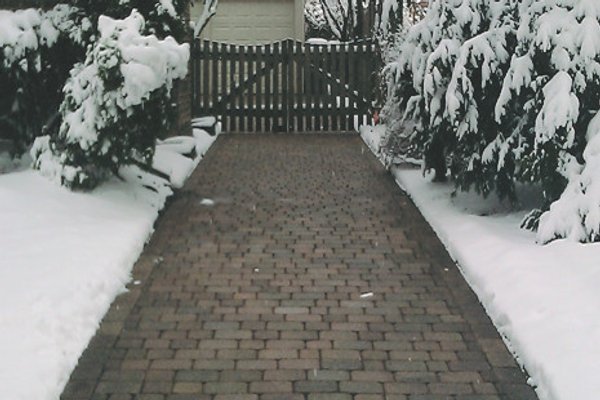


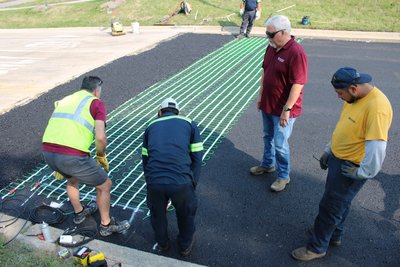
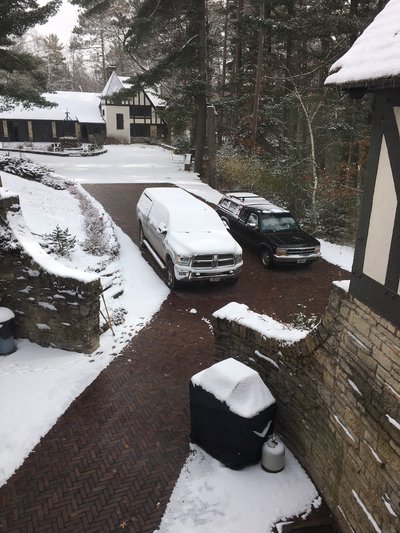

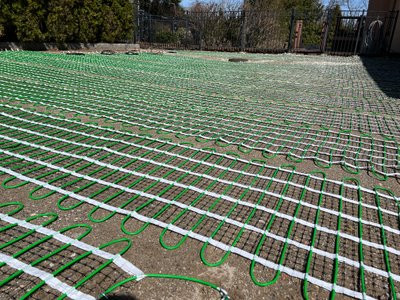
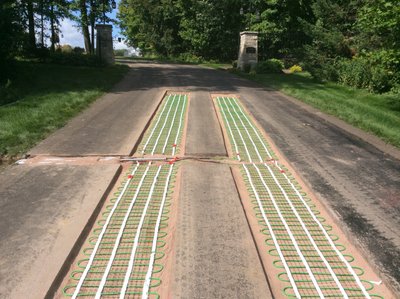
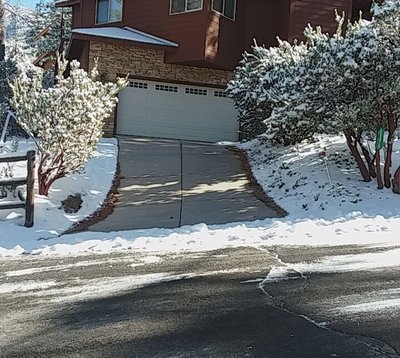
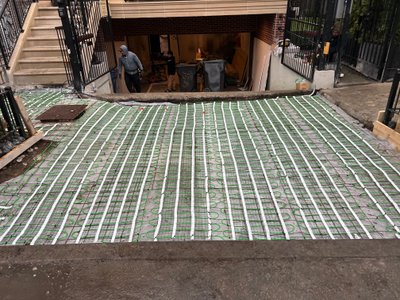
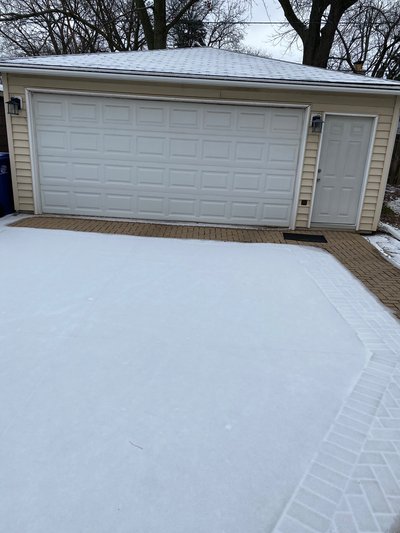
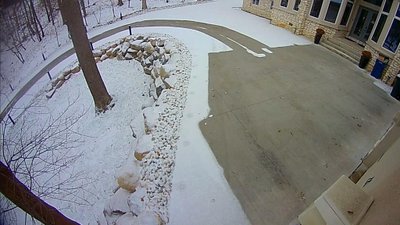


Driveway Heating Systems Videos
Check out these videos to learn more about our snow melting systems and installation processes.
Contact Us Open
Loading contact options...
Sign In
Loading...

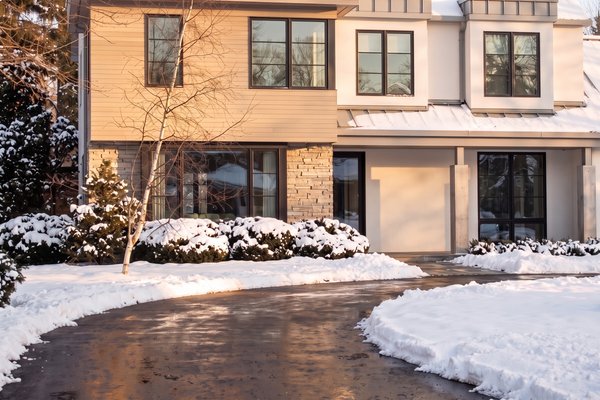
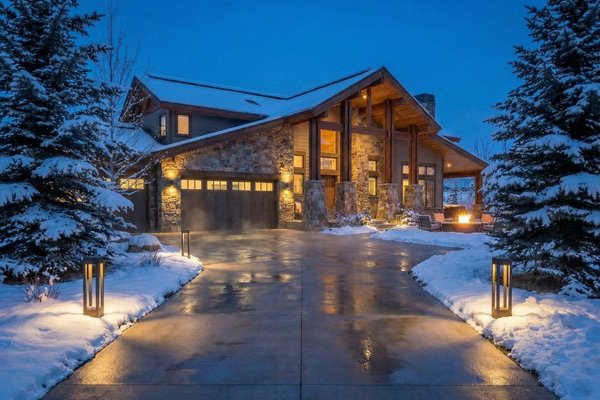
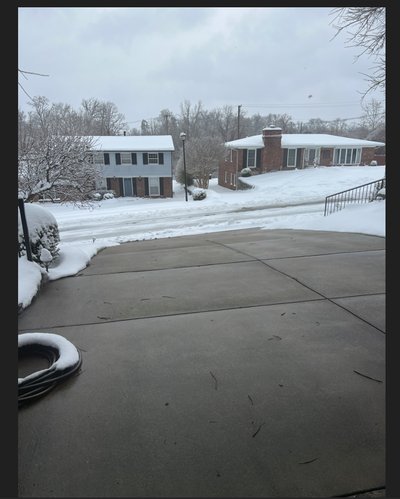
Stop shoveling for good—WarmlyYours heated driveway systems embed cables under asphalt, concrete, or pavers to automatically clear snow and ice overnight. Choose full-coverage or economical tire-track layouts, backed by our design support and smart controls that activate before you wake up.
More than convenience—a heated driveway is a lasting investment in safety, curb appeal, and your peace of mind every winter.
We take pride in providing both exceptional service and great products. But don't just take our word for it, check out what some of our customers have had to say or View All Reviews.
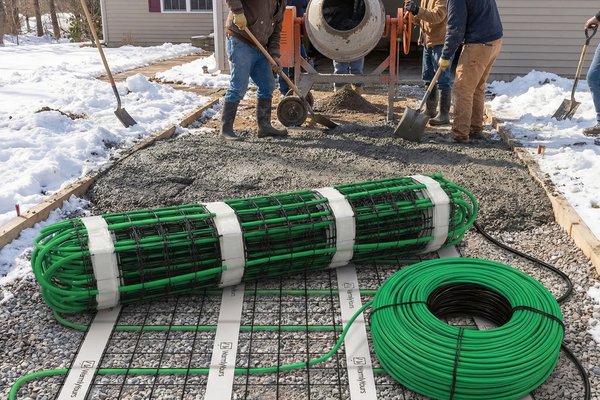
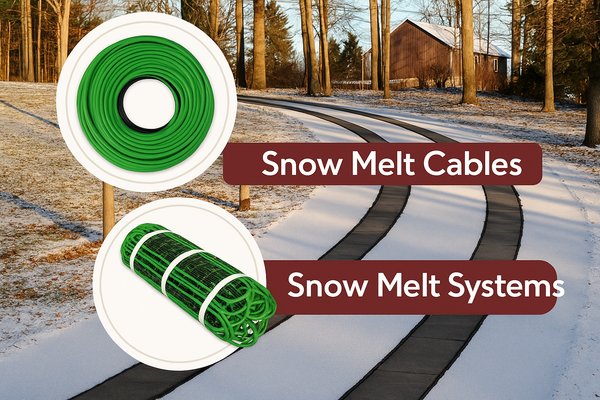
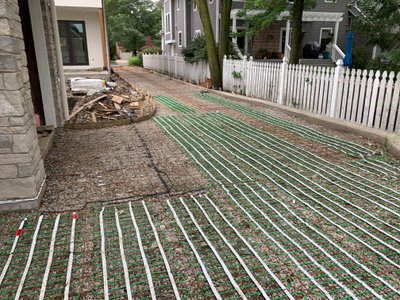
Our driveway heating systems are available as either heated driveway mats or cables, which can be installed in asphalt, concrete, or under pavers in mortar. They're ideal for both residential use and commercial applications, and for any size or shape of heated driveway.
A complete driveway heating system will typically include at least the heating elements (snow melting mats or cables) and a control to sense things like air temperature or moisture on the pavement, but may also require additional components like a relay panel or an identification plaque to mark the location of the heated driveway mats.
Use the estimates below to compare driveway sizes and full-area versus tire-track coverage. Confirm what your quote includes: heating mats or cable, controls, electrical work, installation labor, and removal or replacement of the driveway surface. Operating examples assume 50 W/sq ft and six energized hours at the electricity rate shown; actual runtime includes any preheating and drying cycles and varies with the weather.
| Driveway Size | Coverage | Heated Area | Installation Cost | Example Operating Cost (6 energized hrs @ $0.16/kWh) |
Controls |
|---|---|---|---|---|---|
| Small (10ʹ × 20ʹ) | Full | 200 sq.ft. | ~$2,500 | $9.60 | $629–$3,799 |
| Tire Tracks | 80 sq.ft. | ~$1,850 | $3.84 | ||
| Standard (20ʹ × 20ʹ) | Full | 400 sq.ft. | ~$4,750 | $19.20 | $629–$3,799 |
| Tire Tracks | 160 sq.ft. | ~$2,360 | $7.68 | ||
| Large (30ʹ × 20ʹ) | Full | 600 sq.ft. | ~$7,000+ | $28.80 | $629–$3,799 |
| Tire Tracks | 240 sq.ft. | ~$3,500+ | $11.52 |
The installation cost above varies depending on which snow melting product you choose. Here's a quick comparison:
| Product | Cost per sq.ft. | Best for |
|---|---|---|
| Snow Melt PowerMat | ~$15–$25 | Heavy snowfall (60+ in/year) e.g. Buffalo, Syracuse, Rochester |
| Snow Melt OmniMat | ~$12–$20 | Moderate snowfall (30–60 in/year) e.g. Chicago, Boston, Denver |
| Snow Melt Cable | ~$10–$18 | Any snowfall level — ideal for custom layouts, curves, irregular shapes |
For a detailed breakdown by material, installation method, and operating costs, see our complete heated driveway cost guide.


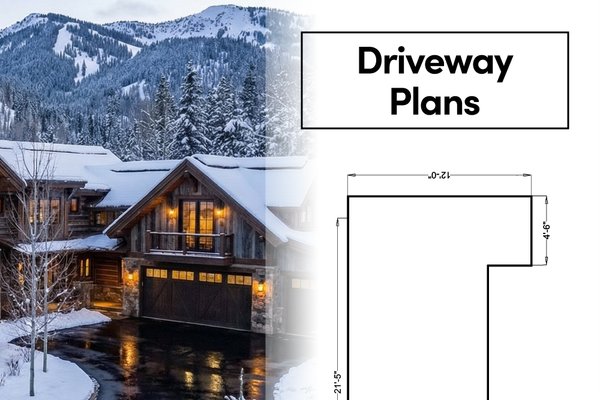
Get a custom installation plan for your driveway in just 1 business day.

"I'll design a custom snow melting layout for your project, complete with cable spacing, electrical requirements, and a full quote."
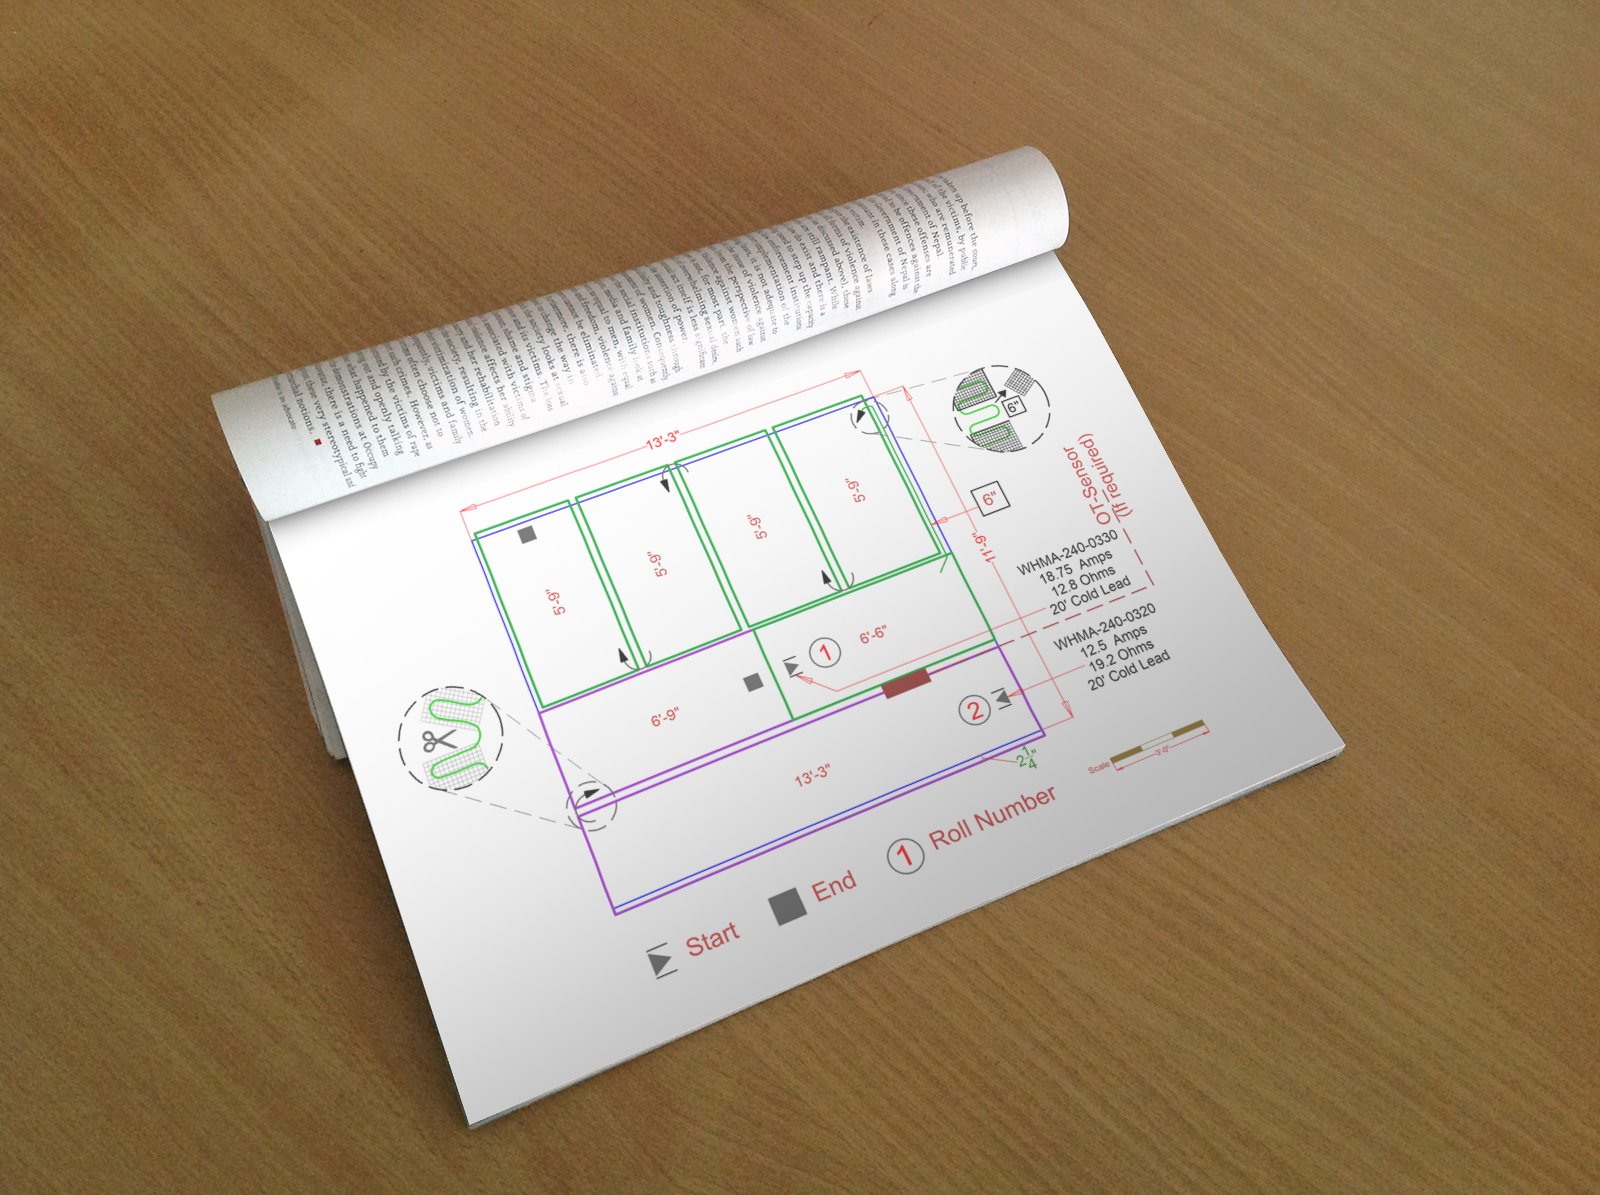
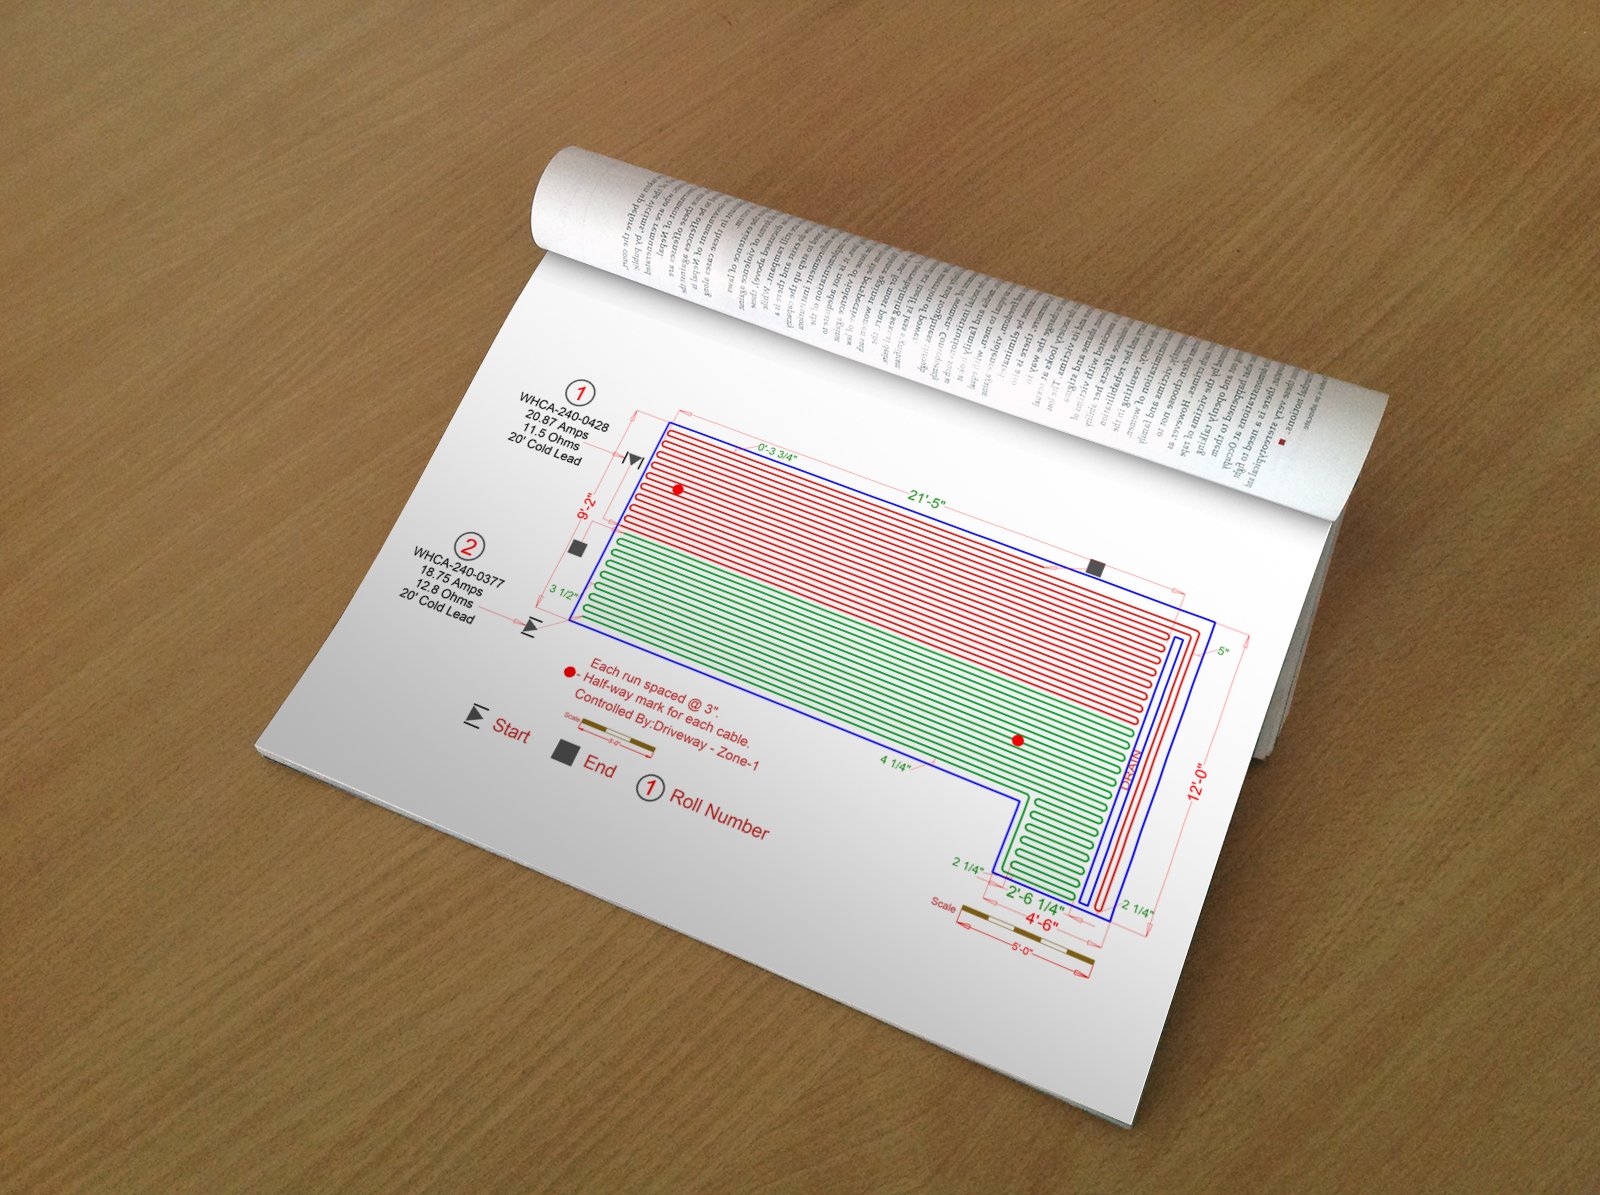
Full coverage is certainly a functional and attractive option, as it means your entire heated driveway will be clear of snow and ice. If you're concerned about the operating cost or the energy demand for full coverage, make sure to consider zoned heating. By using our multi-zone controller for your heated driveway system, you break your project into "zones" which are heated one at a time. The entire surface will still be cleared but you'll cut down significantly on heated driveway costs like the operating cost.
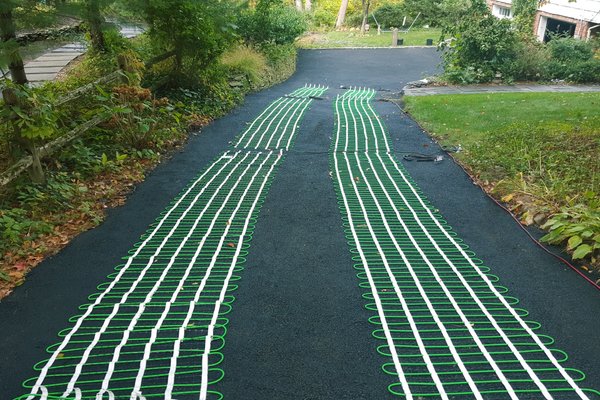
One popular alternative to full coverage is to simply heat tire tracks. This economical option helps users cut down on the cost of a heated driveway in terms of both installation and operation, while still providing great functionality in a functional heated driveway.
This coverage system works by installing two sets of heating elements, typically 2 feet wide and the length of the heated driveway, which will keep the driveway passable, even in the heaviest of snow falls.
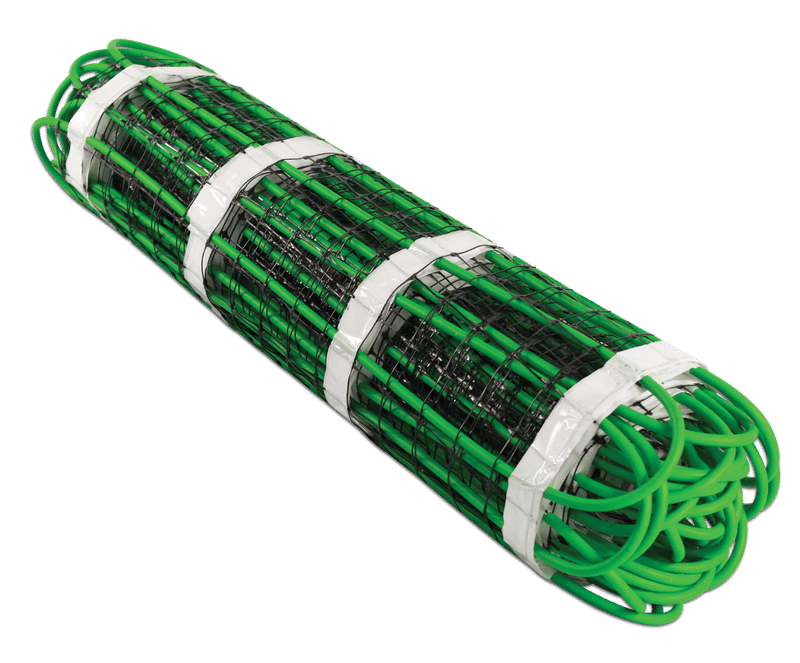
Choose from mats for fast installation or cables for maximum flexibility. Not sure which? See our guide on mats vs. cables.
| Feature | Snow Melt PowerMat | Snow Melt OmniMat | Snow Melt Cable |
|---|---|---|---|
| Best for | Heavy snowfall 60+ inches/year |
Moderate snowfall 30–60 inches/year |
Custom layouts Irregular shapes, curves |
| Heat output | ~50 W/sq.ft. | ~39 W/sq.ft. | 12 W/lin.ft. (~50 W/sq.ft. at 3″ spacing) |
| Cable spacing | 3″ (pre‑spaced) | 4″ (pre‑spaced) | 3″ or 4″ (adjustable) |
| Install speed | Fast (cut‑and‑turn) | Fast (cut‑and‑turn) | Moderate (manual layout) |
| Surfaces | Asphalt, concrete, pavers/stone | ||
| Warranty | 10-year limited warranty | ||
You'll also need a snow melting control to automate your system — options range from basic manual controls to WiFi‑enabled sensors that activate automatically based on weather conditions.
Maximum Heat Density for Heavy Snowfall (3″ spacing)
Ideal for heavy snowfall regions (60+ inches annually) or high-traffic commercial areas. The 3-inch cable spacing delivers maximum heat density (~50 watts/sq.ft) for the fastest snow melting performance. Best for: Northern climates, steep driveways, loading docks, emergency exits, and areas requiring rapid clearing.
Optimal Performance & Energy Balance (4″ spacing)
The versatile choice for moderate snowfall regions (30-60 inches annually). The 4-inch cable spacing provides an optimal balance of melting performance (~39 watts/sq.ft) and energy efficiency. Best for: Most residential driveways, walkways, and patios in typical winter climates.
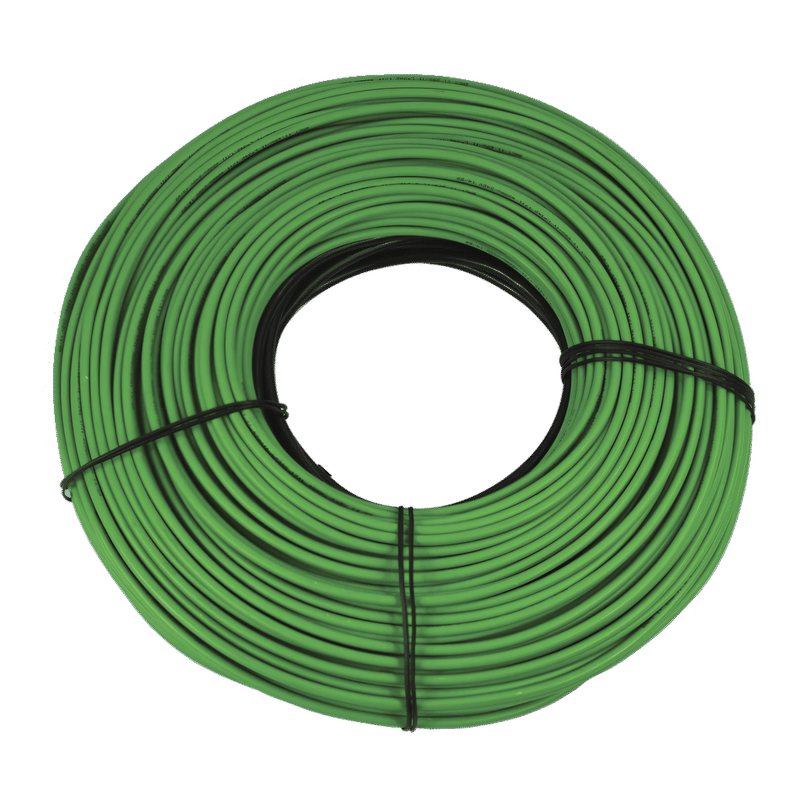
Maximum Flexibility at a Minimal Cost
WarmlyYours Snow Melt Cables offer a high heat output solution to keep your driveway, walkway, or patio snow-free. Embeddable in concrete, asphalt, or under pavers, these cables provide a flexible and cost-effective alternative to mats. Choose from a variety of voltages and lengths to suit your outdoor heating needs, ensuring safe, dry surfaces all winter long. Benefit from our 10-year warranty and 24/7 customer support for peace of mind.
Snow melting isn't just for new construction—you can add it to a driveway you already have. The installation approach differs significantly, so here's what to expect for each path.
Best when building a new driveway or tearing out an old one
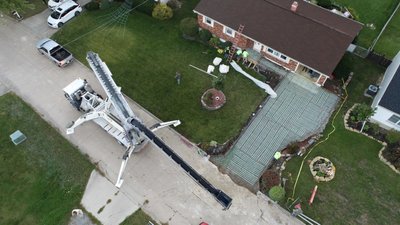
The ideal time to install snow melting is when you're pouring a brand-new surface or doing a full replacement. Heating mats or cables are laid on the base course and paved or poured over—no extra excavation needed.
Already have an asphalt or concrete driveway? You can still add snow melting.
A full replacement isn't required. With a retrofit installation, a contractor saw-cuts narrow grooves into your existing surface, lays heating cables inside, and seals them flush. The result is a heated driveway with minimal disruption to your existing surface.
Not sure which approach is right for you? How to plan for a snow melting system covers eight things to think through before getting a quote. Or request a free SmartPlan and our engineers will design the right layout for your specific situation.
Check out these videos to learn more about our snow melting systems and installation processes.


Showing 10 of 26 questions
Absolutely. Heated driveway systems work exceptionally well under pavers. The heating cables or mats are usually installed in the sand or stone dust bedding layer just below the pavers. This setup effectively melts snow and ice, keeping your paver driveway clear and safe during winter.
Yes, heating just the tire tracks is a popular and cost-effective option. By installing snow melting mats or cables only where your vehicle’s tires will travel, you can significantly reduce both the initial material cost and the ongoing operating expenses while still ensuring safe access to your garage or street.
Yes, our snow melting systems are designed to handle heavy snowfalls. They generate enough heat to melt snow as it falls, preventing accumulation. For areas with extreme winter weather, we offer systems with higher wattages to ensure efficient and effective snow melting even during heavy storms.
Yes, a properly designed heated driveway can melt heavy snow accumulations. High-output systems, like our 50-watt per square foot PowerMat, are specifically engineered for extreme climates. They can keep up with heavy snowfall rates of 1 to 2 inches per hour, preventing dangerous buildup.
You cannot install heating cables directly into an existing finished driveway. To add a system, the old surface must be removed. You then install the heating elements before pouring new concrete, laying new asphalt, or placing pavers. This is the perfect time to upgrade your driveway's safety and longevity.
Yes, paver driveways are excellent candidates for snow melting systems. The heating cables or mats are typically installed in the bedding sand or stone dust layer just below the pavers. This setup allows the heat to transfer evenly through the pavers, effectively melting snow and ice while maintaining the aesthetic appeal of your driveway.
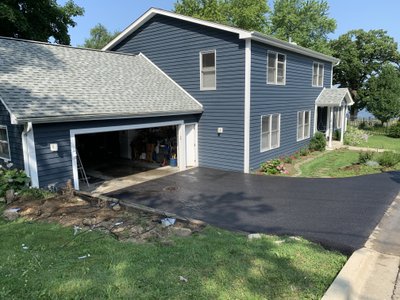
Yes, you can install a heated driveway system under asphalt. WarmlyYours snow melting cables and mats are designed to withstand the high temperatures of fresh asphalt during installation. The heating elements are typically laid out on the base surface and covered with a layer of asphalt, providing efficient and reliable snow melting for your driveway.
Yes, most municipalities require an electrical permit for snow melting systems because they involve high-voltage circuits. Your licensed electrician will typically handle the permit application process. Always check with your local building department before starting construction to ensure compliance with regional codes and safety regulations.
To get a custom quote and SmartPlan™, simply upload your project dimensions or a sketch to our website. You can also email your plans to our team. We’ll review your driveway’s size, surface material, and local climate data to provide a precise system recommendation and cost estimate within one business day.
Heated driveway systems can be controlled using a variety of options, ranging from manual timers to advanced automatic controllers. Automatic controllers use moisture and temperature sensors to detect snow or freezing rain, turning the system on only when needed. This ensures your driveway is clear while maximizing energy efficiency.
Installing a snow melting system in a concrete driveway involves securing the heating cables or mats to the rebar or wire mesh before the concrete is poured. The heating elements must be positioned 2 to 3 inches below the finished surface. Once the concrete is poured and cured, the system will efficiently melt snow and ice, keeping your driveway clear.
Radiant snow melting systems use electric heating cables or mats embedded in the driveway surface. When sensors detect moisture and freezing temperatures, the system activates, warming the slab to melt snow and ice on contact. This prevents accumulation and ensures a clear, safe surface throughout winter storms without manual shoveling.
Multiply the heated area by the installed watts per square foot, divide by 1,000 for kilowatts, then multiply by your electricity rate. At 50 W/sq ft, every 100 sq ft draws 5 kW, or $1.00 per energized hour at an illustrative $0.20/kWh. For example, a 400 sq ft full-coverage driveway draws 20 kW: $4.00 per energized hour, or $24.00 for six energized hours. Tire tracks heat less area, so they cost proportionally less. Your seasonal bill depends on how many hours the system is energized, including preheating and the controller’s drying cycle, which varies with the weather. These are examples, not typical bills; enter your own area, rate and runtime in our snow melting cost calculator.
Installation costs typically range from $8 to $25 per square foot, depending on the surface material and system type. For a standard 20'x20' driveway, heating components usually start around $4,750. Total costs vary based on local labor rates for electrical work and the masonry or paving contractor's fees.
Operating cost depends on the heated area, installed wattage, your electricity rate and how many hours the system is energized. For example, 100 sq ft at 50 W/sq ft draws 5 kW (100 × 50 ÷ 1,000). At an illustrative $0.20/kWh, that is $1.00 per energized hour, or $6.00 for six energized hours. This is an example, not a typical bill. What changes your total:
Enter your own numbers in our snow melting cost calculator.
It is better to use snow melting mats for standard, rectangular driveways because their pre-spaced cables allow for fast, easy installation. However, for curved driveways, stairs, or custom shapes, snow melting cables are the better choice as they offer maximum design flexibility and lower material costs.
For driveways with a grade of 5% or steeper, we strongly recommend full-width coverage. While tire-track heating works for flatter surfaces, steep slopes require the entire width to be clear to ensure traction and prevent sliding. Full coverage provides maximum safety for both vehicles and pedestrians on significant inclines.
A WarmlyYours SmartPlan™ is a comprehensive installation blueprint for your specific project. It includes a detailed 2D layout showing cable placement, electrical requirements, sensor locations, and a complete component list. This custom plan ensures an efficient installation and serves as a vital reference for your electrician and contractor.
Radiant snow melting systems are virtually maintenance-free because they have no moving parts. We recommend a simple annual visual inspection of the control panel and sensors before the first snowfall. Testing the system once per season ensures the sensors and heating elements are ready to perform when winter weather arrives.
We take pride in providing both exceptional service and great products. But don't just take our word for it, check out what some of our customers have had to say.
Chat with us
Replies in under an hour
Your recent conversations
Email you this conversation?
We couldn't confirm your browser, so the message wasn't sent — an ad blocker or privacy extension is the usual cause. Please try again, or call us on the number at the top of the page.